
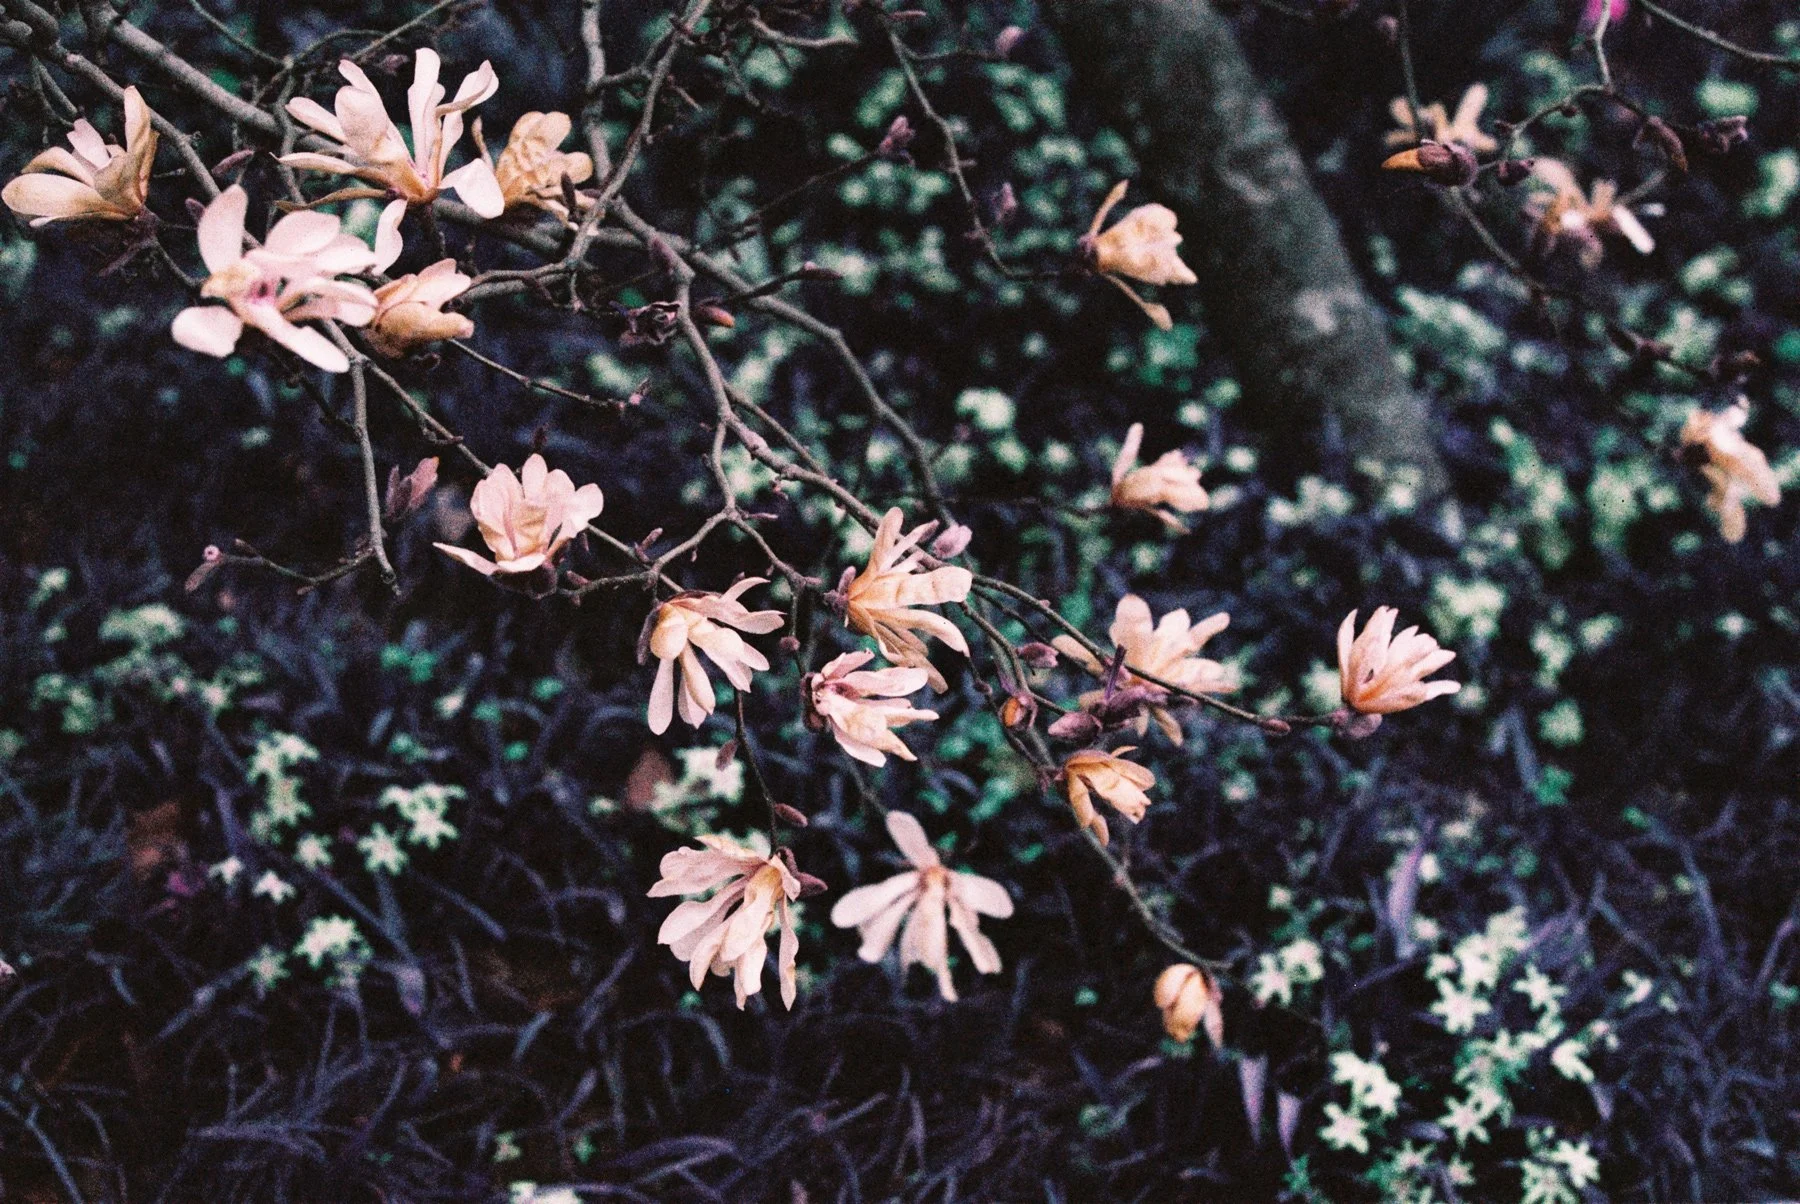
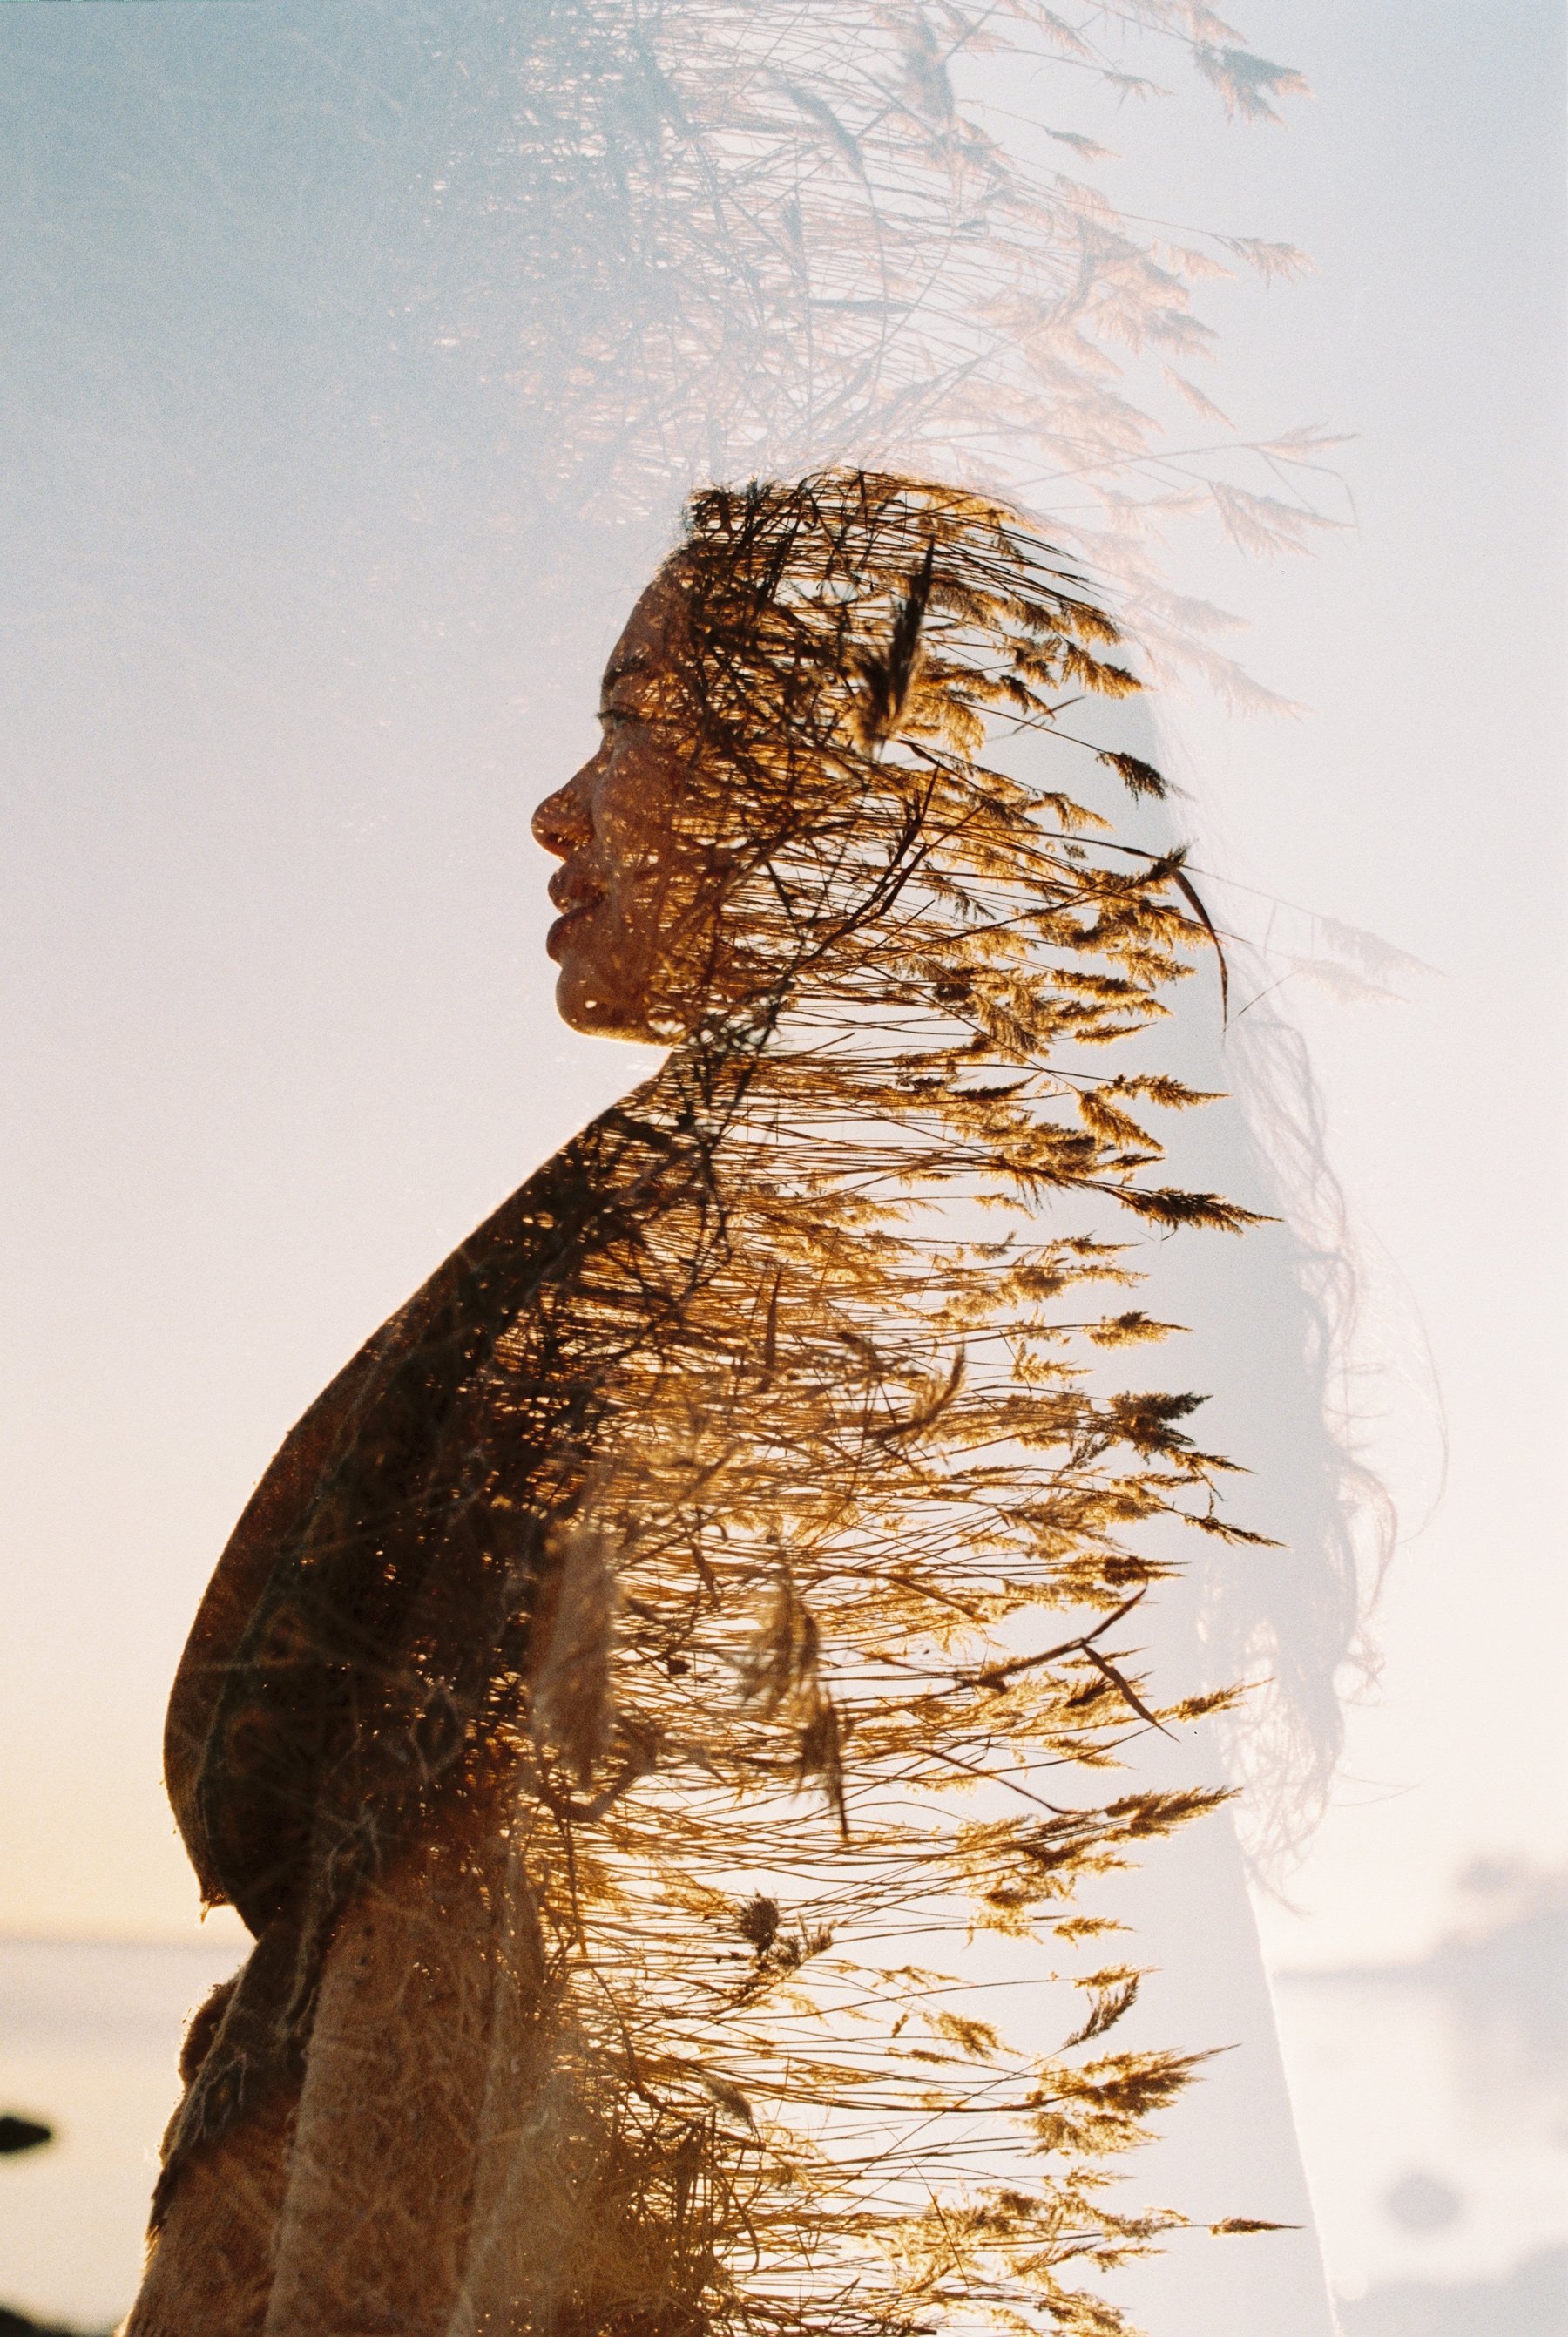
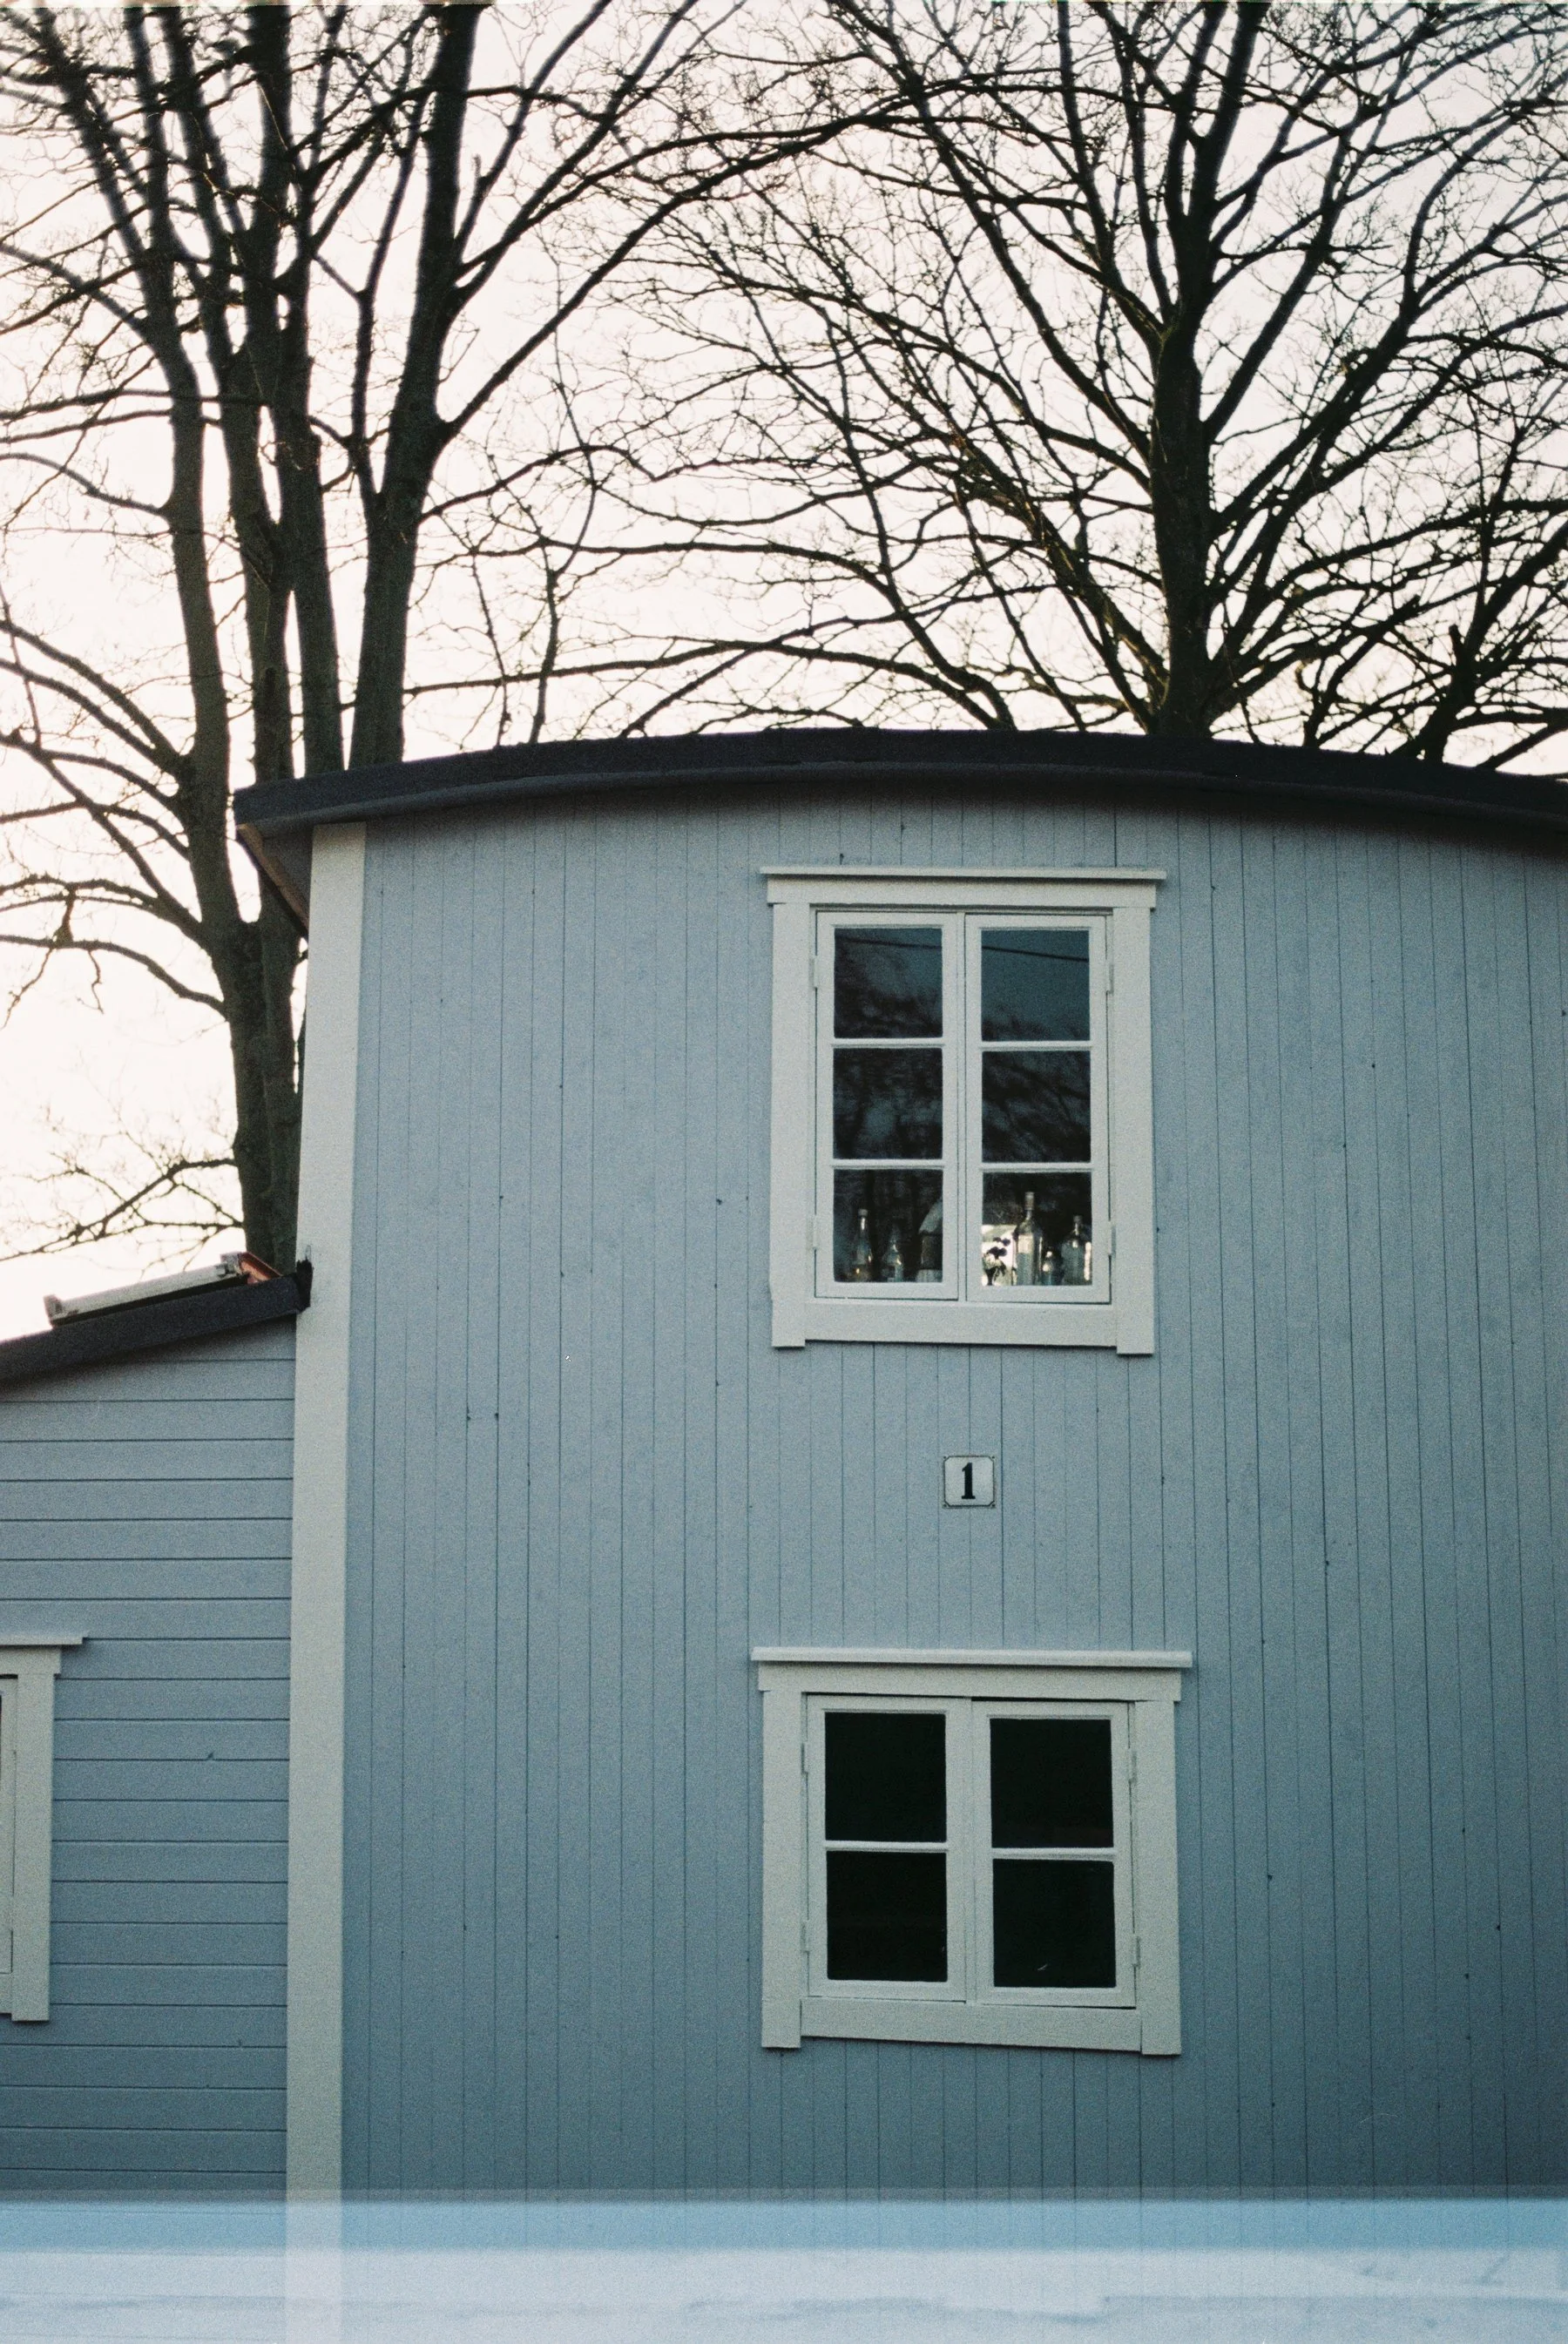
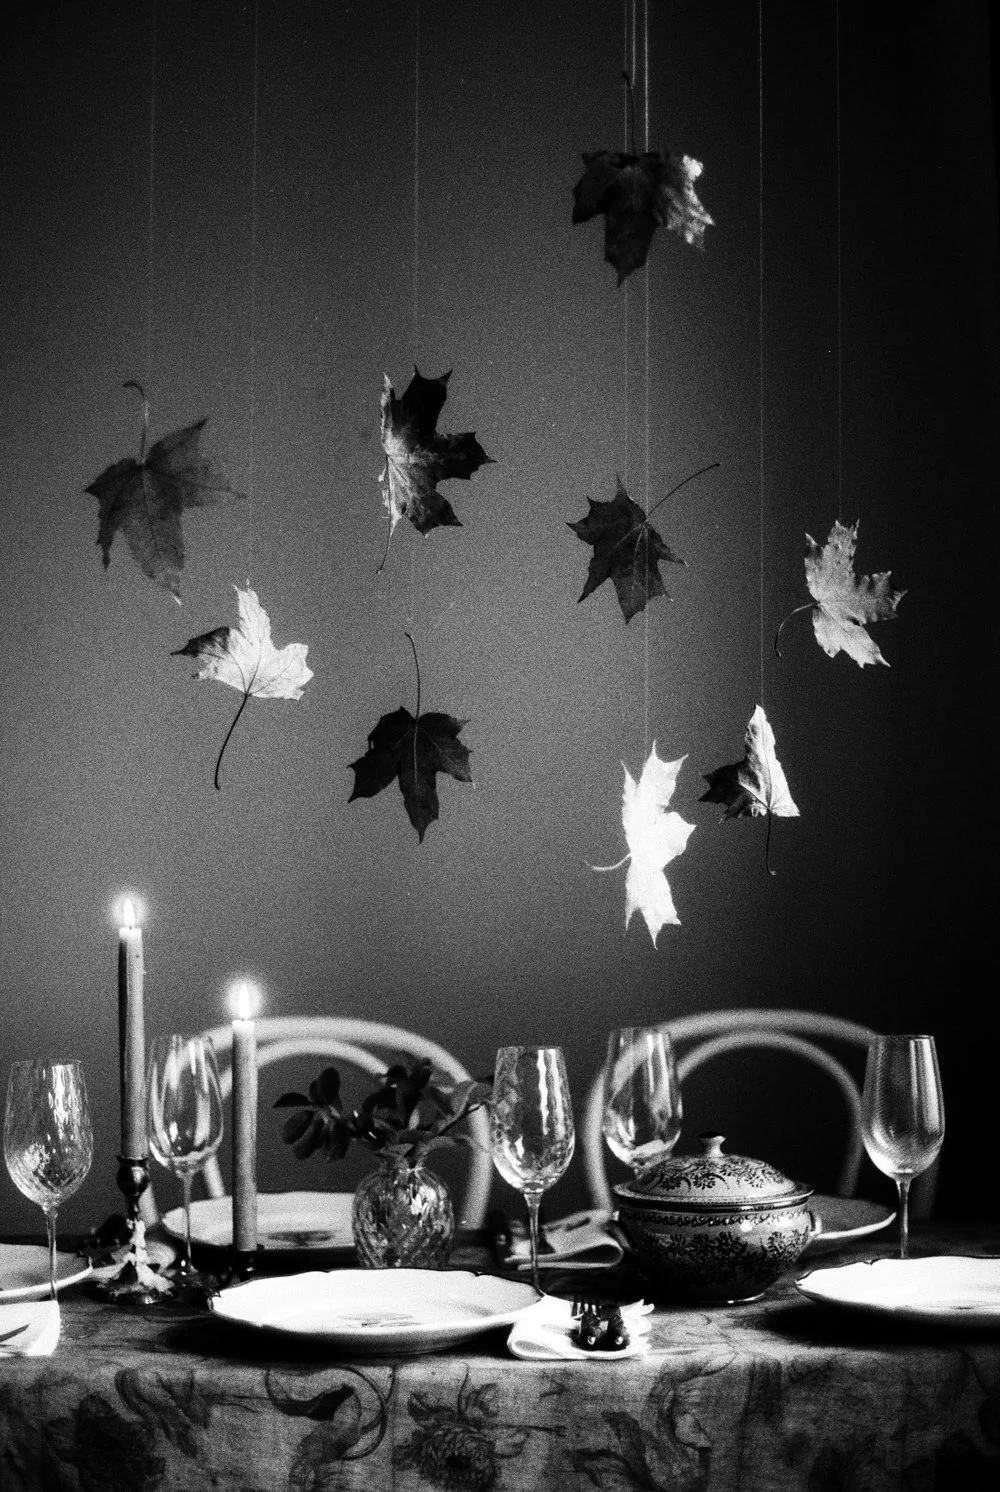
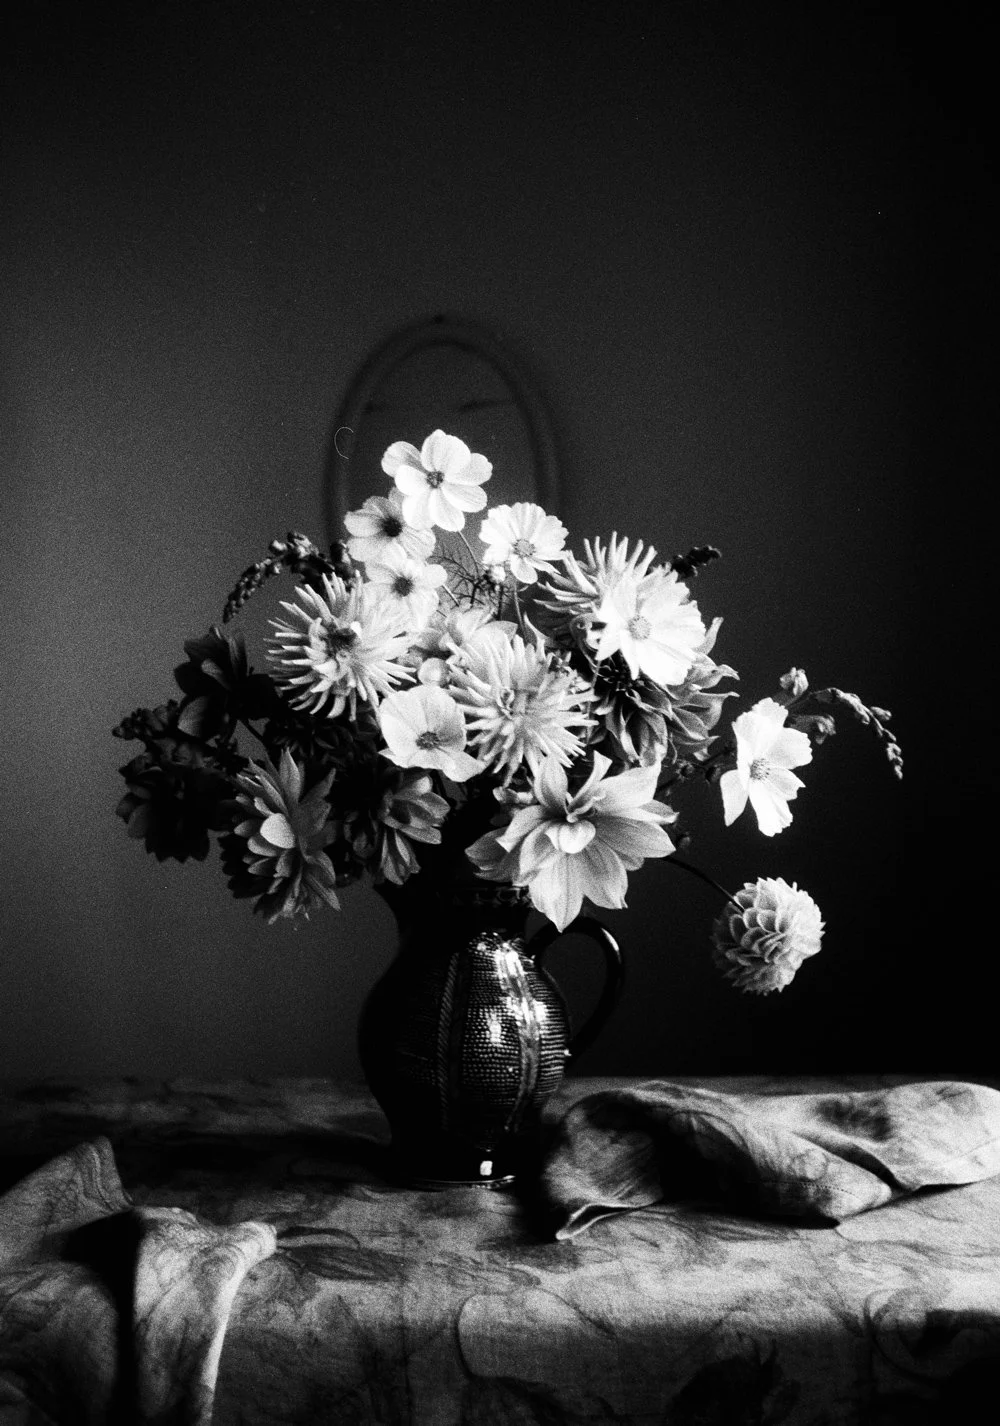
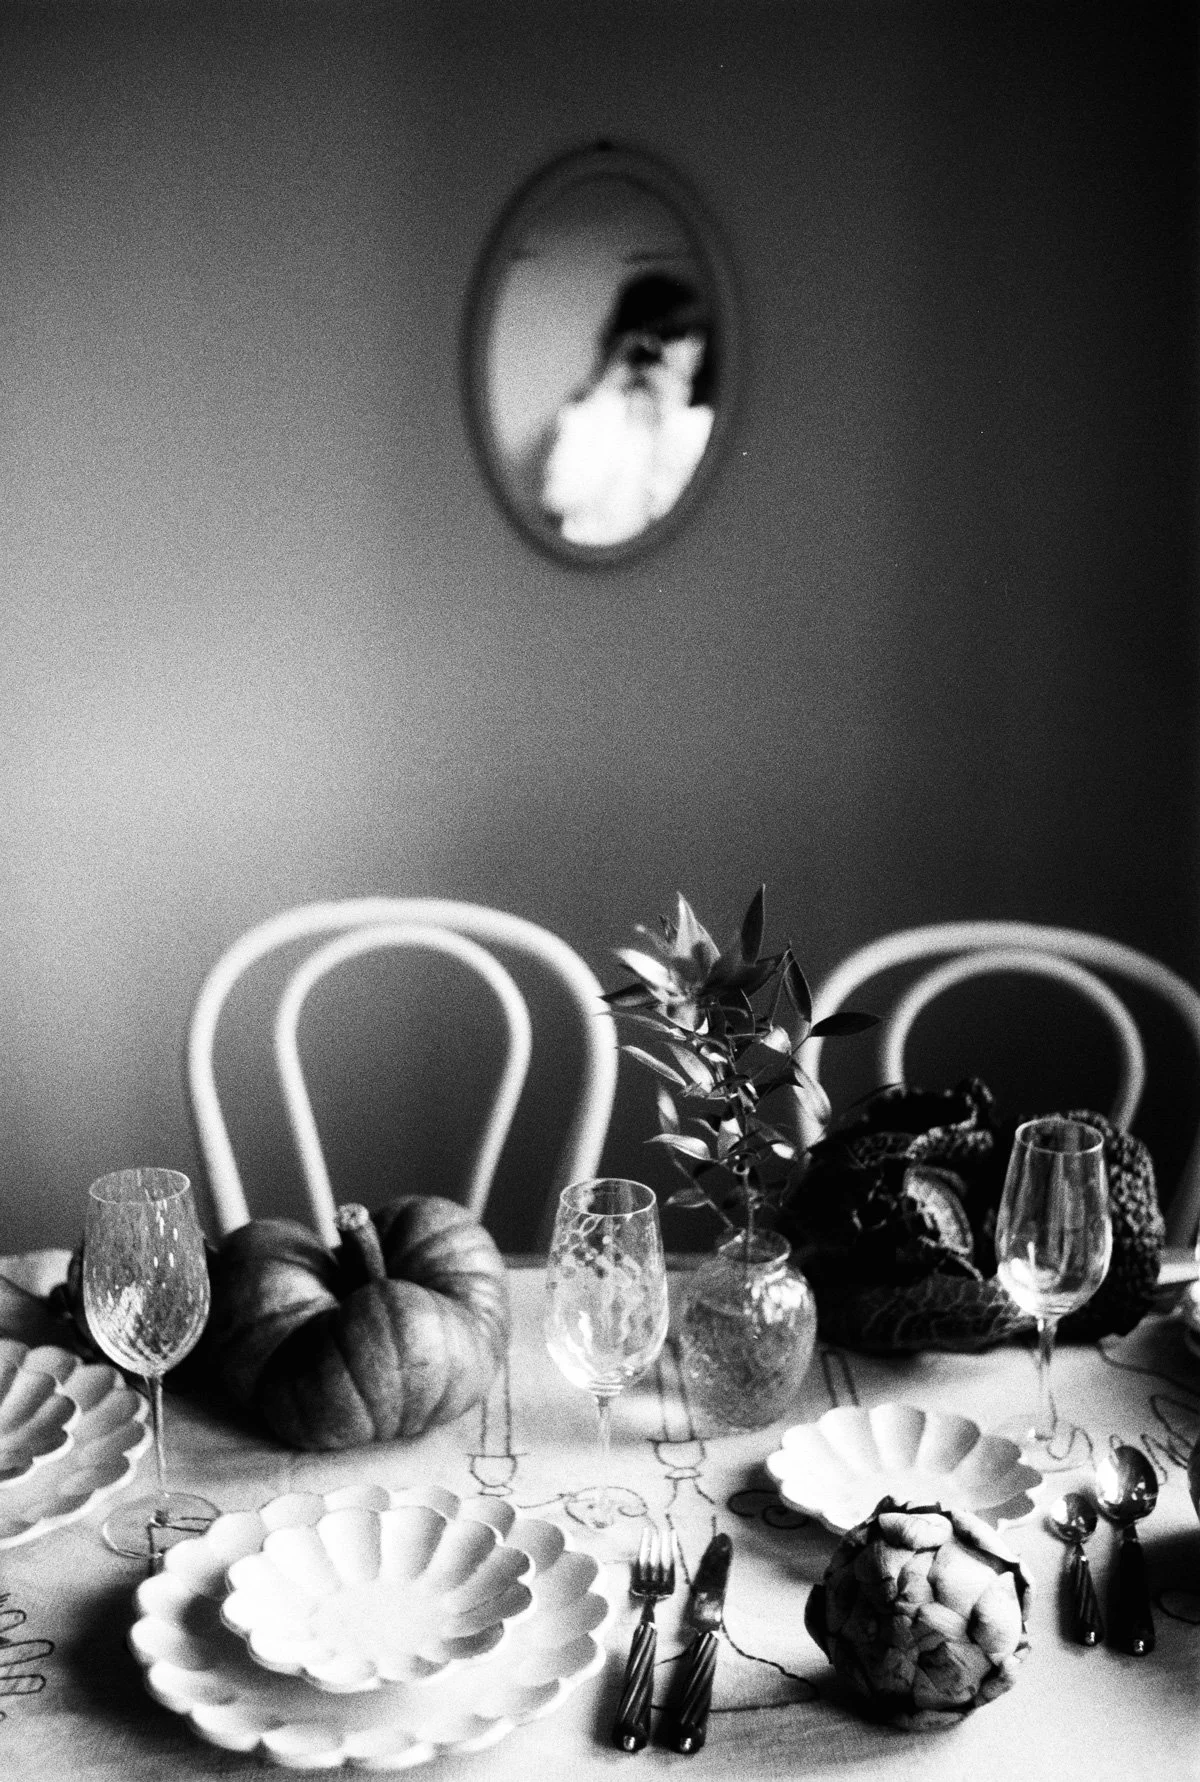
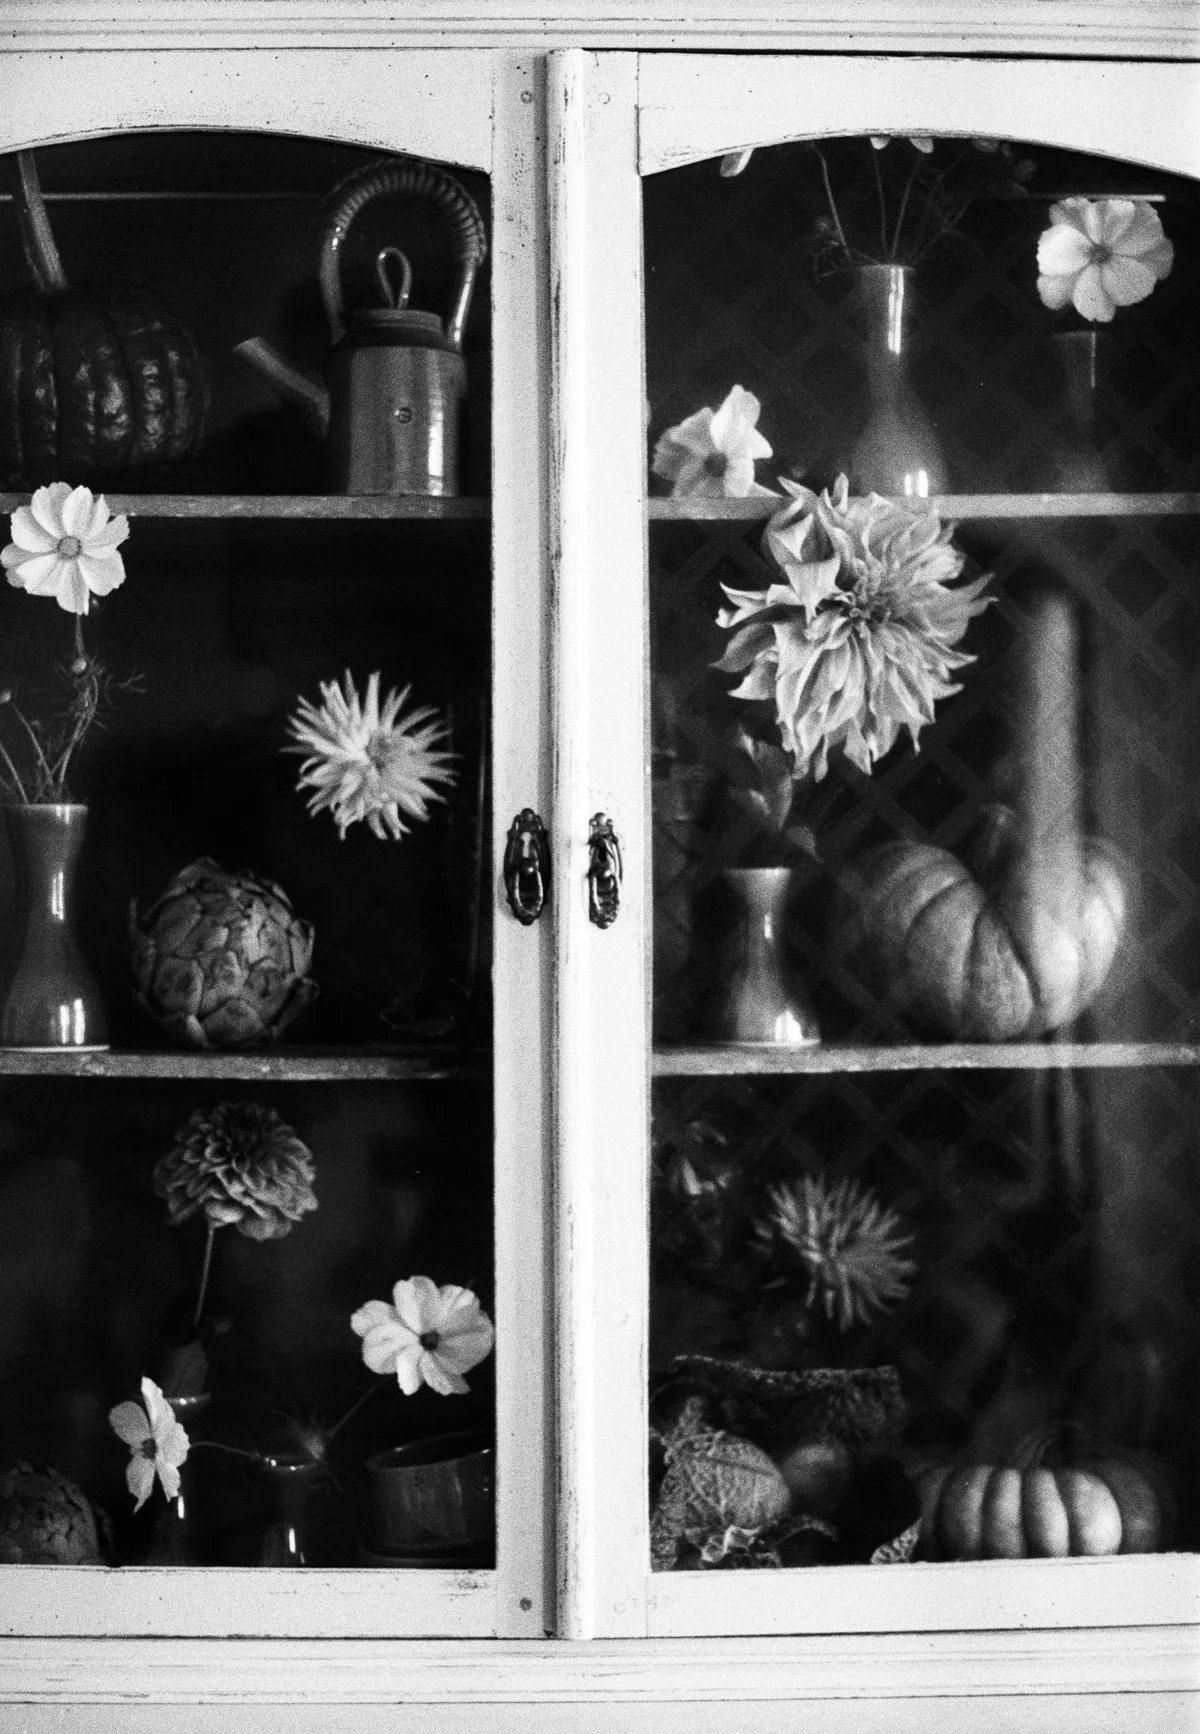
Testing my new Nikon FM
I recently came across a Nikon FM for a very good price - I thought, “Well, that seems a little too good to be true.” Whenever I find a camera at a bargain price, I immediately start wondering what might be wrong with it. As with any “new” camera that finds its way into my collection, the first thing I do is put a test roll through it. No matter how clean it looks or how well everything seems to work, there’s really no substitute for shooting a roll of film and seeing the results for yourself. Things like light leaks, shutter issues, frame spacing problems, or meter inaccuracies often don't reveal themselves until you actually use the camera. It’s also something I try to do as soon as possible after buying a camera. If any problems do show up, there’s a better chance of being able to return it or have it repaired under some kind of guarantee, assuming that you bought it from a shop rather than a private sale.
I bought a Nikon F3 nearly two years ago that had several issues but I didn’t find them before it was too late and months had passed, and I was unable to return it.
As I mentioned in my last post, I was shooting with a Nikon FM for a full year before my last one broke. In general I prefer the Nikon FE slightly, except for the light meter - it just doesn’t compare to the intuitive light meter of the FM. In general they are very similar, both in handling and looks, but there are a few differences.
All images shot on Nikon FM using Kodak Colorplus film
A comparison between Nikon FE and Nikon FM
Nikon FE
-Needs batteries to operate the shutter.
-Light meter - Features two needles on the left side of the viewfinder. One needle shows the metered exposure, and the other moves as you adjust your shutter speed or aperture. The goal is to line them up, unless you’re shooting in high contrast or back-lit situations and you want to over- or underexpose - and every single time I almost mix them up. And also, the light meter is virtually impossible to see if you’re shooting in a dark space. Basically, I’m not a big fan of this light meter.
-It has aperture priority (which I have yet to use).
-The FE also has the ISO on the rewind knob, where exposure compensation is also located. I prefer this.
-Fastest shutter speed is 1/1000 second and slowest is 8 seconds (+ bulb mode)
Nikon FM
-Fully mechanical, meaning the shutter works without batteries (except for the light meter)
-Light meter - Uses a LED system on the right side of the viewfinder. As the light meter is on the right side, as a left eye shooter, I look down to see the light bulbs that indicate if I’m over or underexposing. It’s not a huge thing but somehow it feels easier than to look up. Simply reading the light meter is really intuitive for me as well. AND if you’re shooting in dark environments, you can easily see the light meter.
-The ISO is adjusted with the same dial as the shutter speed, which has at times caused me to accidentally change the ISO. It does not have exposure compensation.
-Fastest shutter speed is 1/1000 second and slowest is 1 second (+ bulb mode)
Both have double exposure levers, although they are located in different places.
Both have a film advance lever that functions as a power switch for the lightmeter, and to be able to measure light and to shoot you must have it slightly pulled out. This took some time to get used to.
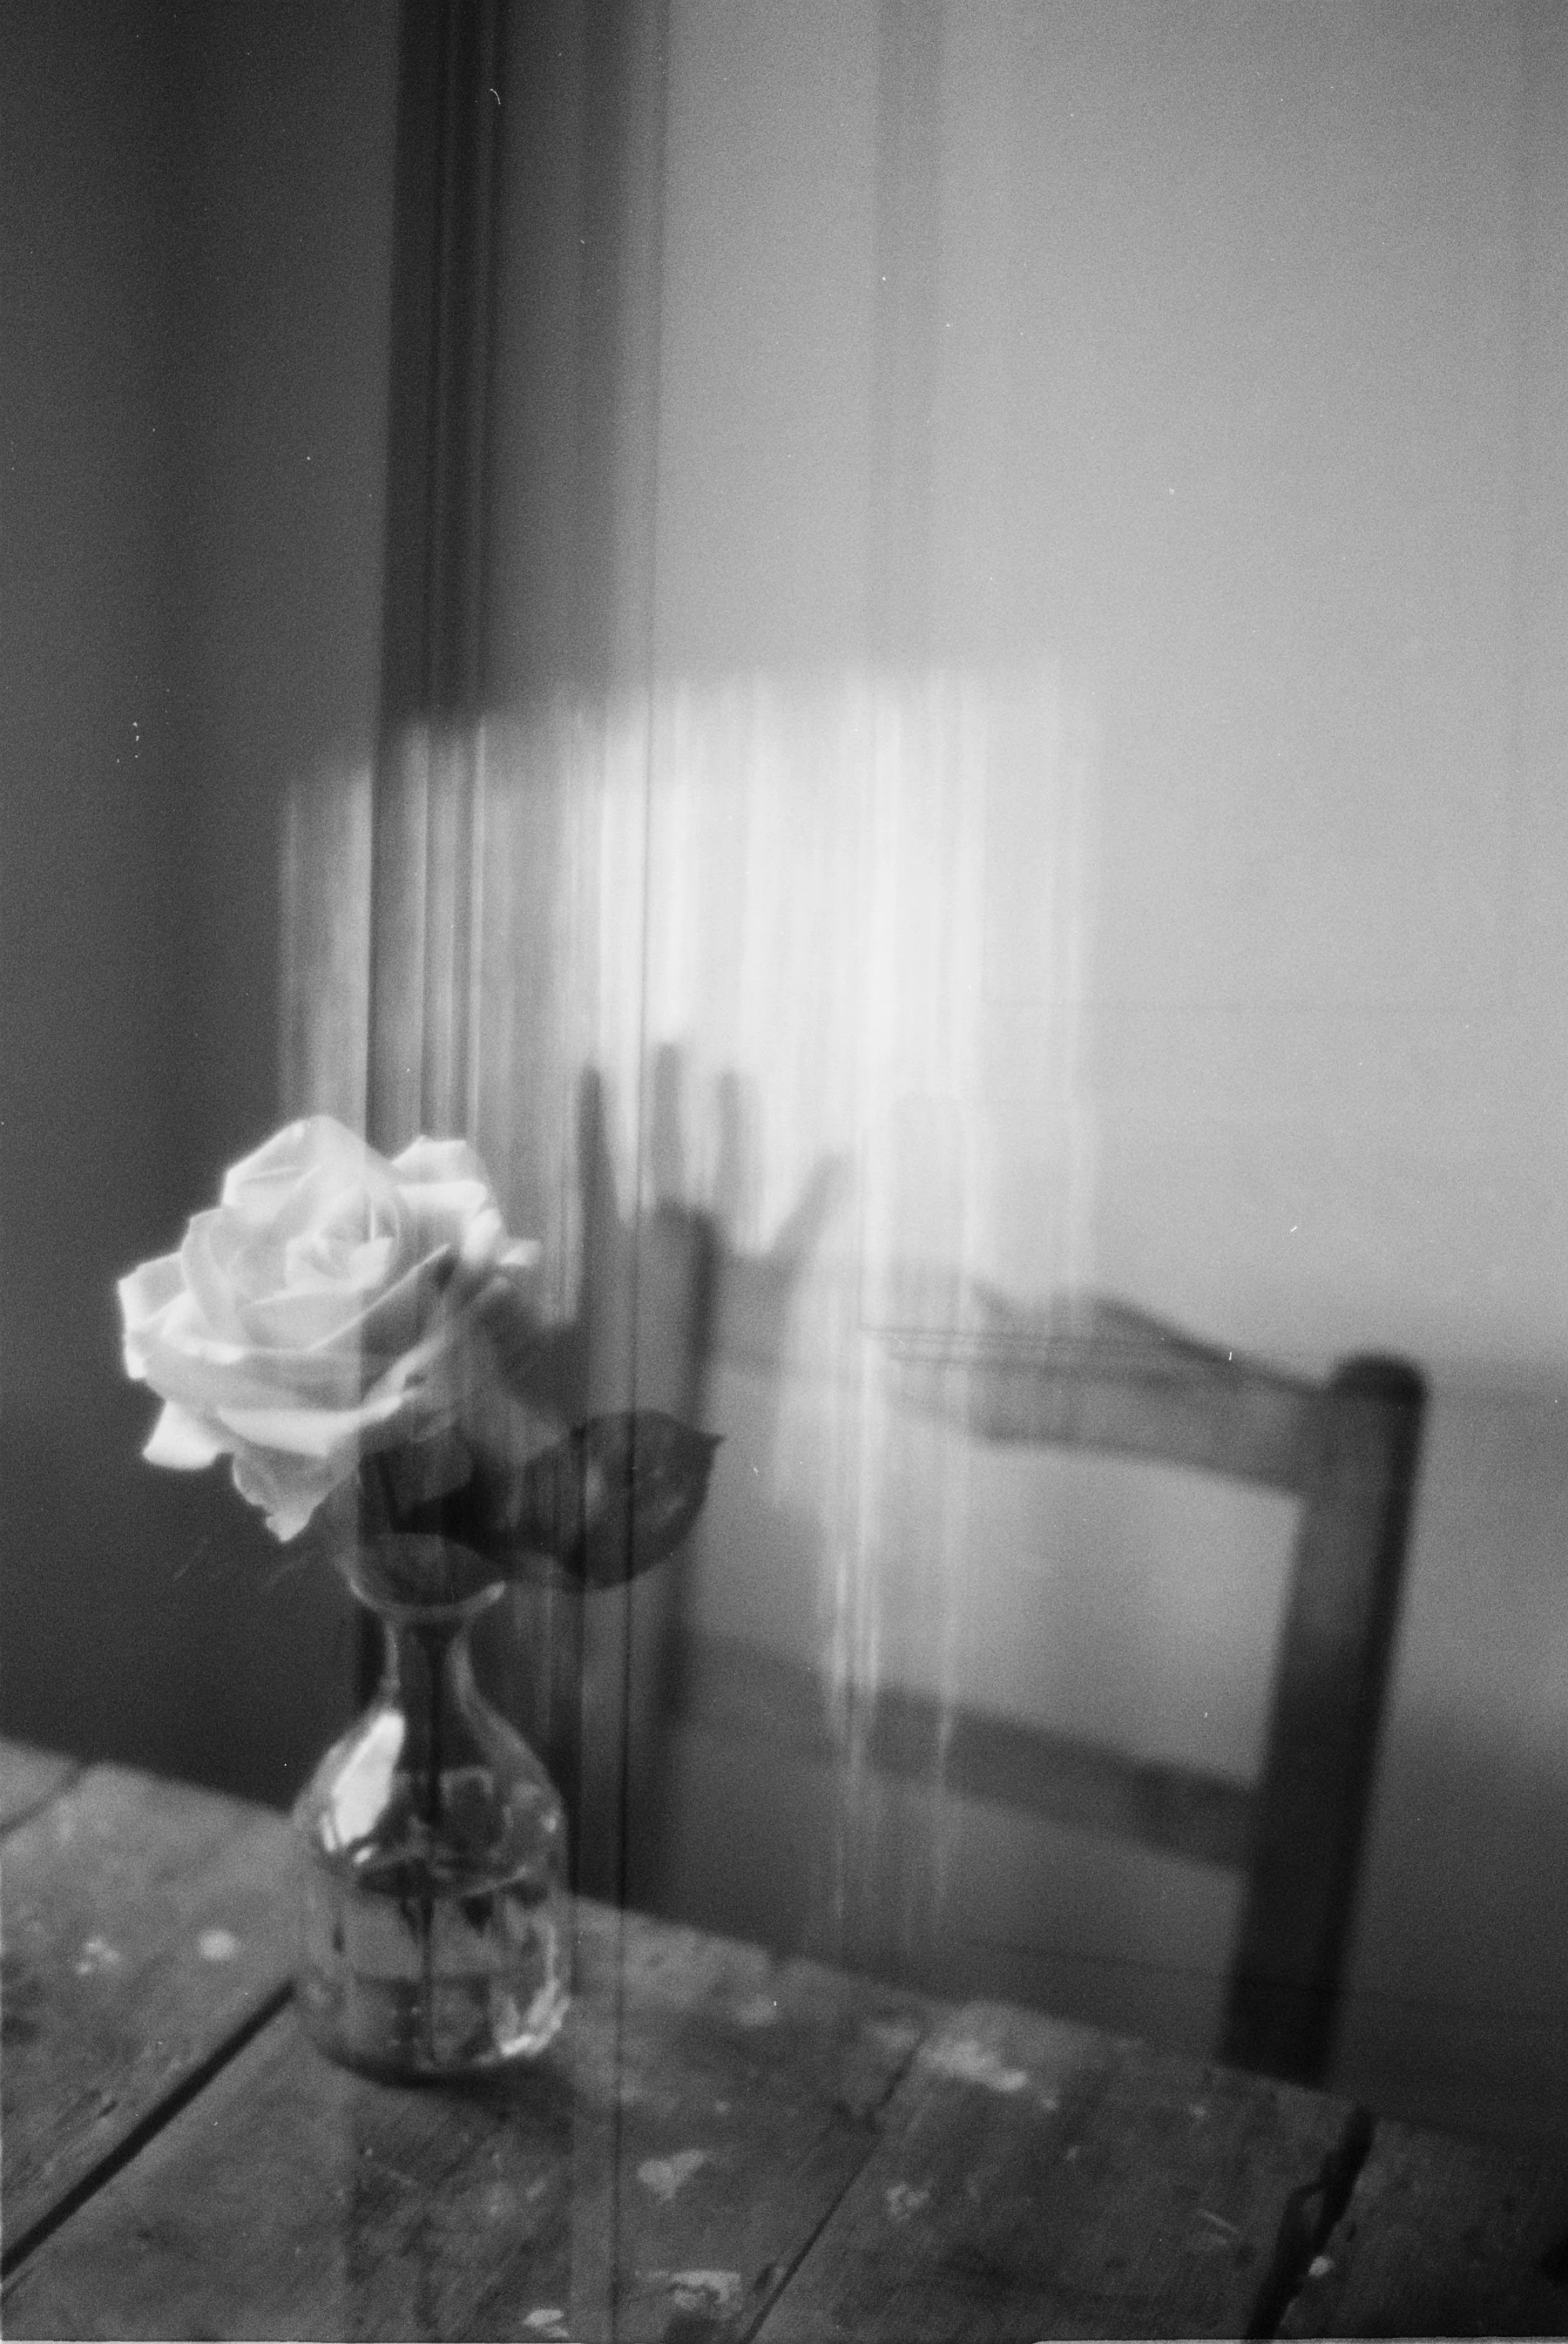
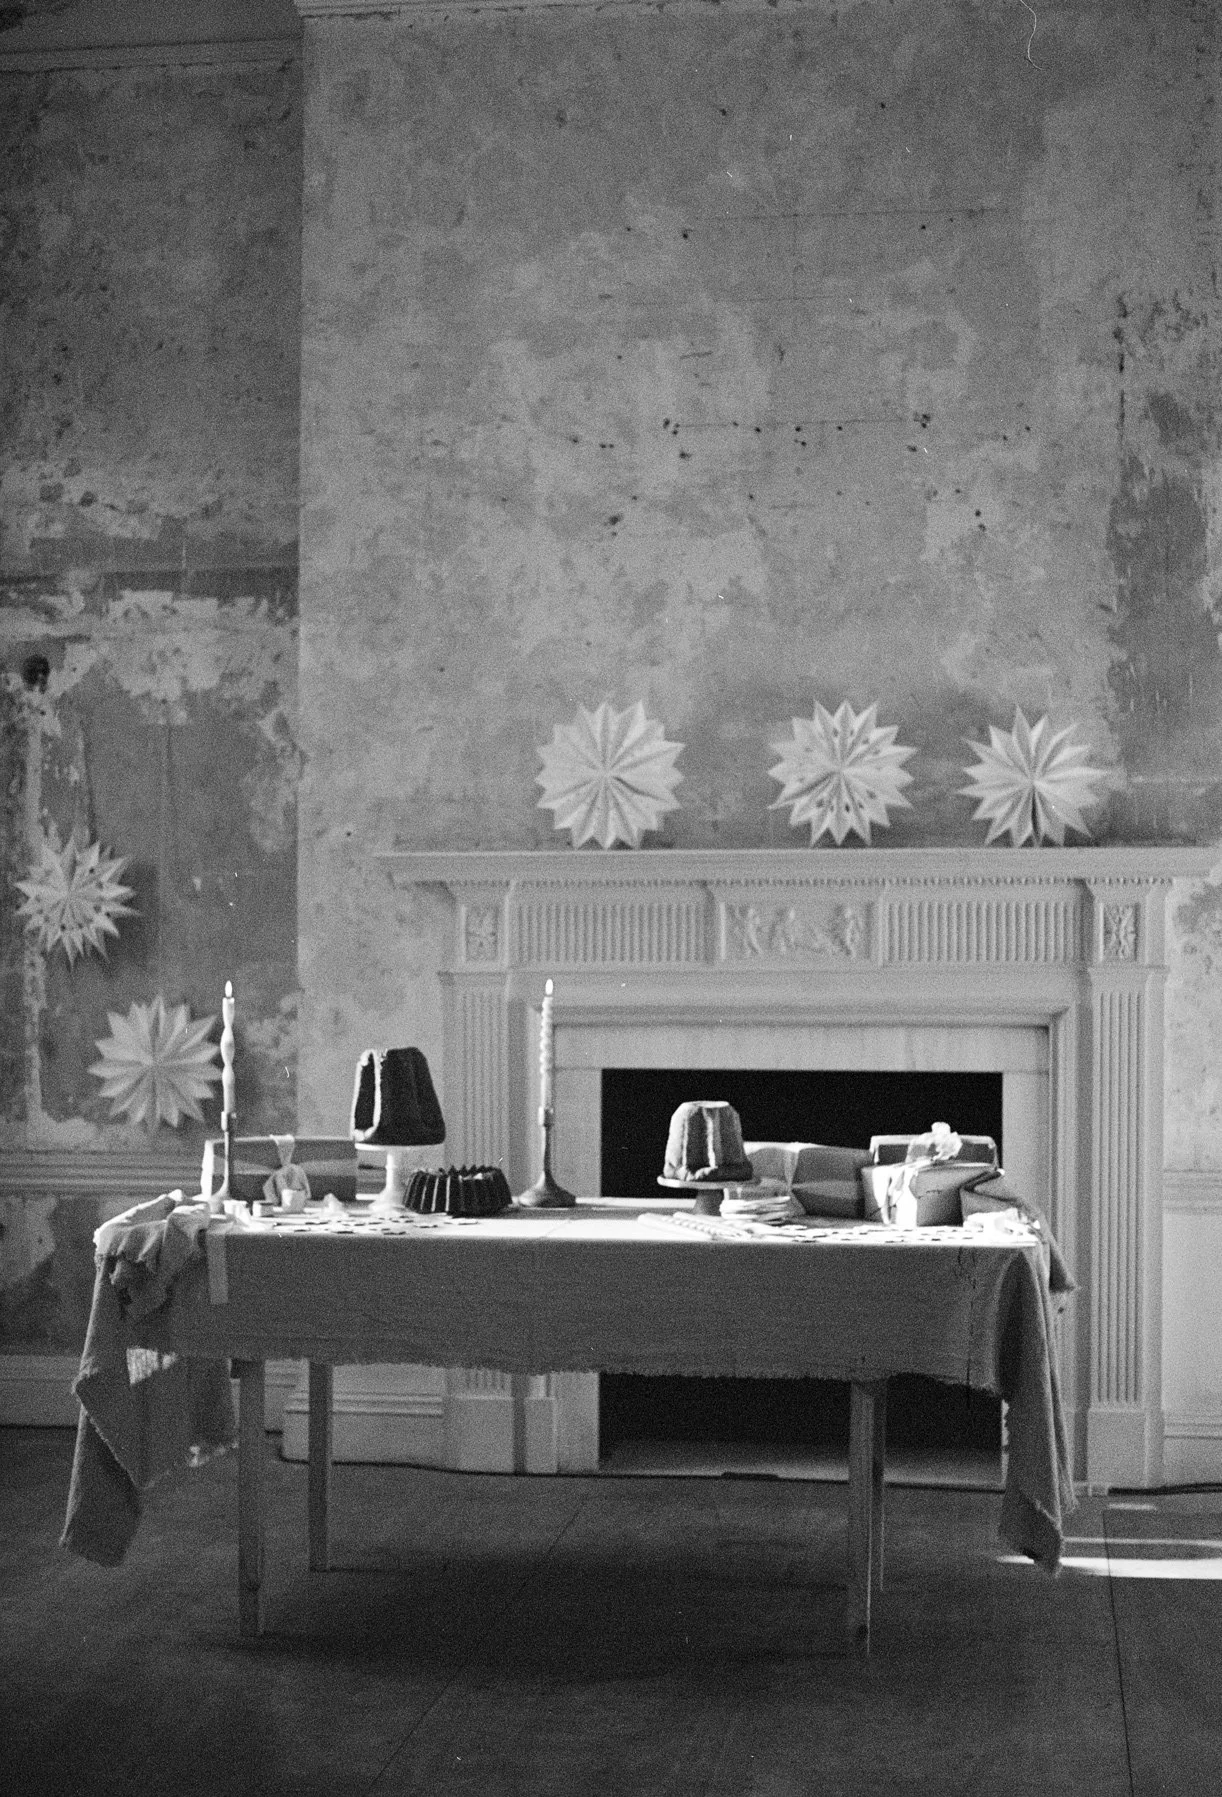
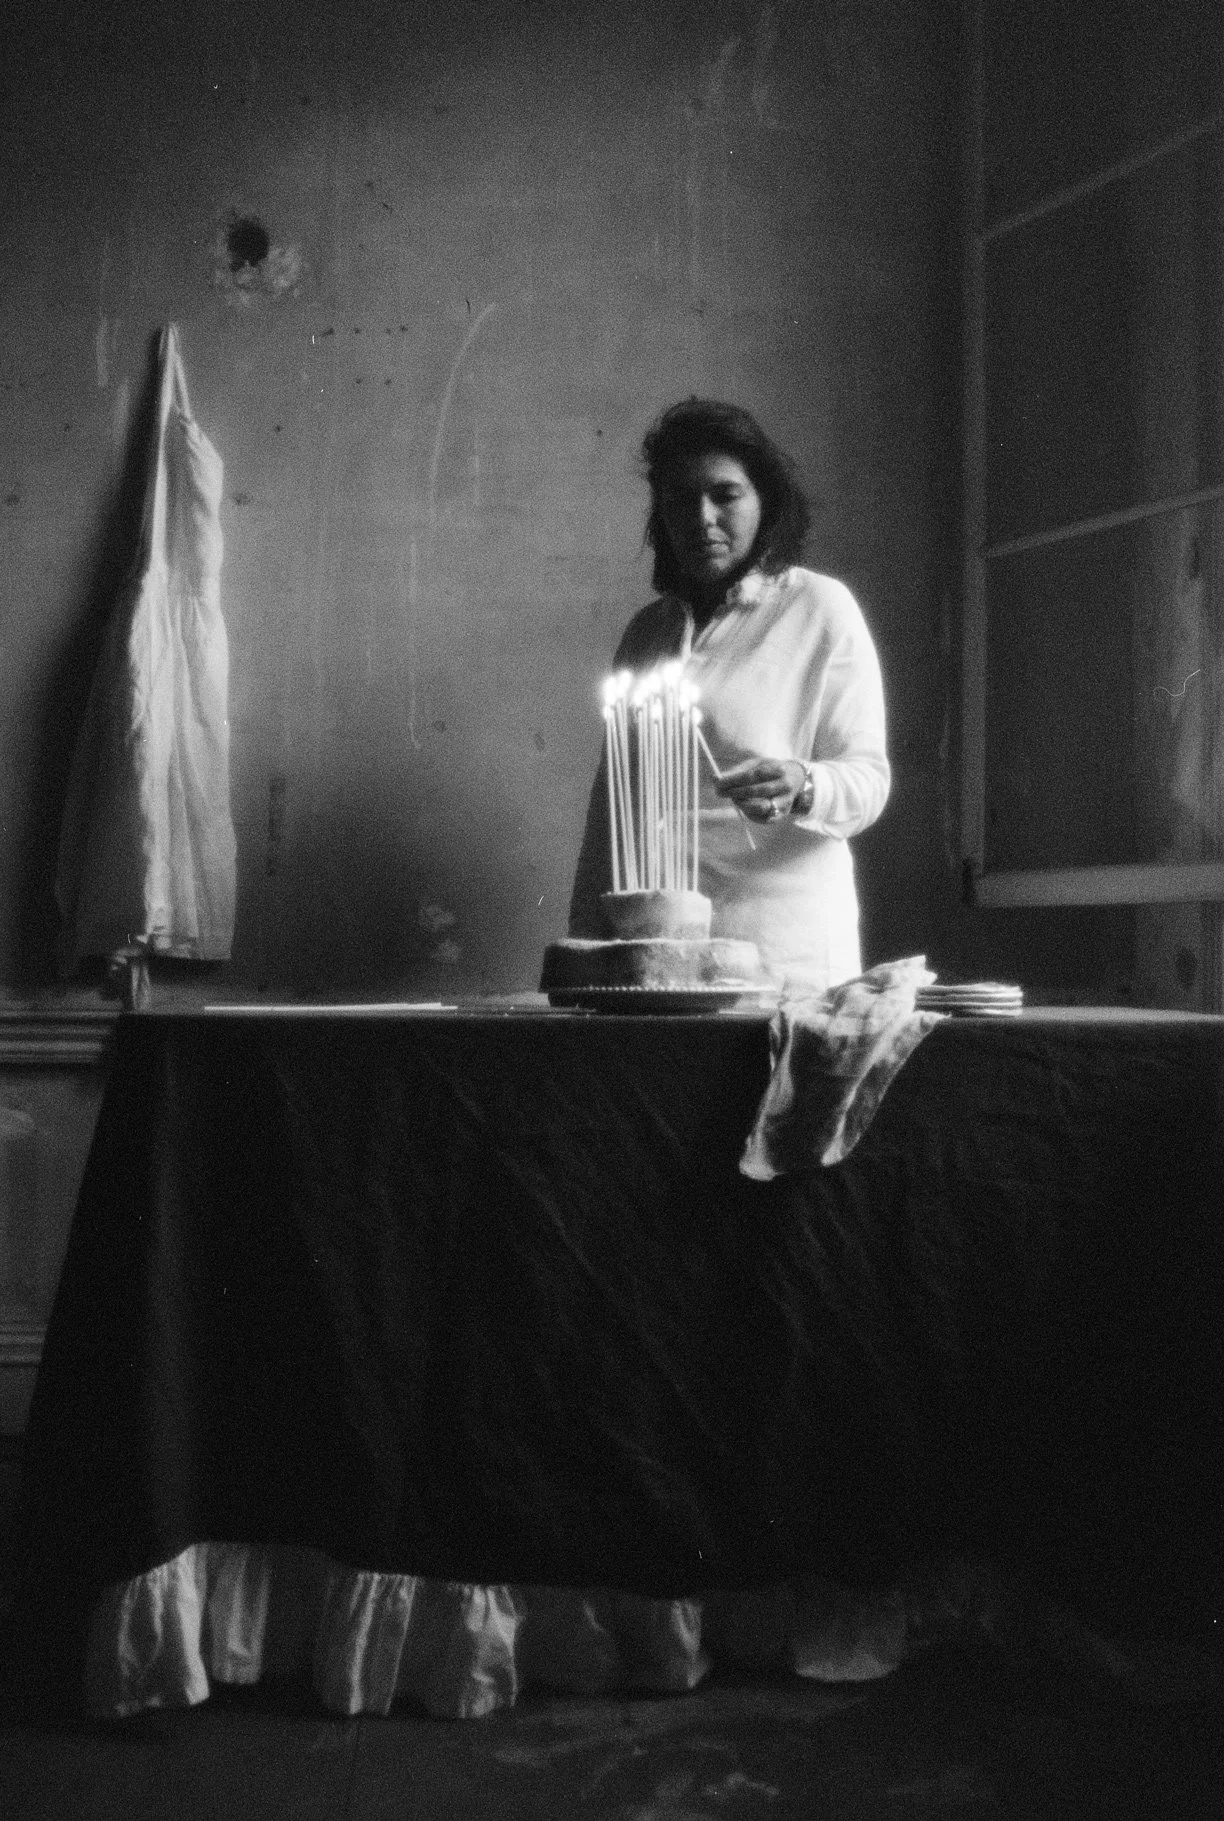
Finished this roll in my studio


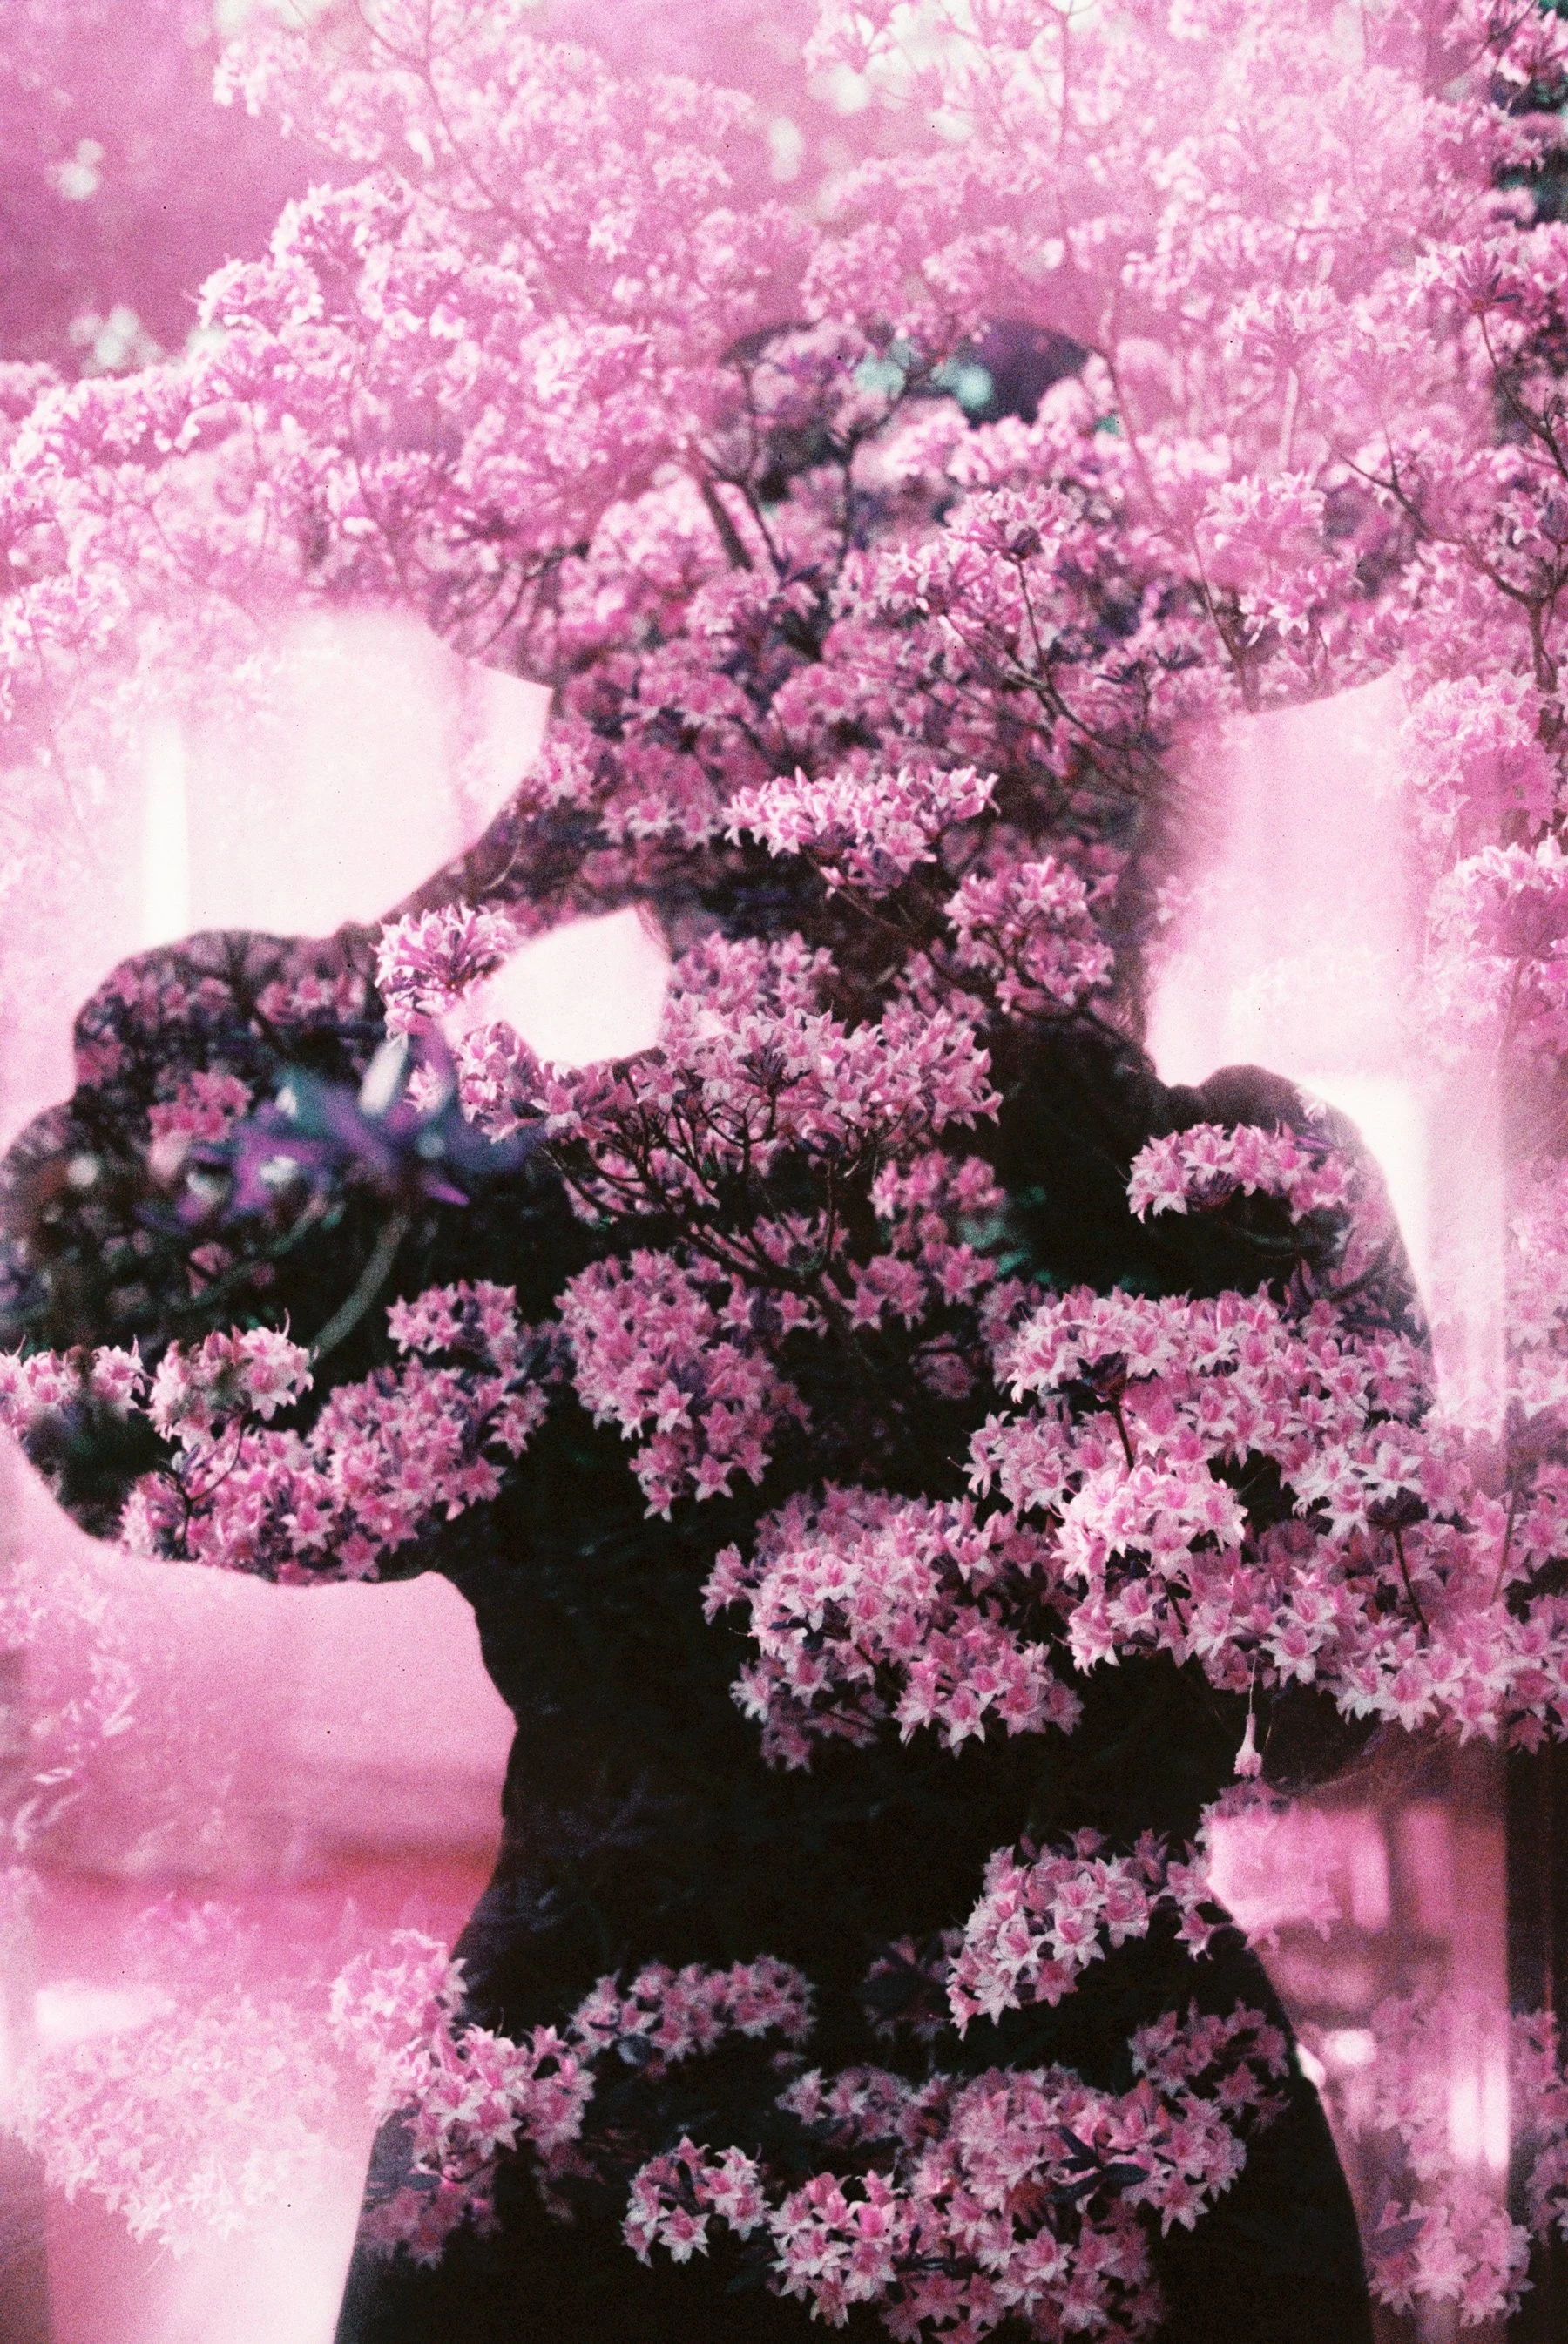
Reflections on a roll of Lomo Purple
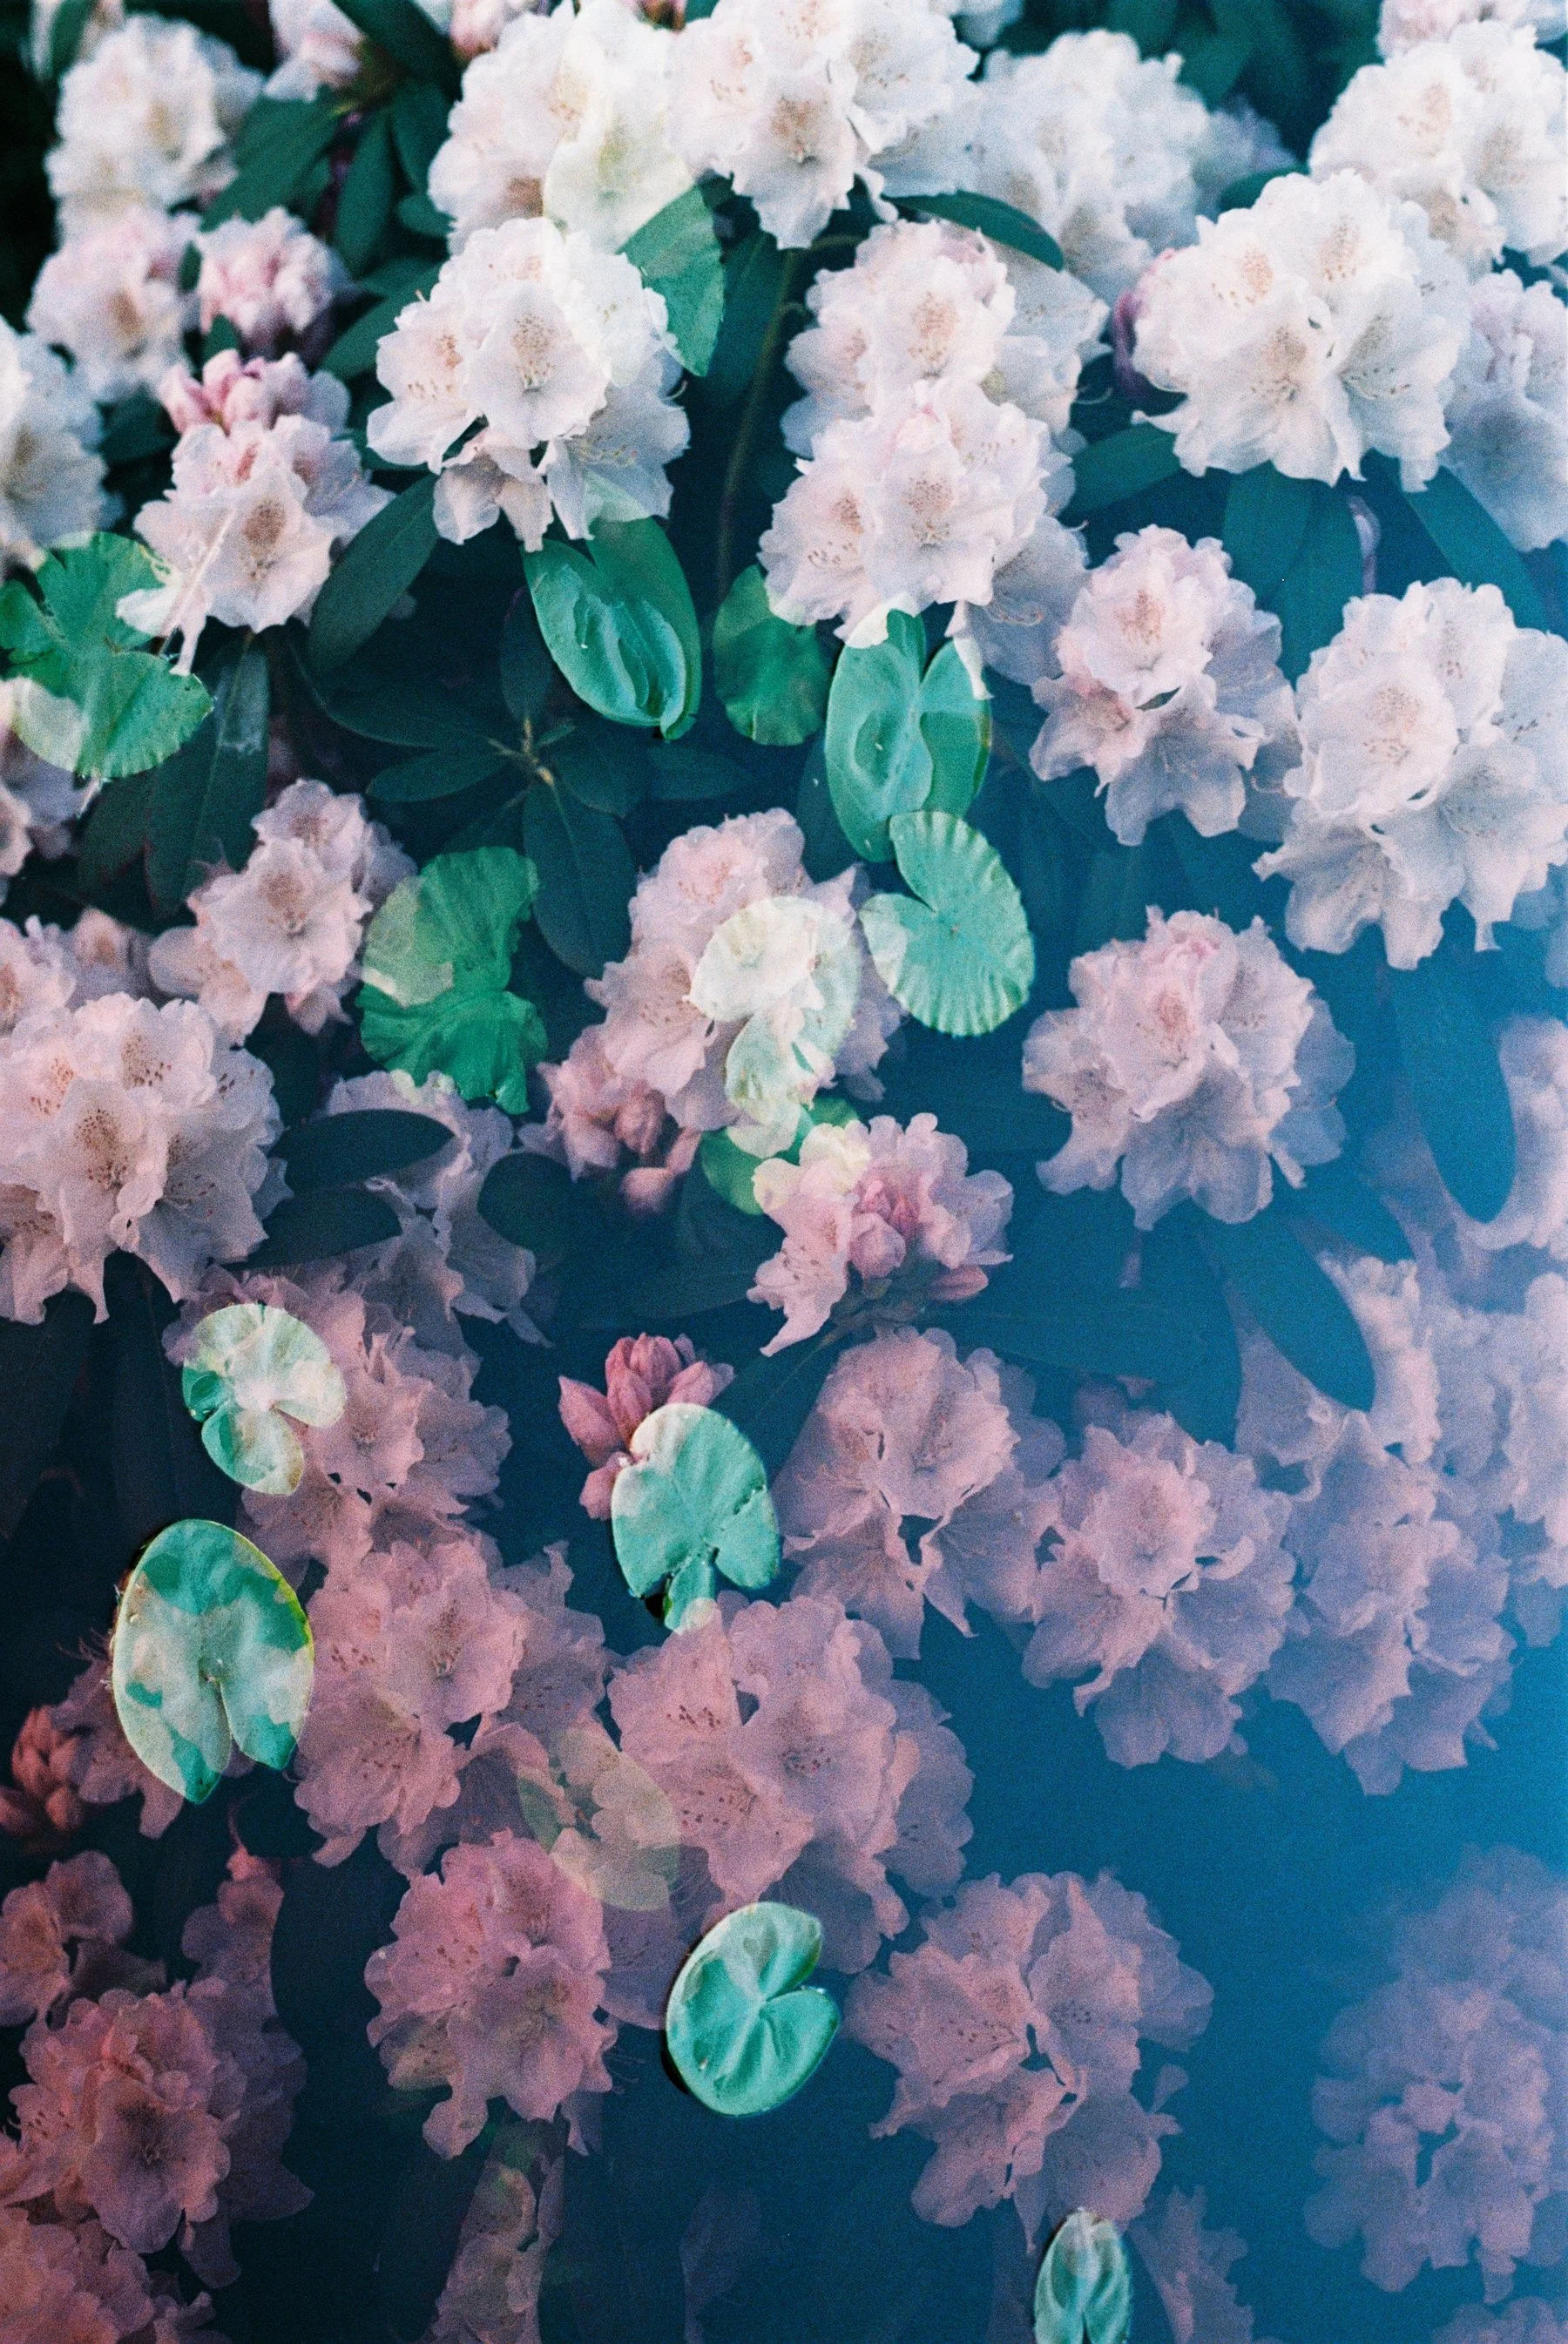
Mirror reflection + yellow rhododendron
When I sent this roll of Lomochrome Purple to the lab, I had a feeling it was not going to be my best one yet - and I was right (but then again, my expectations are always really high). It’s not that I’m unhappy with the ideas behind the images, more so how they came out - a little bit underexposed and grainy, and I thought the colours would be more vibrant. Lilacs are definitely better on regular colour film and nest time, I’ll give the film a little bit more light! A lot of these ideas would have been better suited for a black and white film and I feel like I didn’t use this film’s full potential. It happens sometimes, and it’s part of the charm! With that said, I really like how some of these turned out!
Because I don’t like rushing through a roll, I like to have two cameras - one loaded with colour film and one with black and white so I easily choose what I feel like on a particular day. That was the plan until January this year, when my Nikon FM broke. I recently managed to find another Nikon FM for a really good price, and it seems to be working perfectly. More about that in my next post!
LomoChrome Purple (ISO 200), shot with Nikon FE
I used my macro attachment for the Lily of the Valley shot
Not perfectly lined up, but I’ll definitely try this idea again!
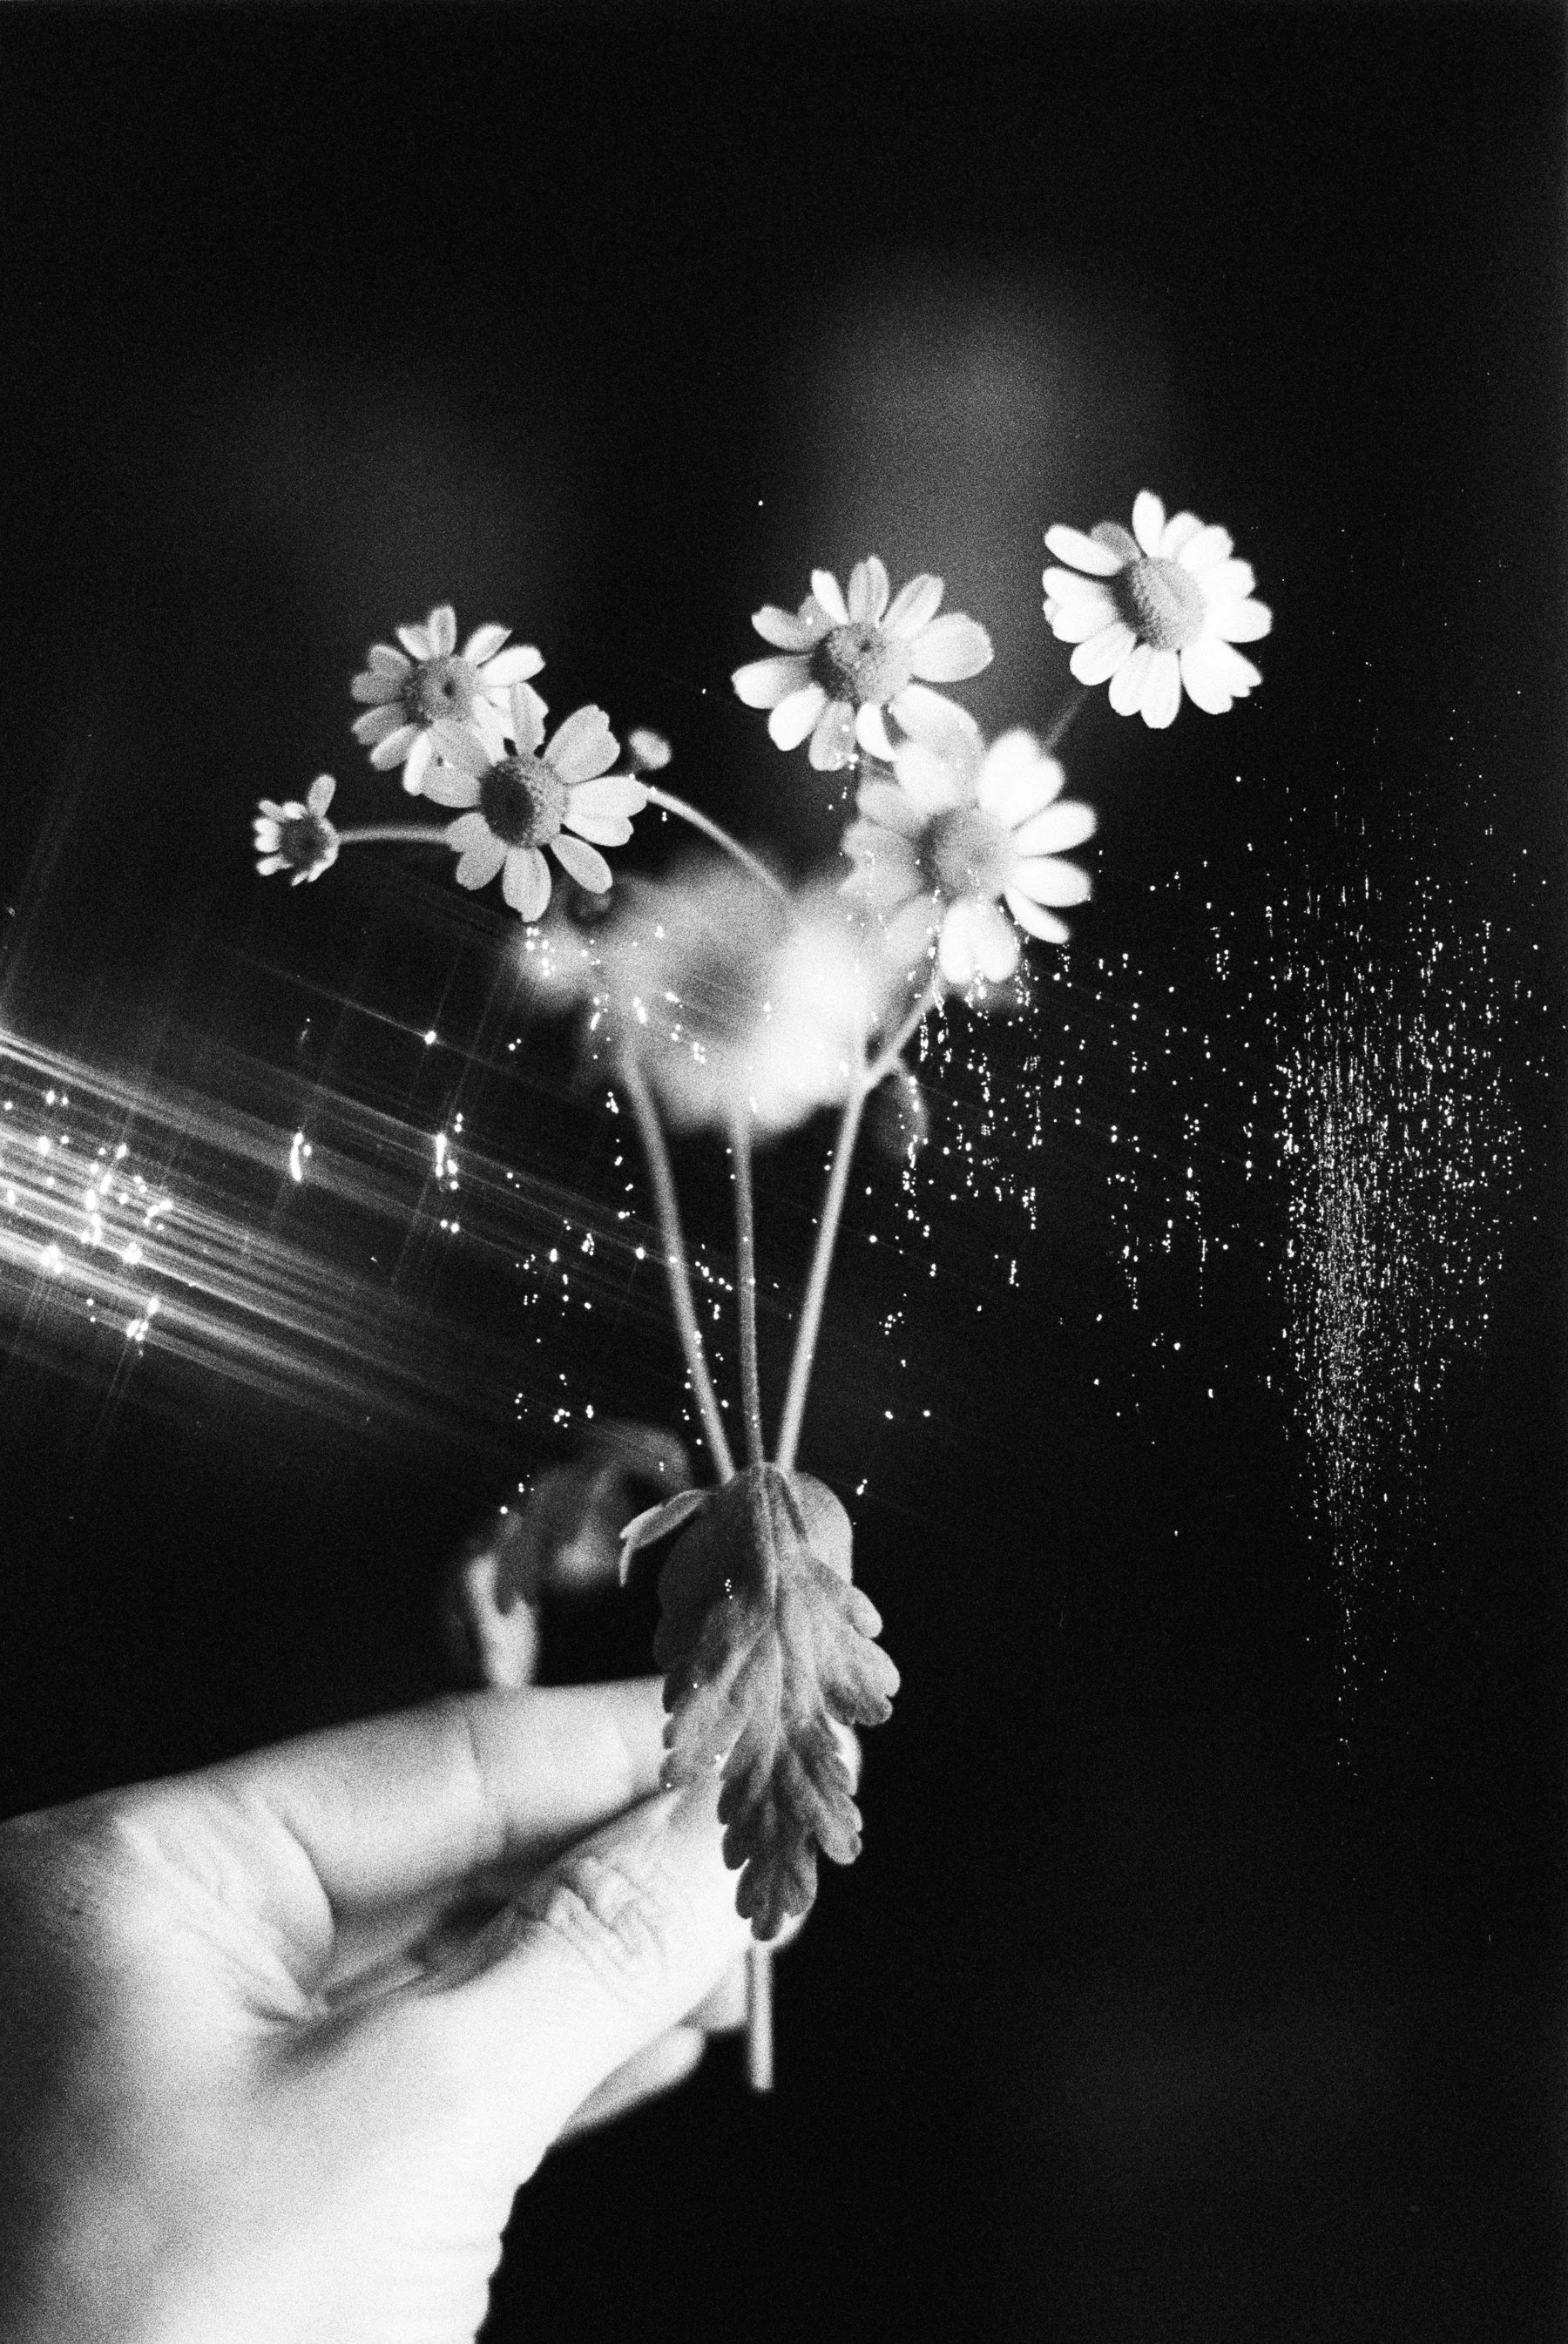
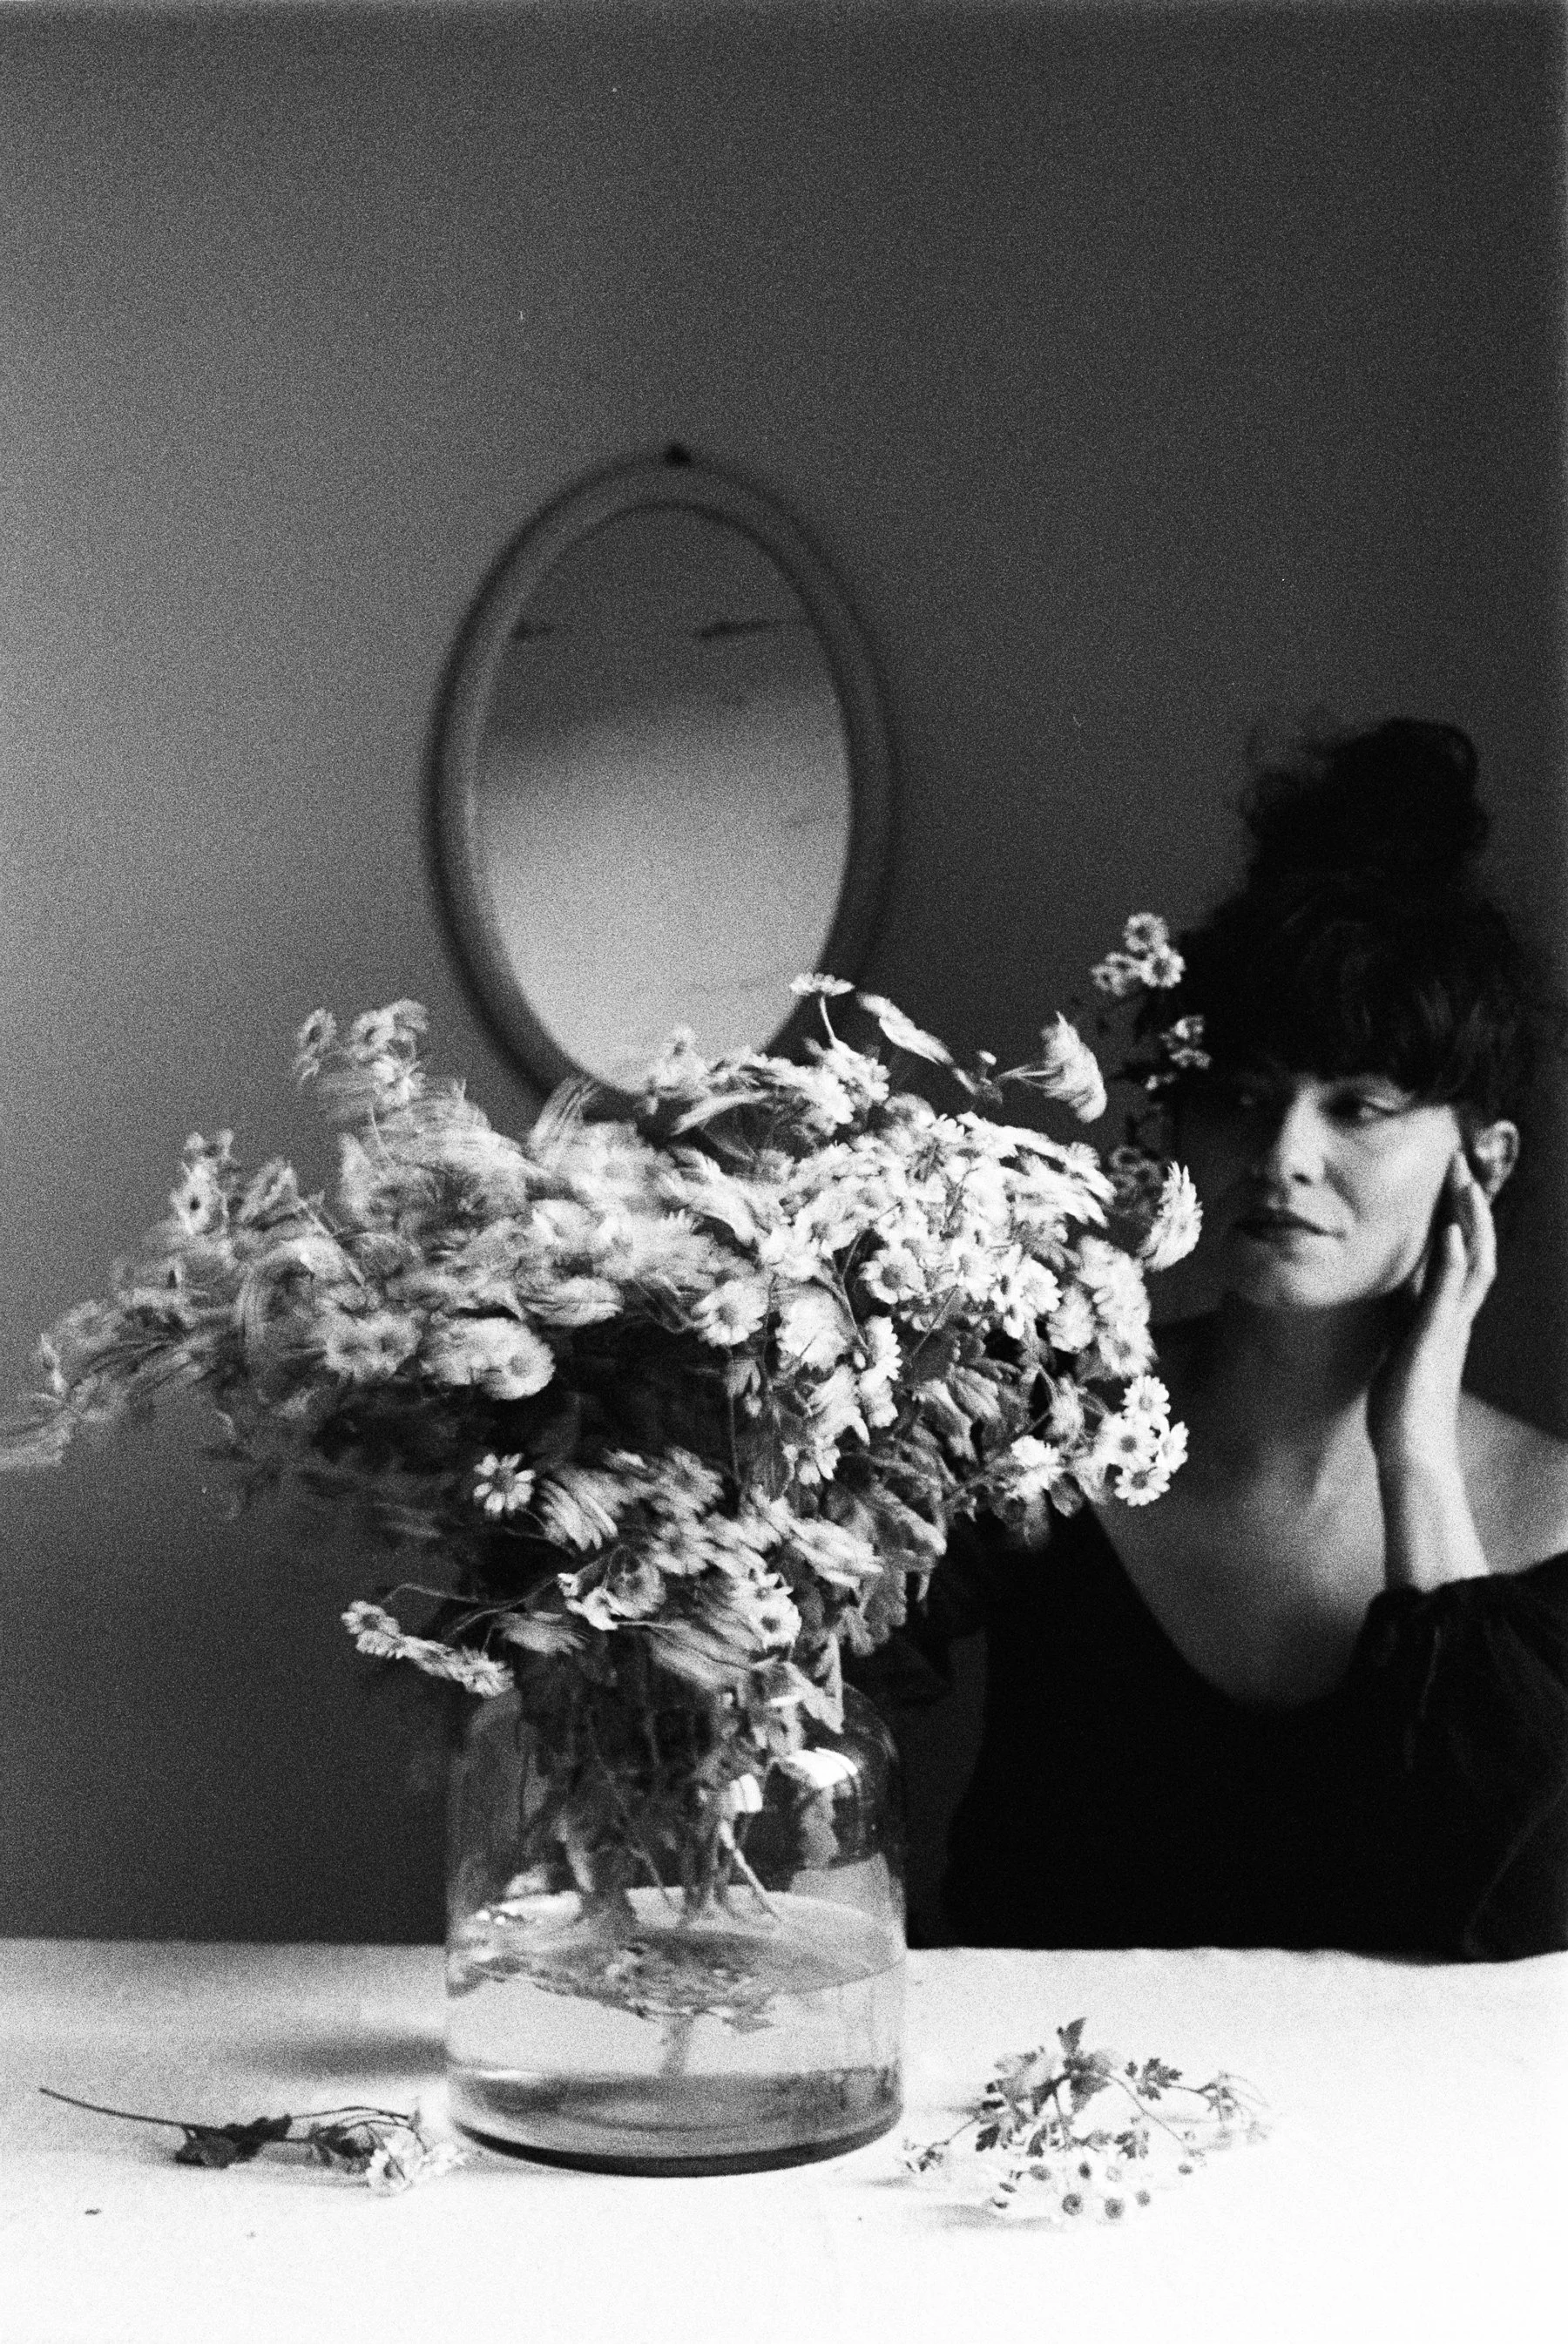
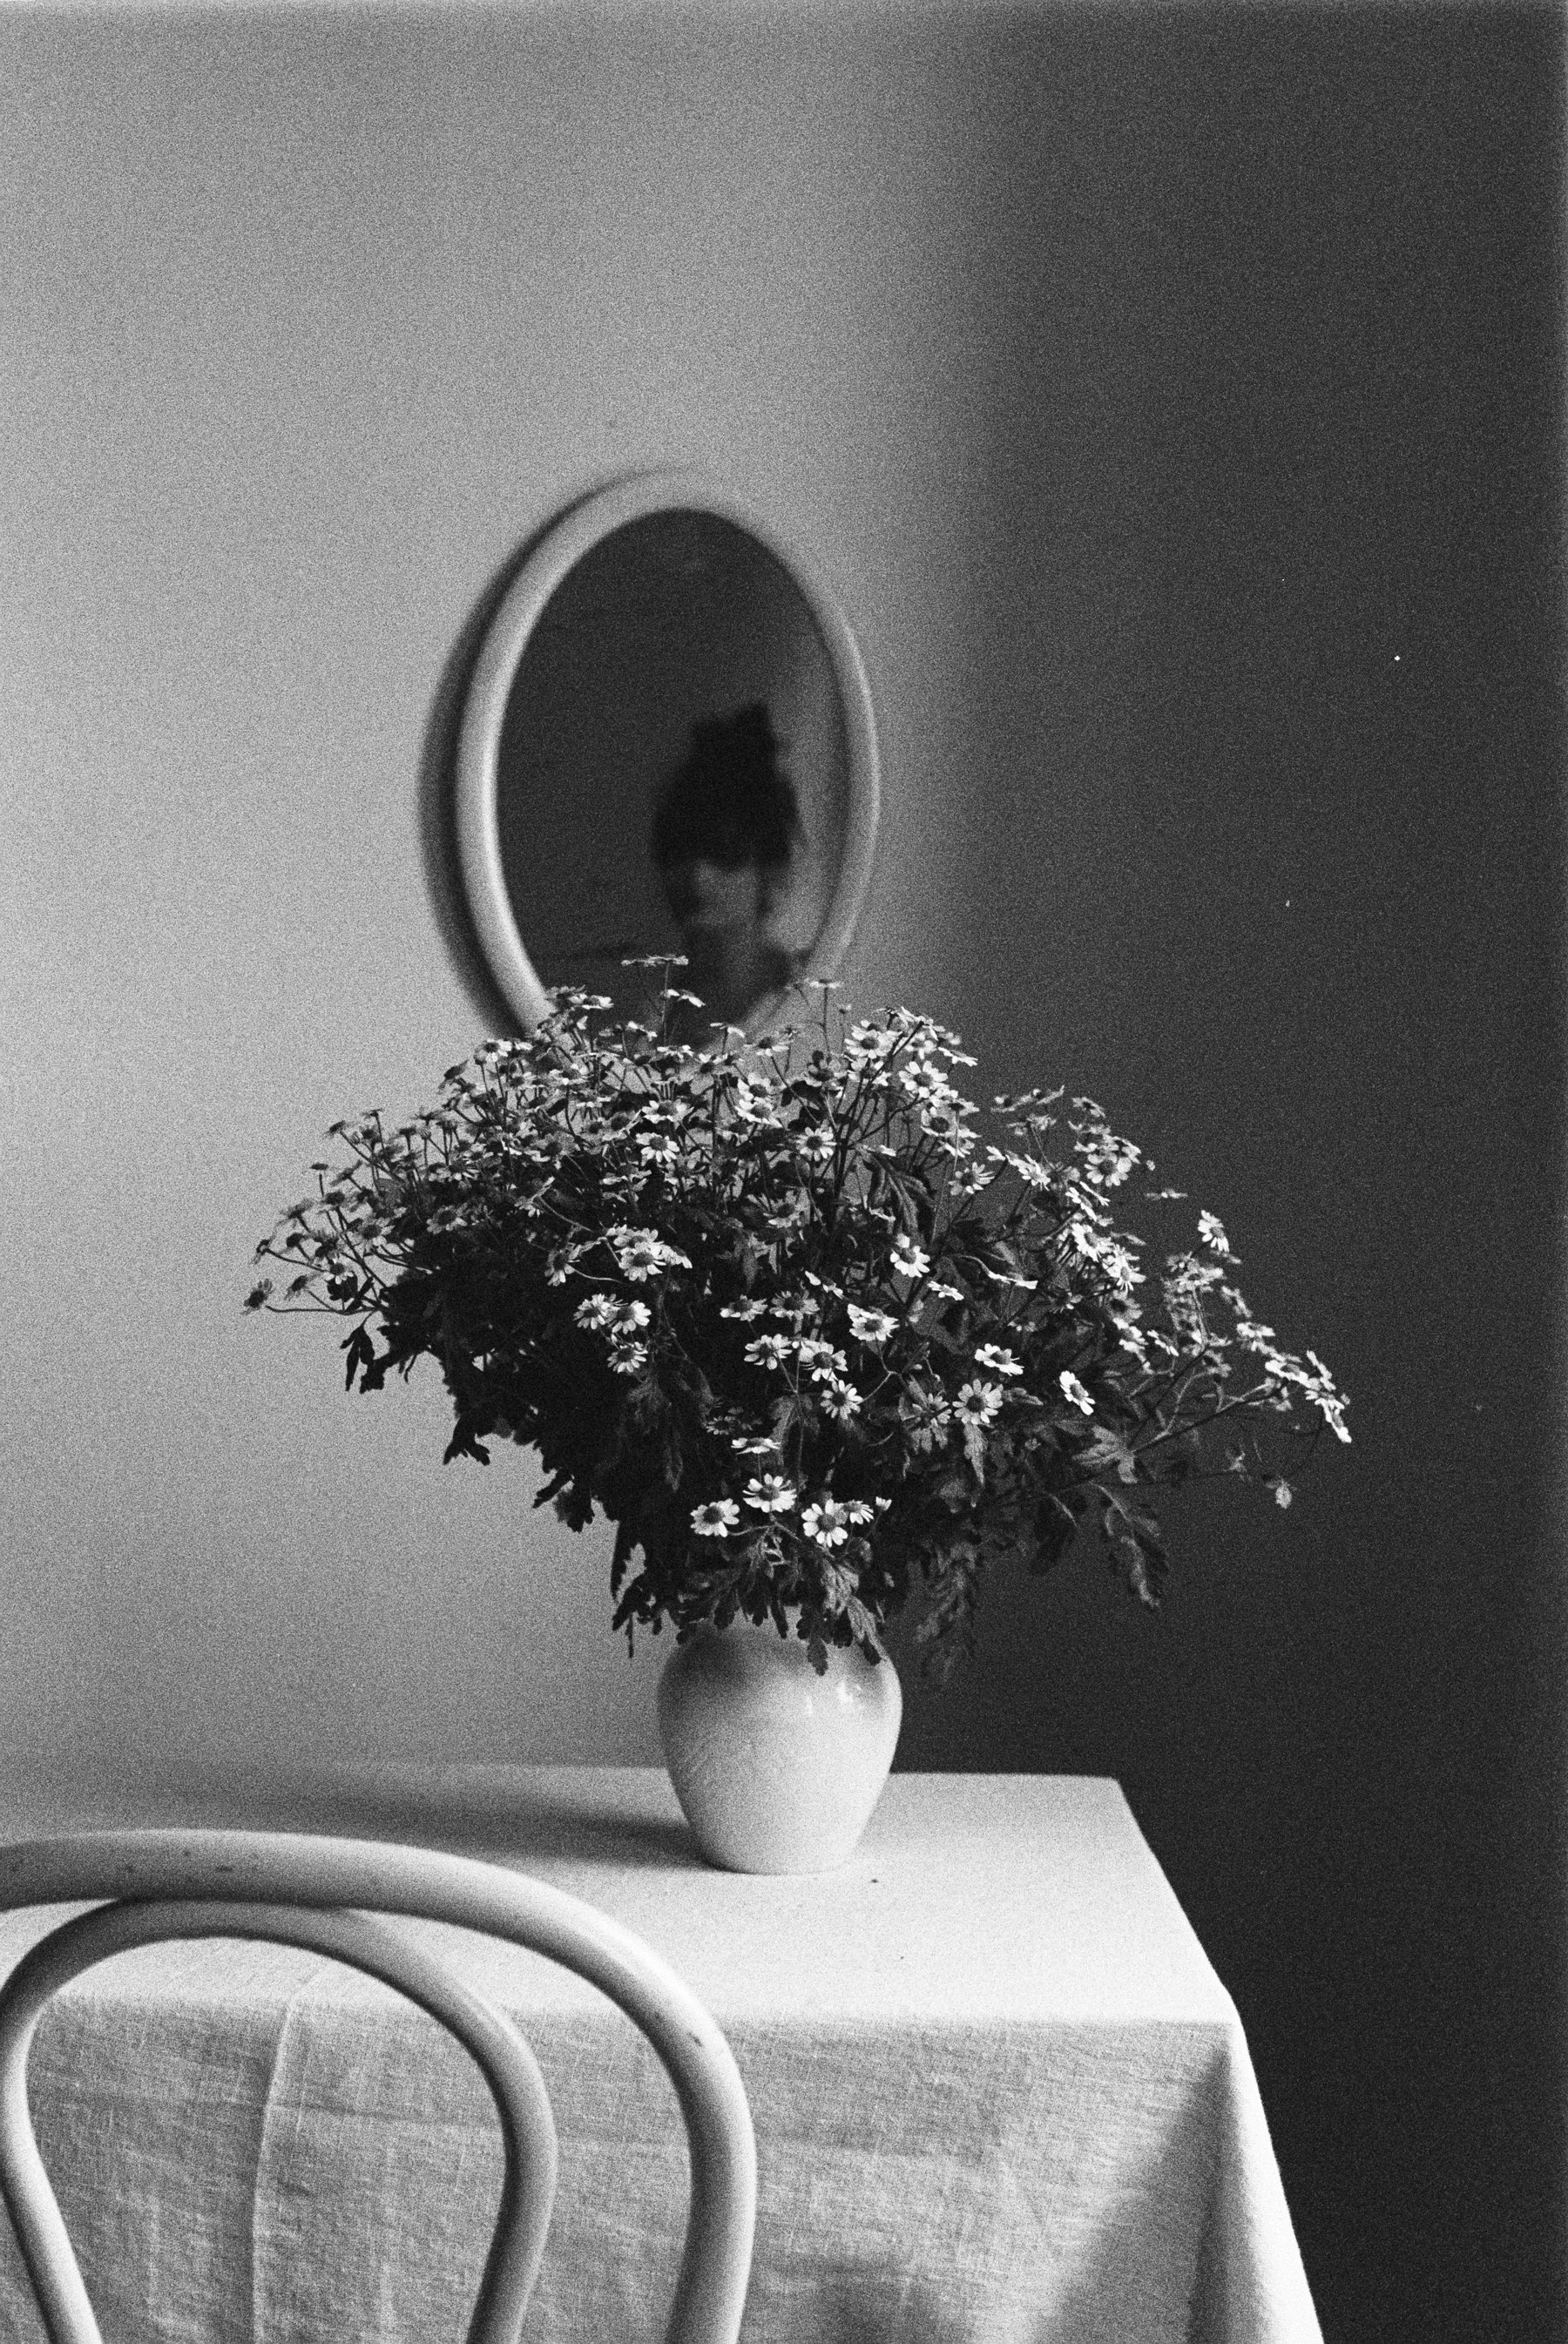
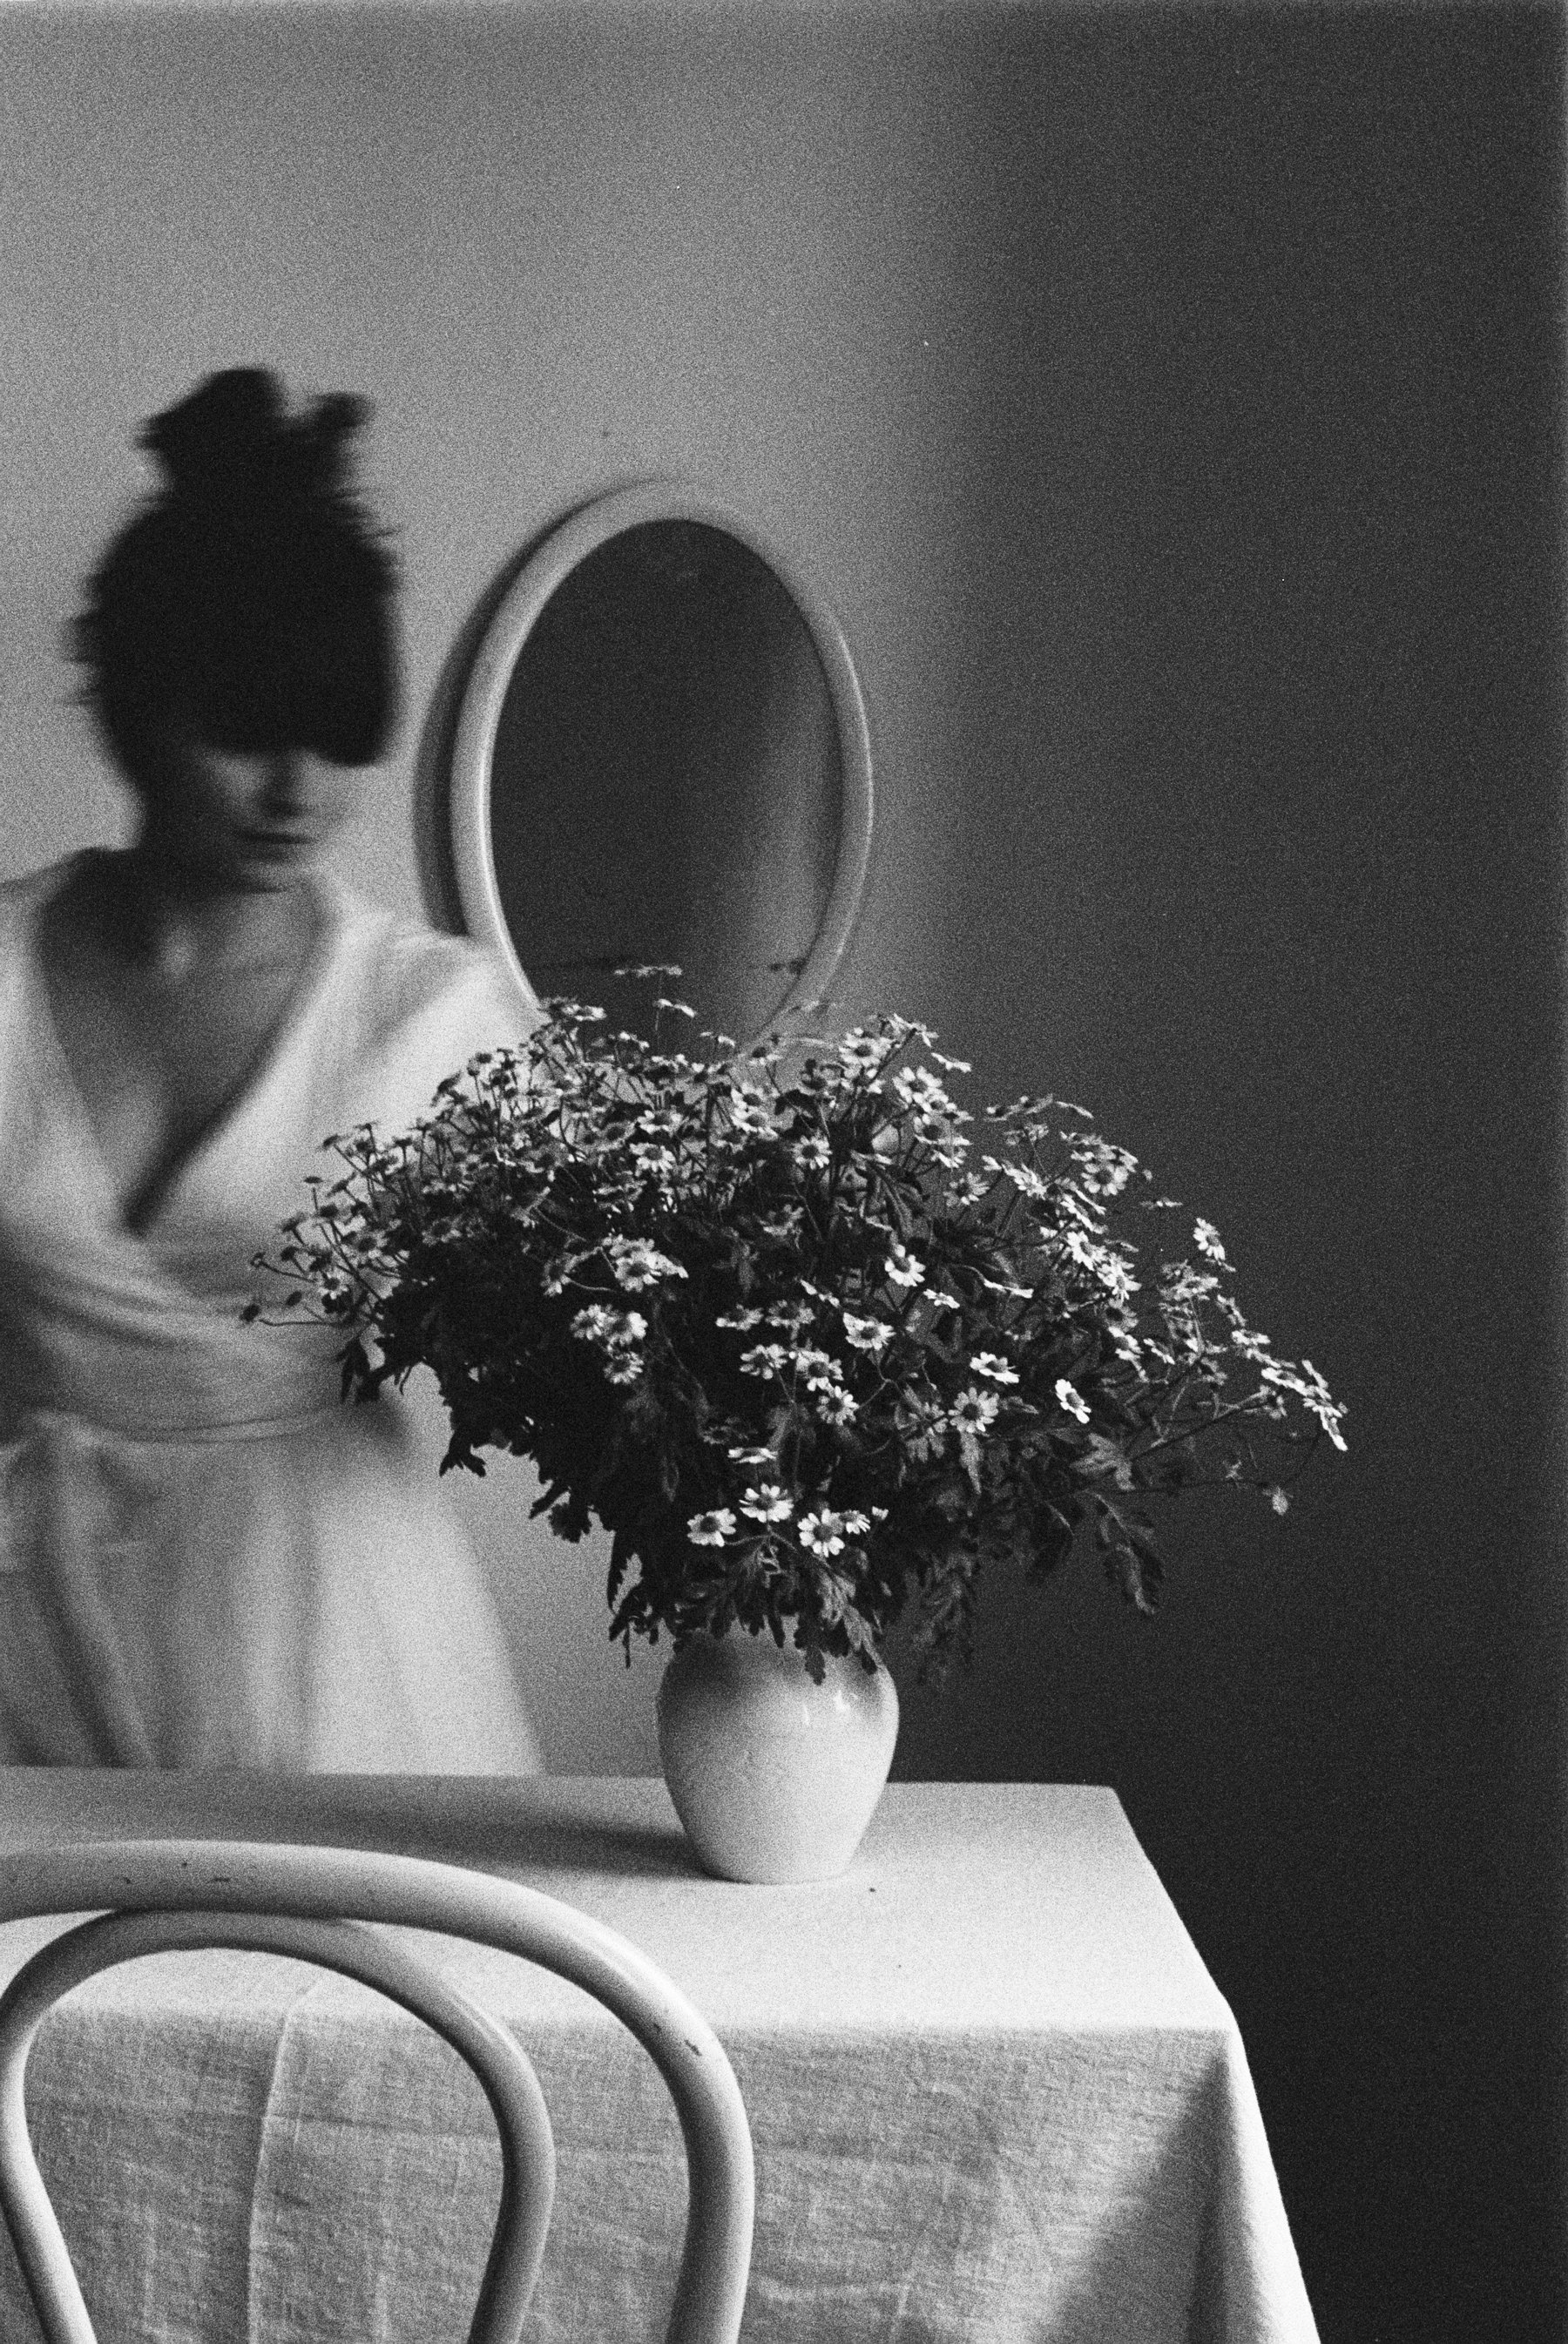
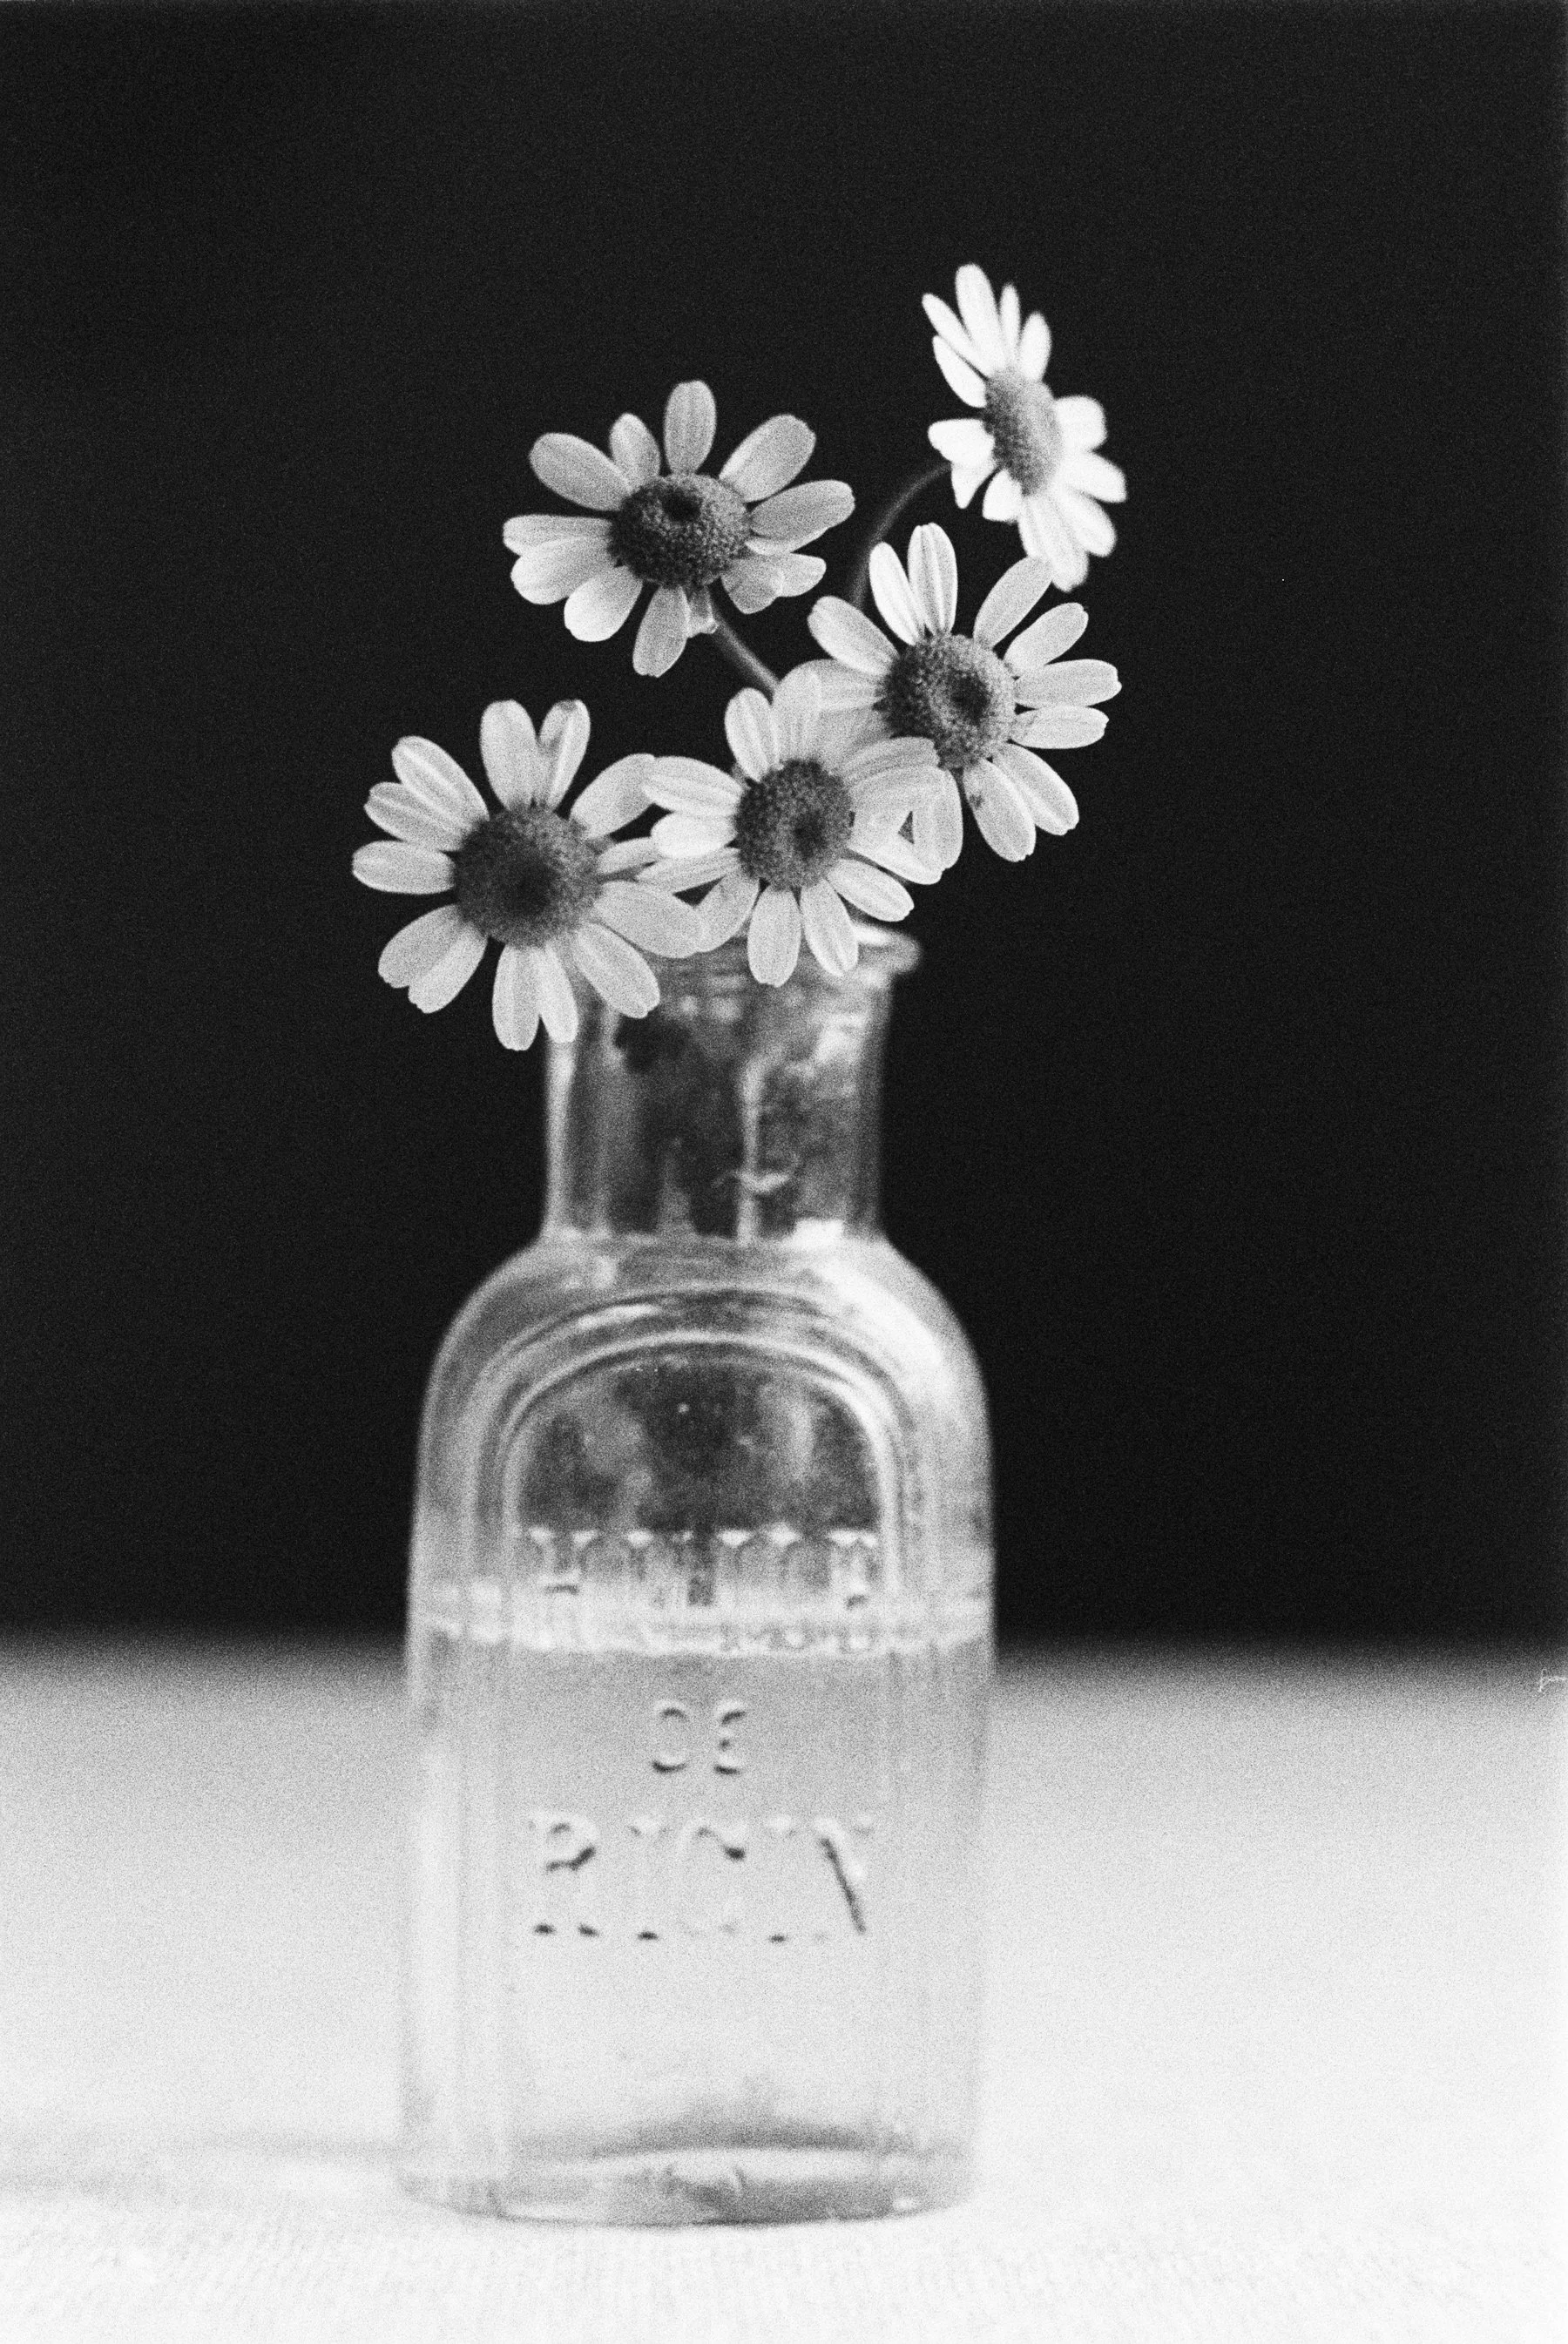
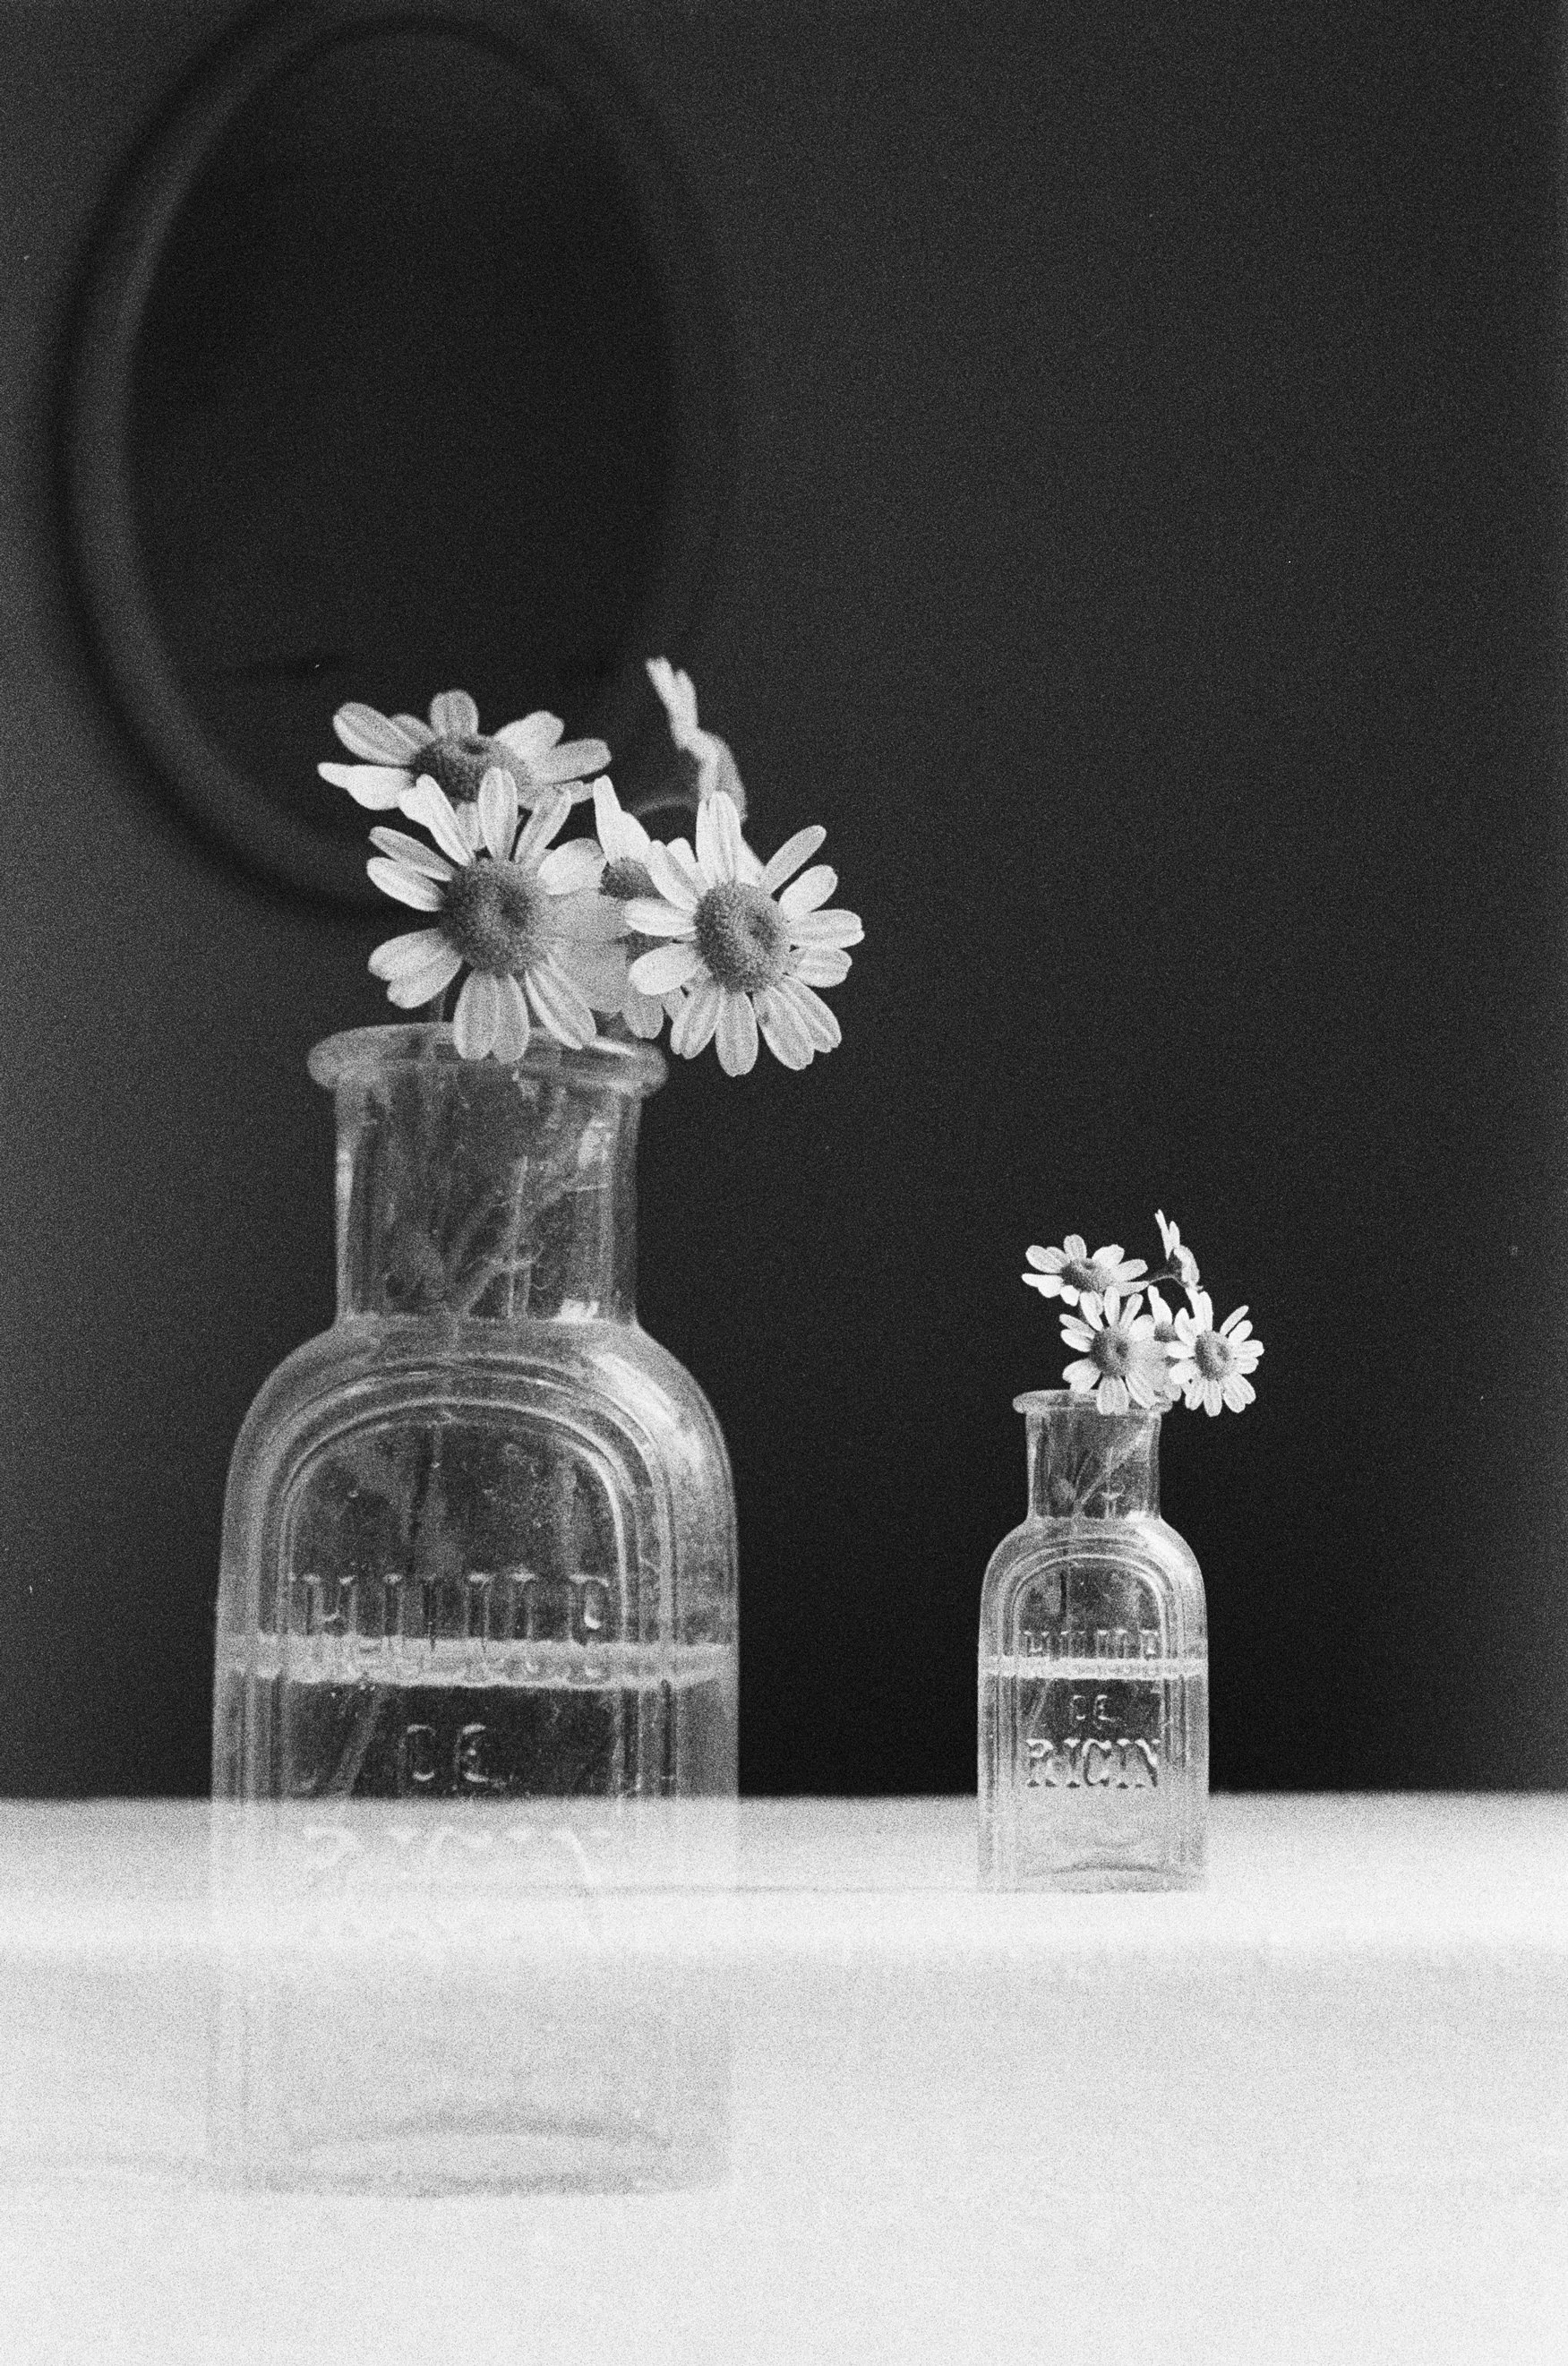
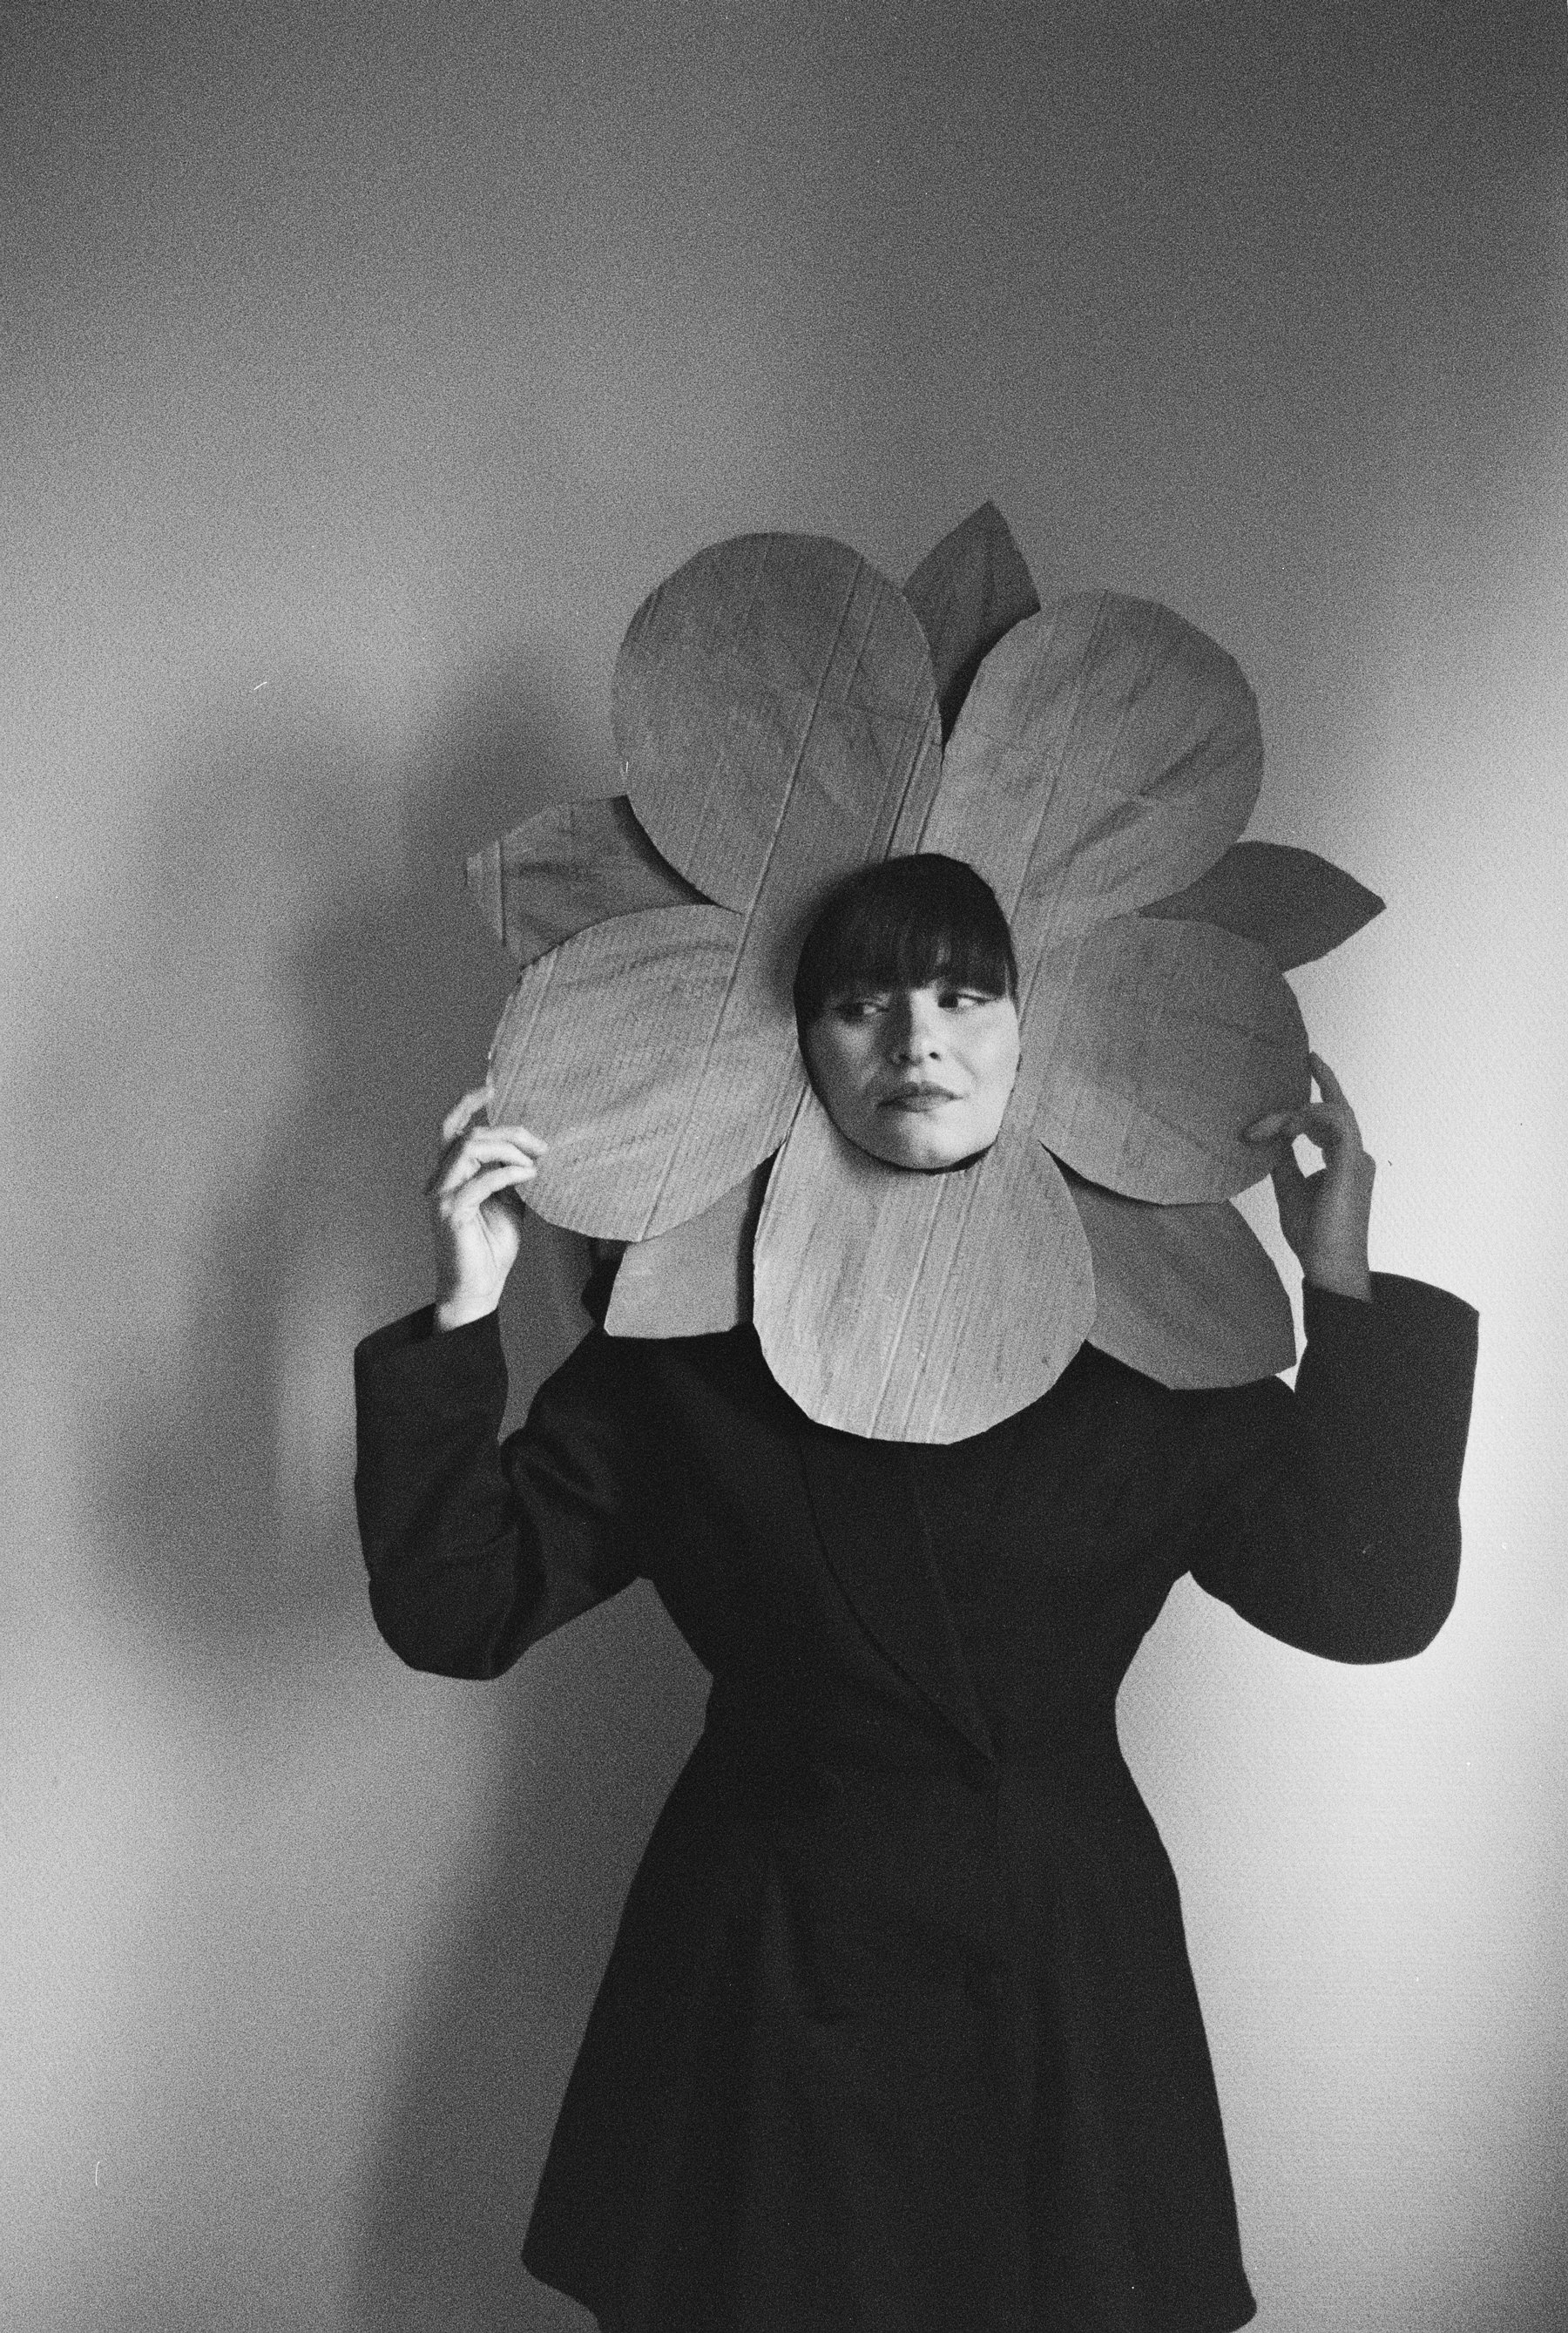
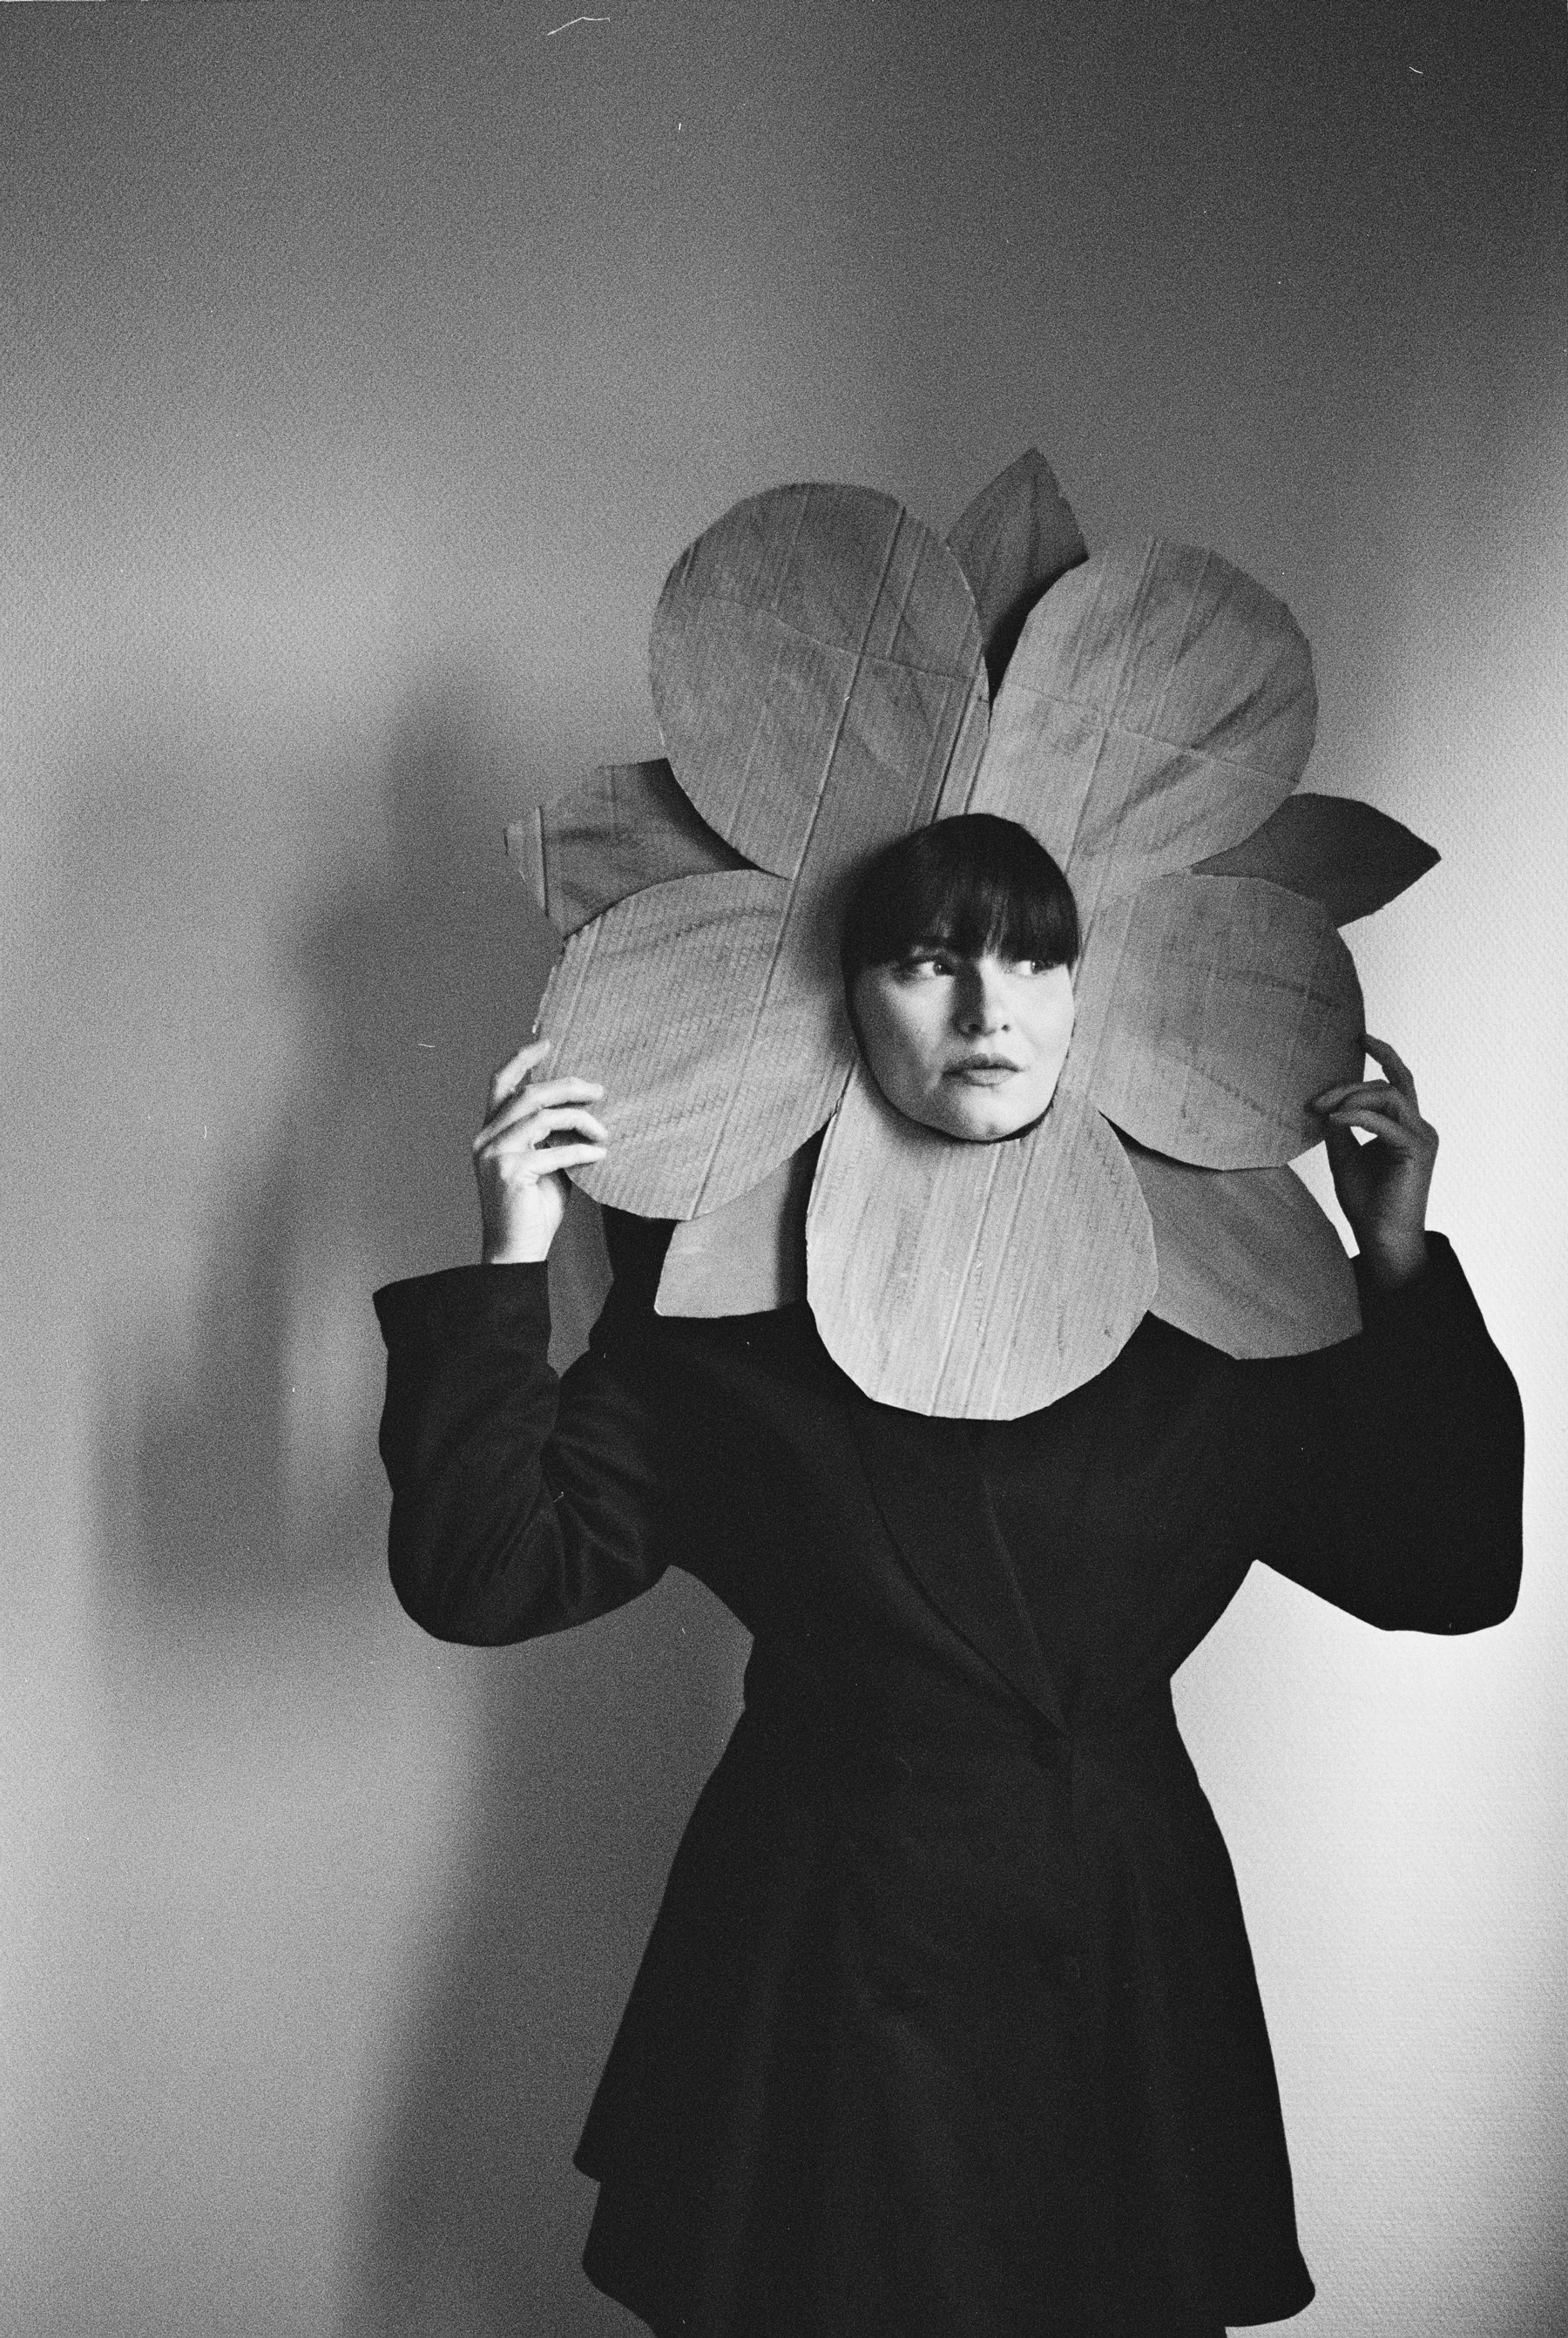
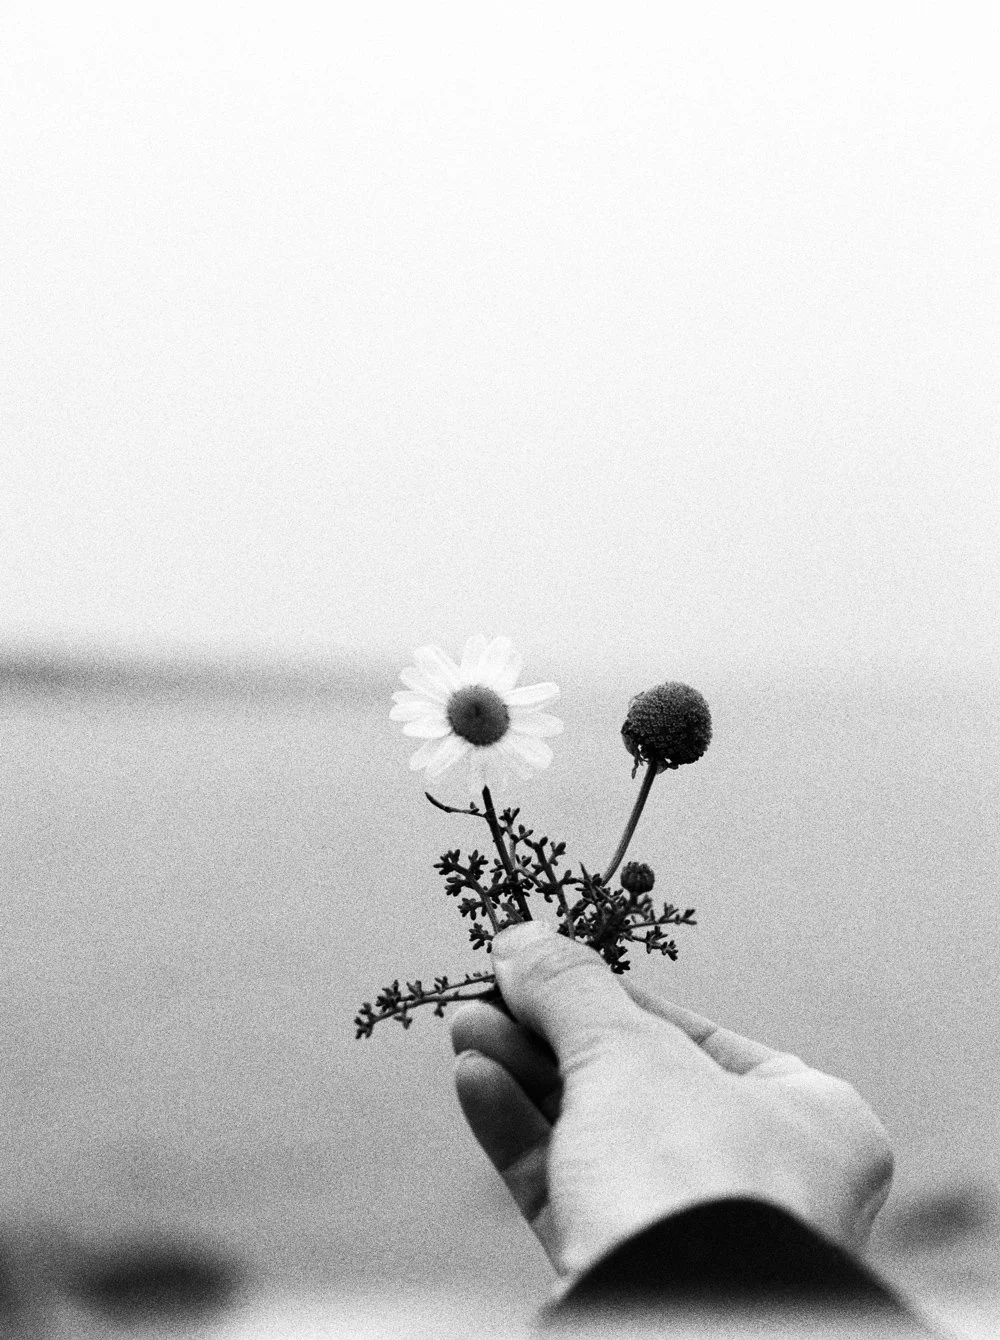
An ode to daisies (on film)
Flowers have always been my greatest inspiration. If I look back at my work over the years, flowers have been there alongside almost everything I’ve made in one way or another - except maybe in winter. When I got these daisies from a nearby florist, I never thought they would inspire me to shoot a whole roll of film of them - I actually didn’t realize I did, until I got the scans back.
For me, creativity often begins with one small thing that snowballs into something bigger. And in this case it was the combination of the flowers and a vintage macro attachment for my Nikkor lenses that I recently found at a great price. I have been looking for a macro lens as I enjoy shooting flowers up-close, I love admiring all the details, completely in awe of how intricate they are. So instead of buying a new lens, having to carry along two lenses, I can just bring this macro attachment along during my walks and use it with my 50mm Nikkor.
Images shot with Nikon FE, my first time using Kodak Tri-X 400.
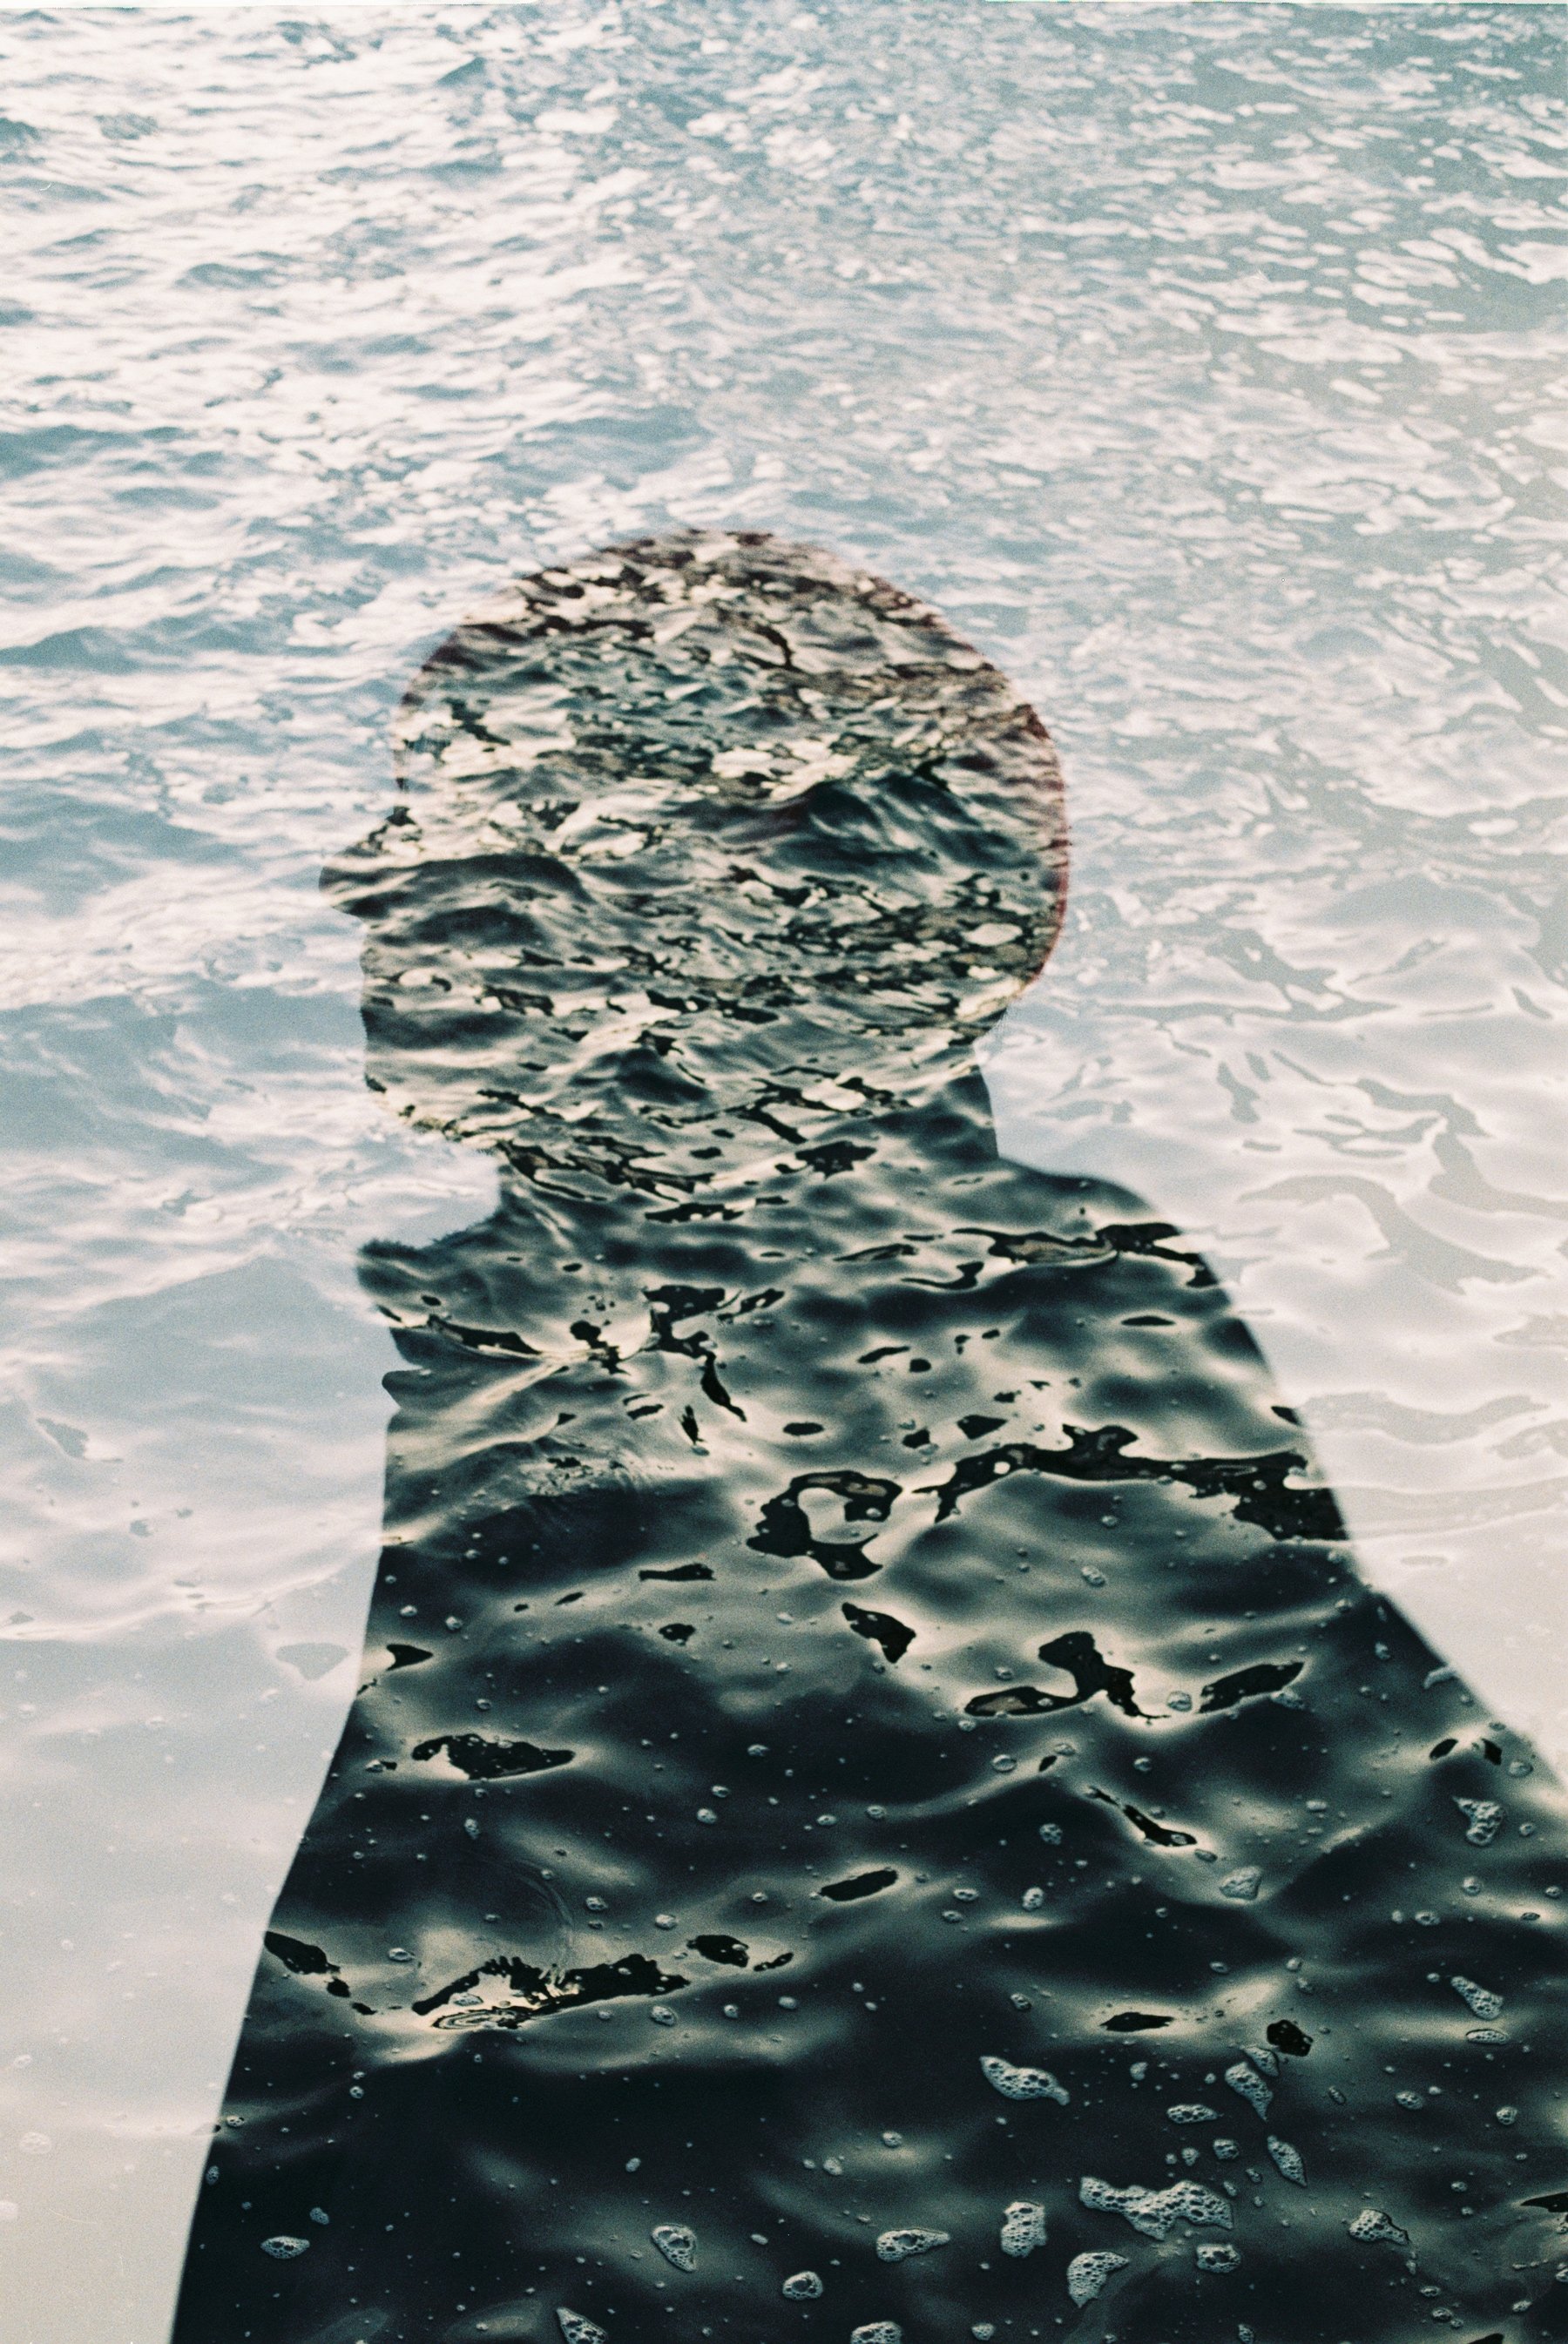
The process of shooting this and the one above is: First, take a photo of the flowers and use the double exposure lever so I can take a second shot. Second, go outside and take a photo of water to create a double expo. Third, wind the camera again for a new exposure and take a photo of the water. Fourth, go back home and take a photo of the flowers. And now I have two double exposures. Good thing I live close to the water!
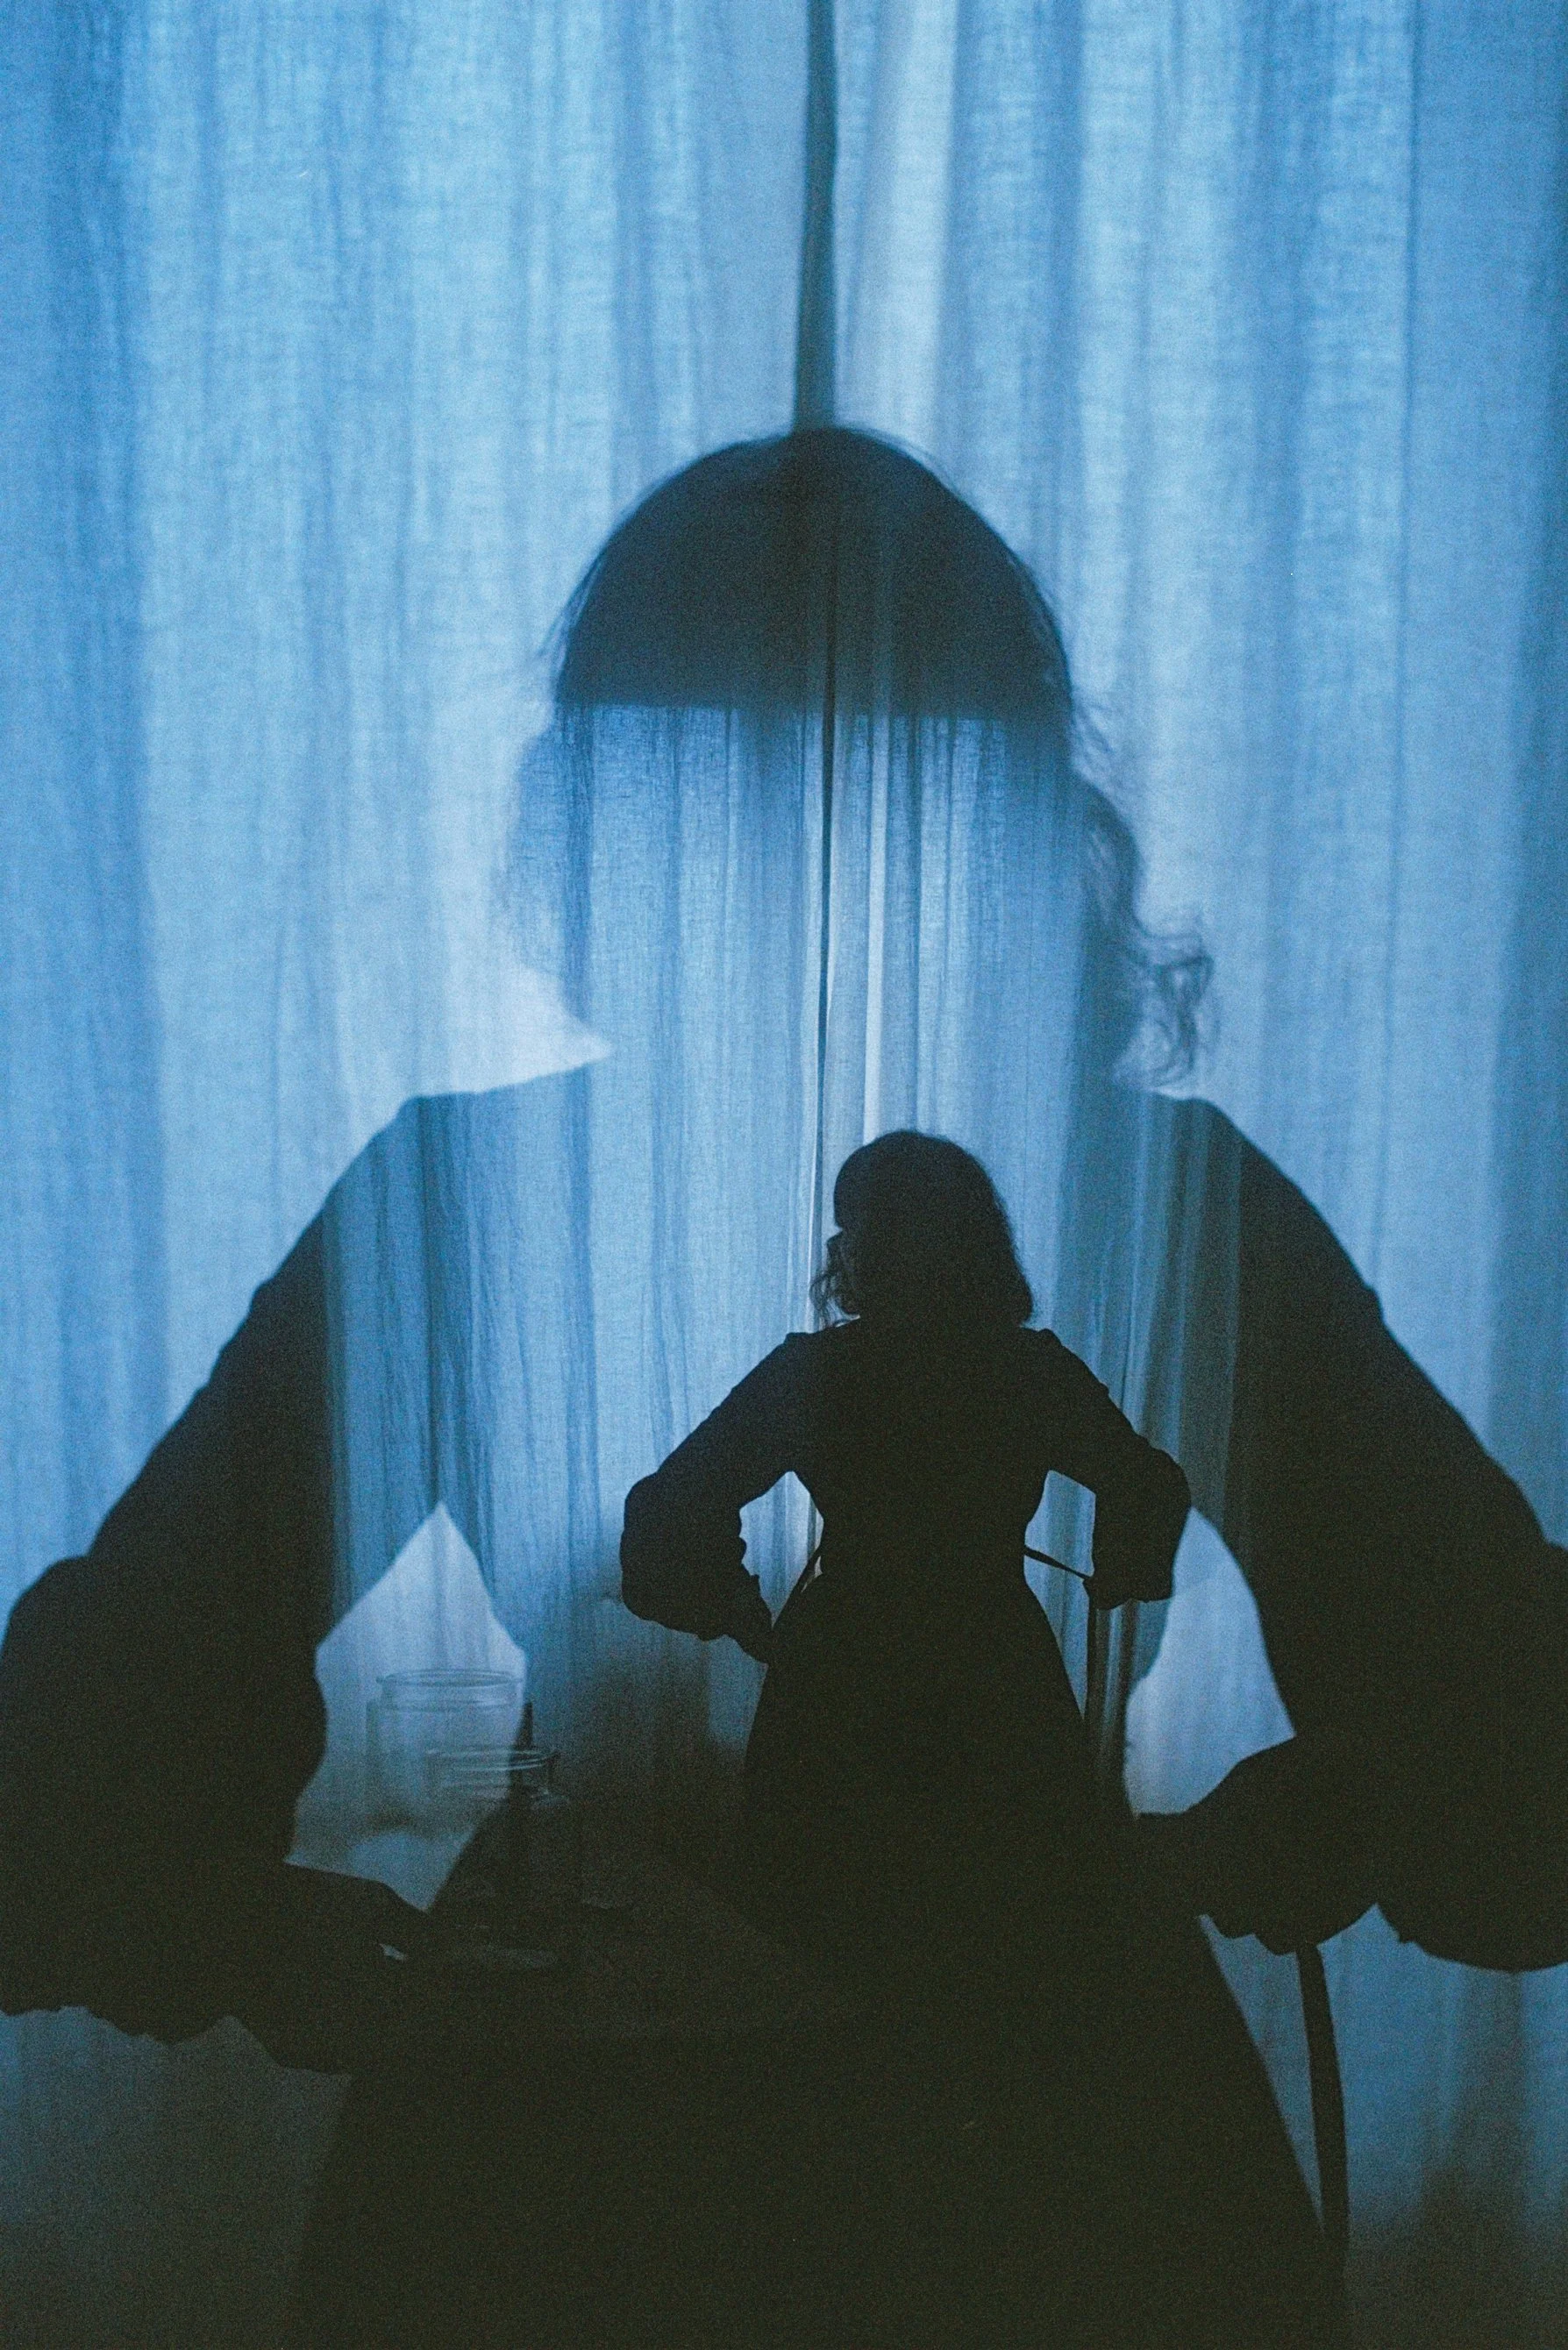
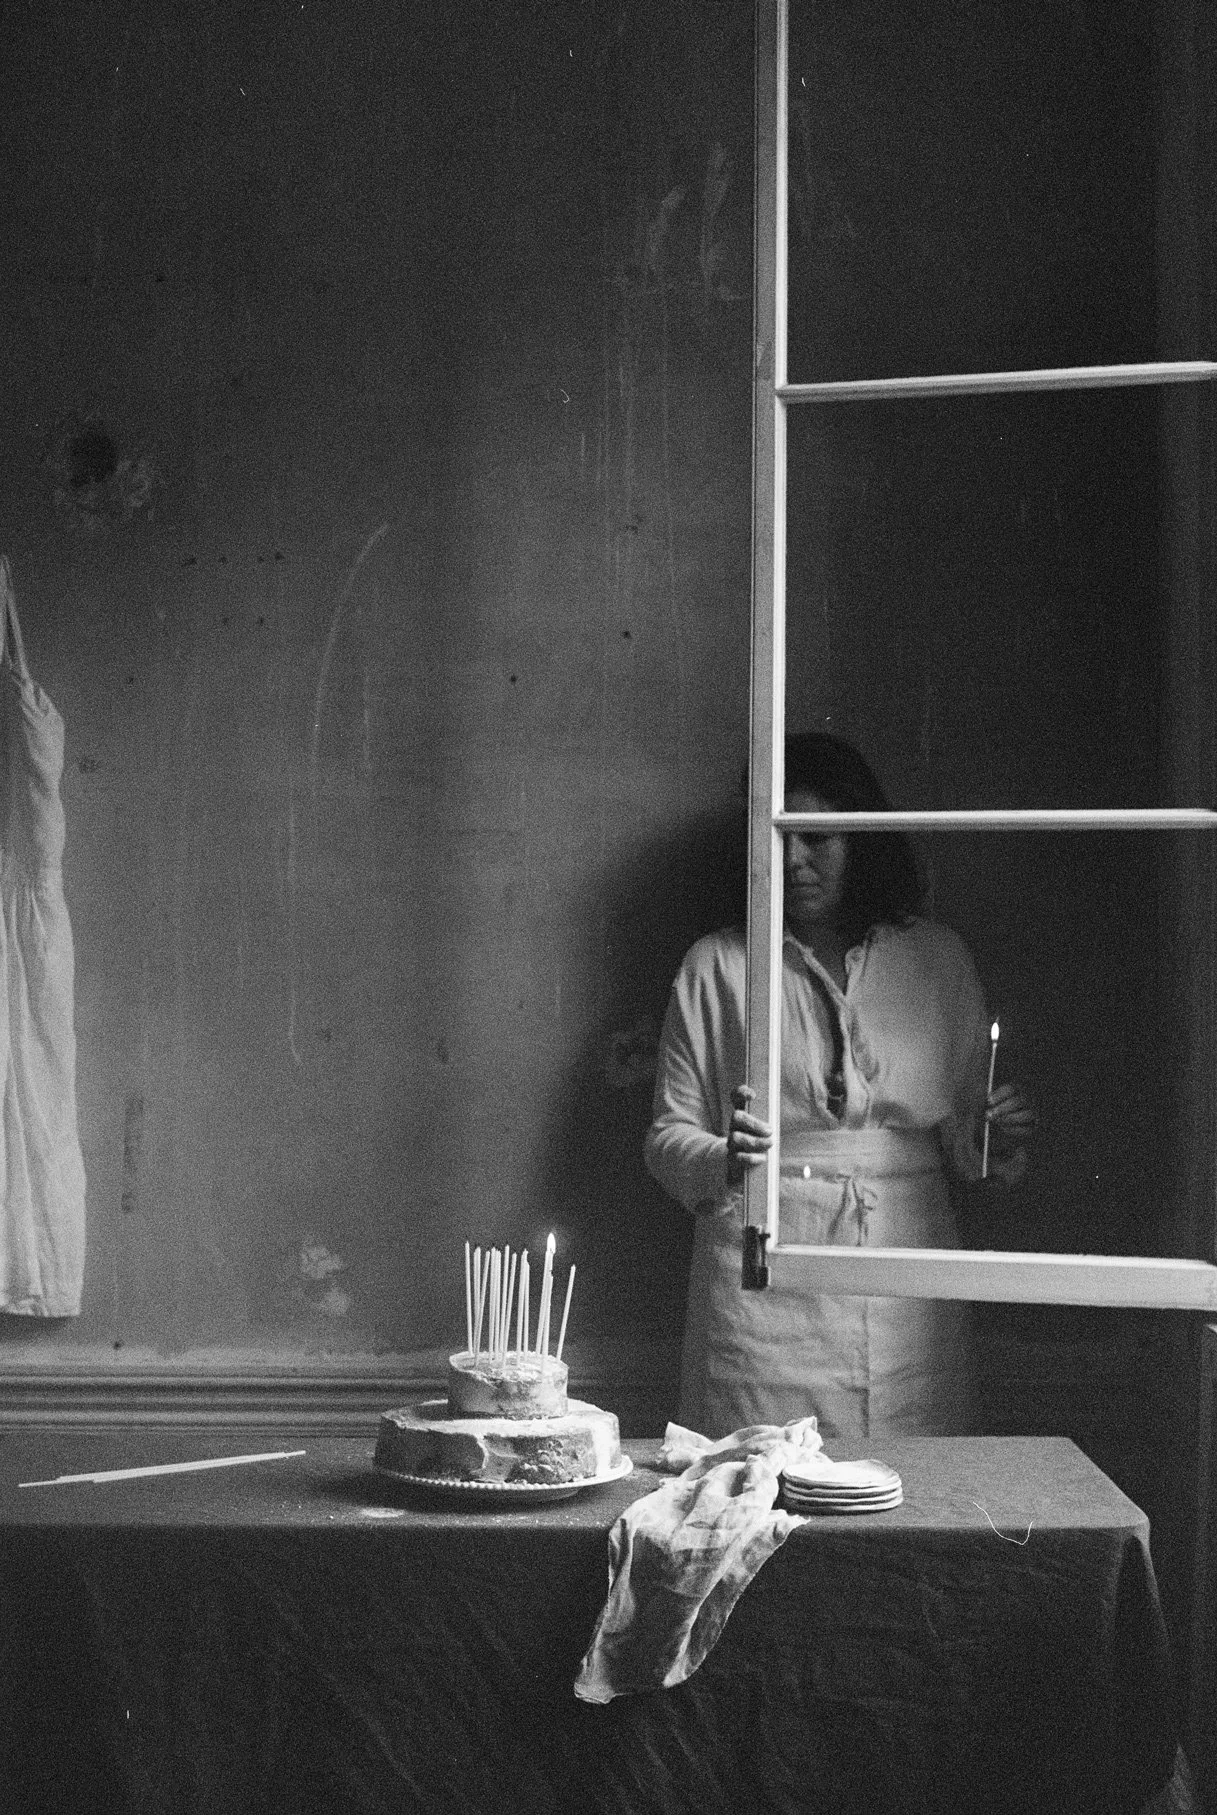
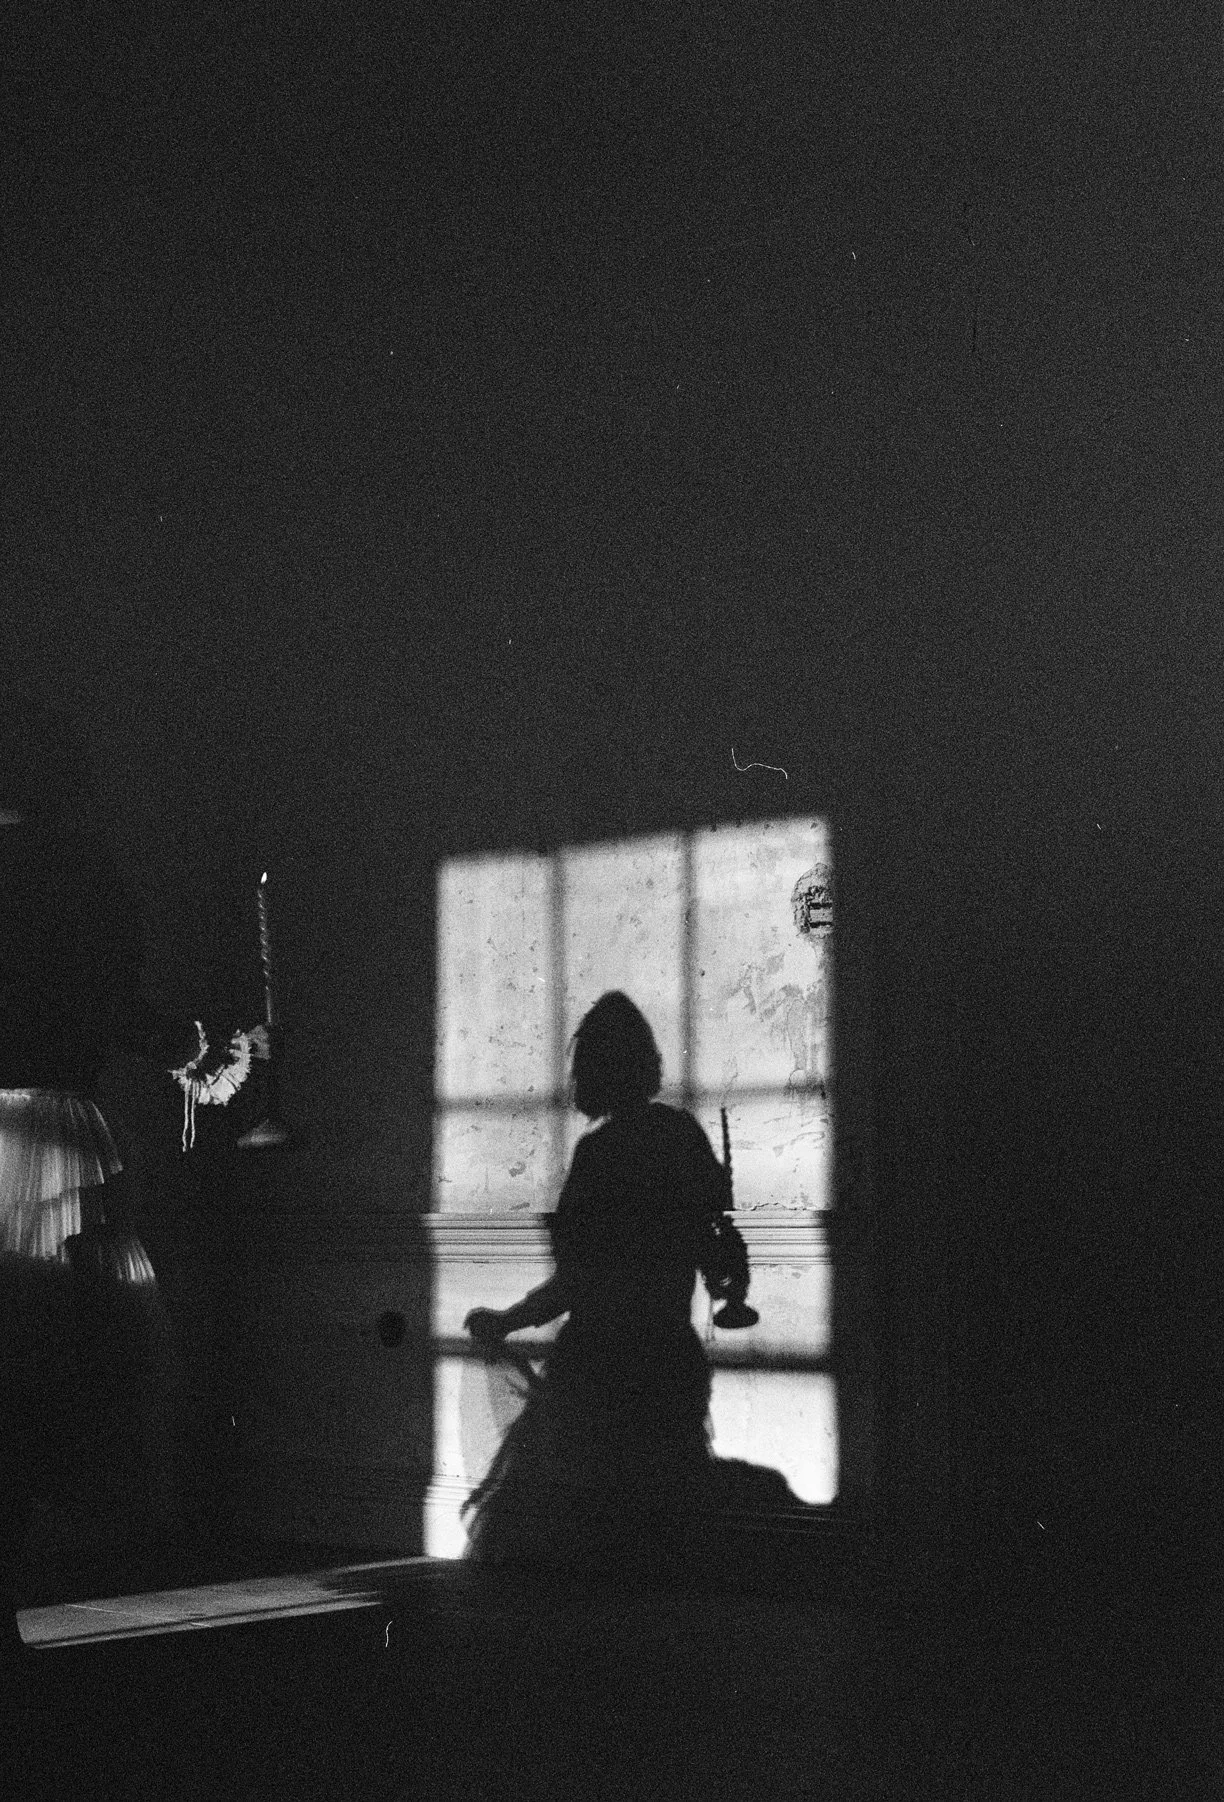
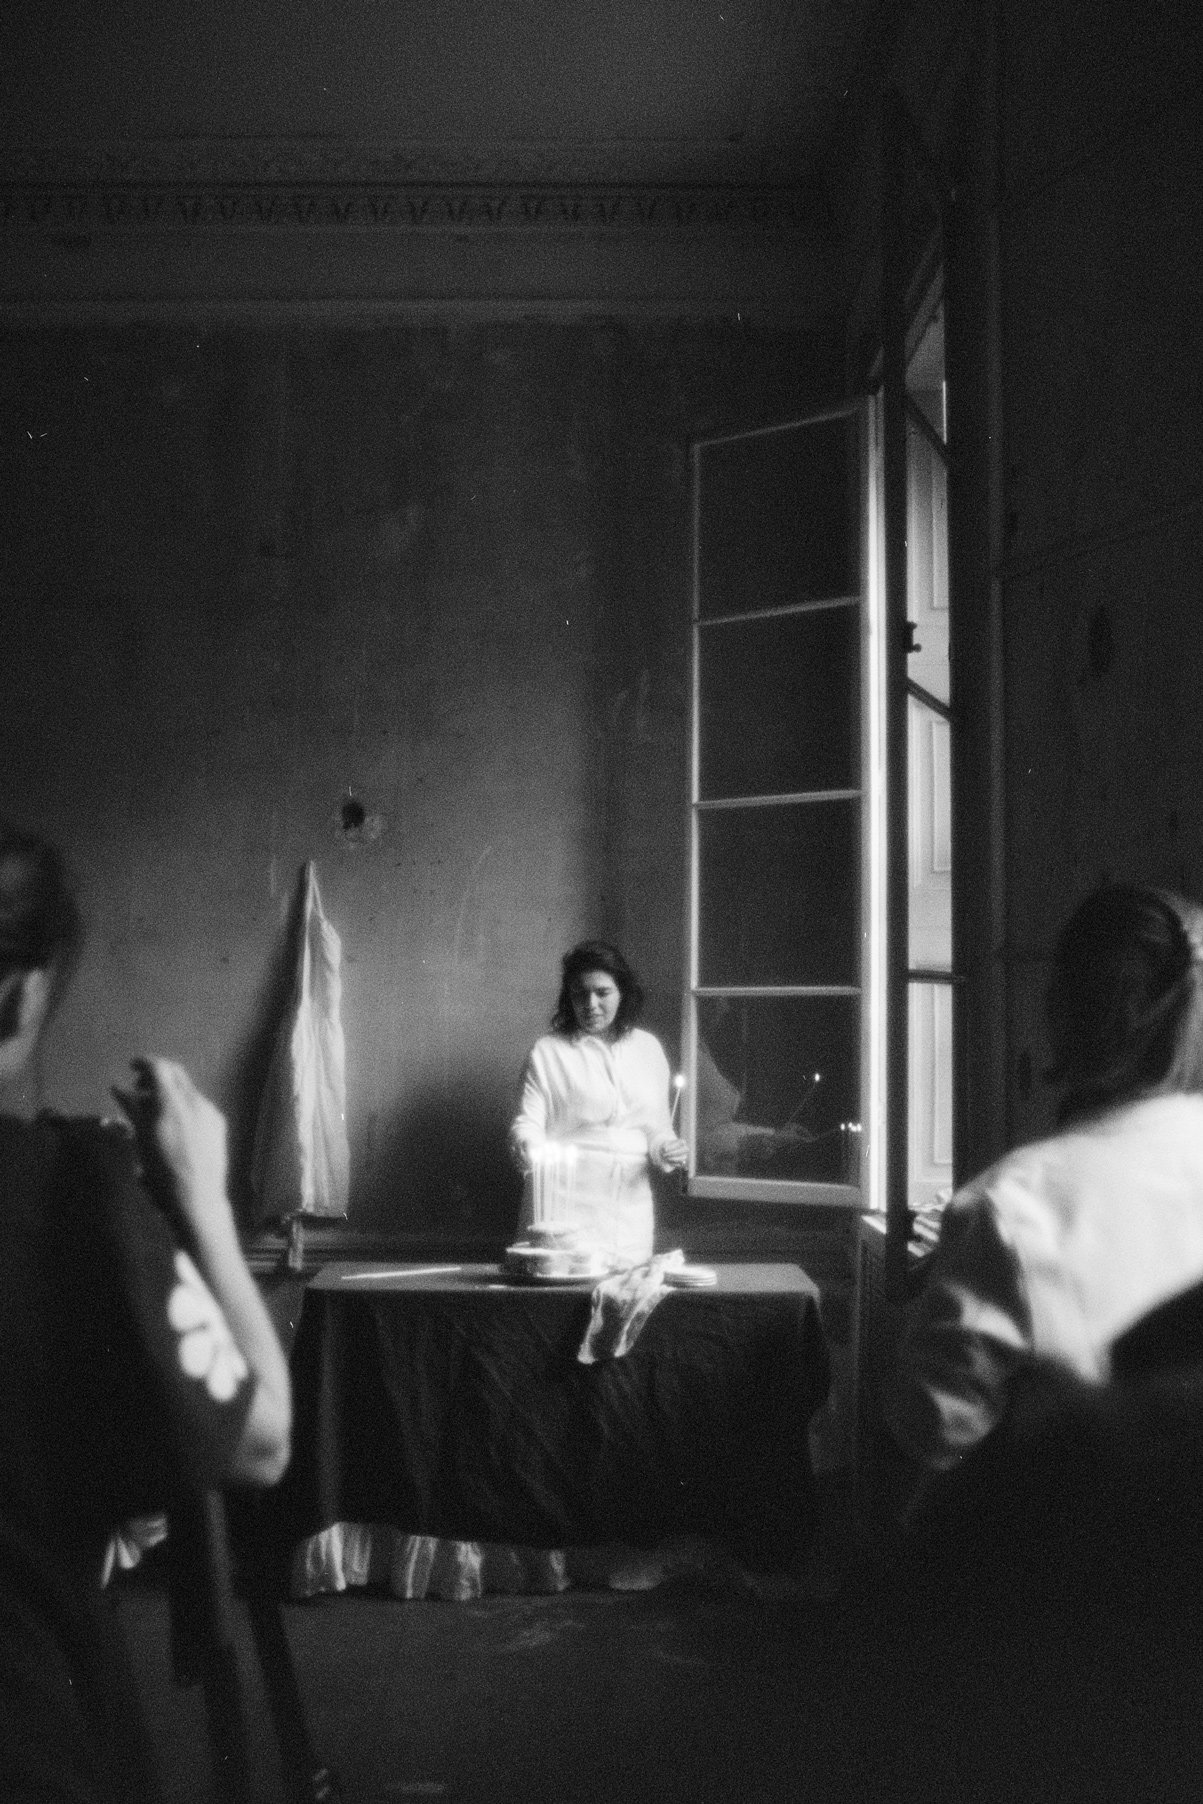
I found my new window for silhouttes at home! I put up a white linen tablecloth instead of the striped now. Can’t wait to see my next roll!
Long exposure using a macro attachment
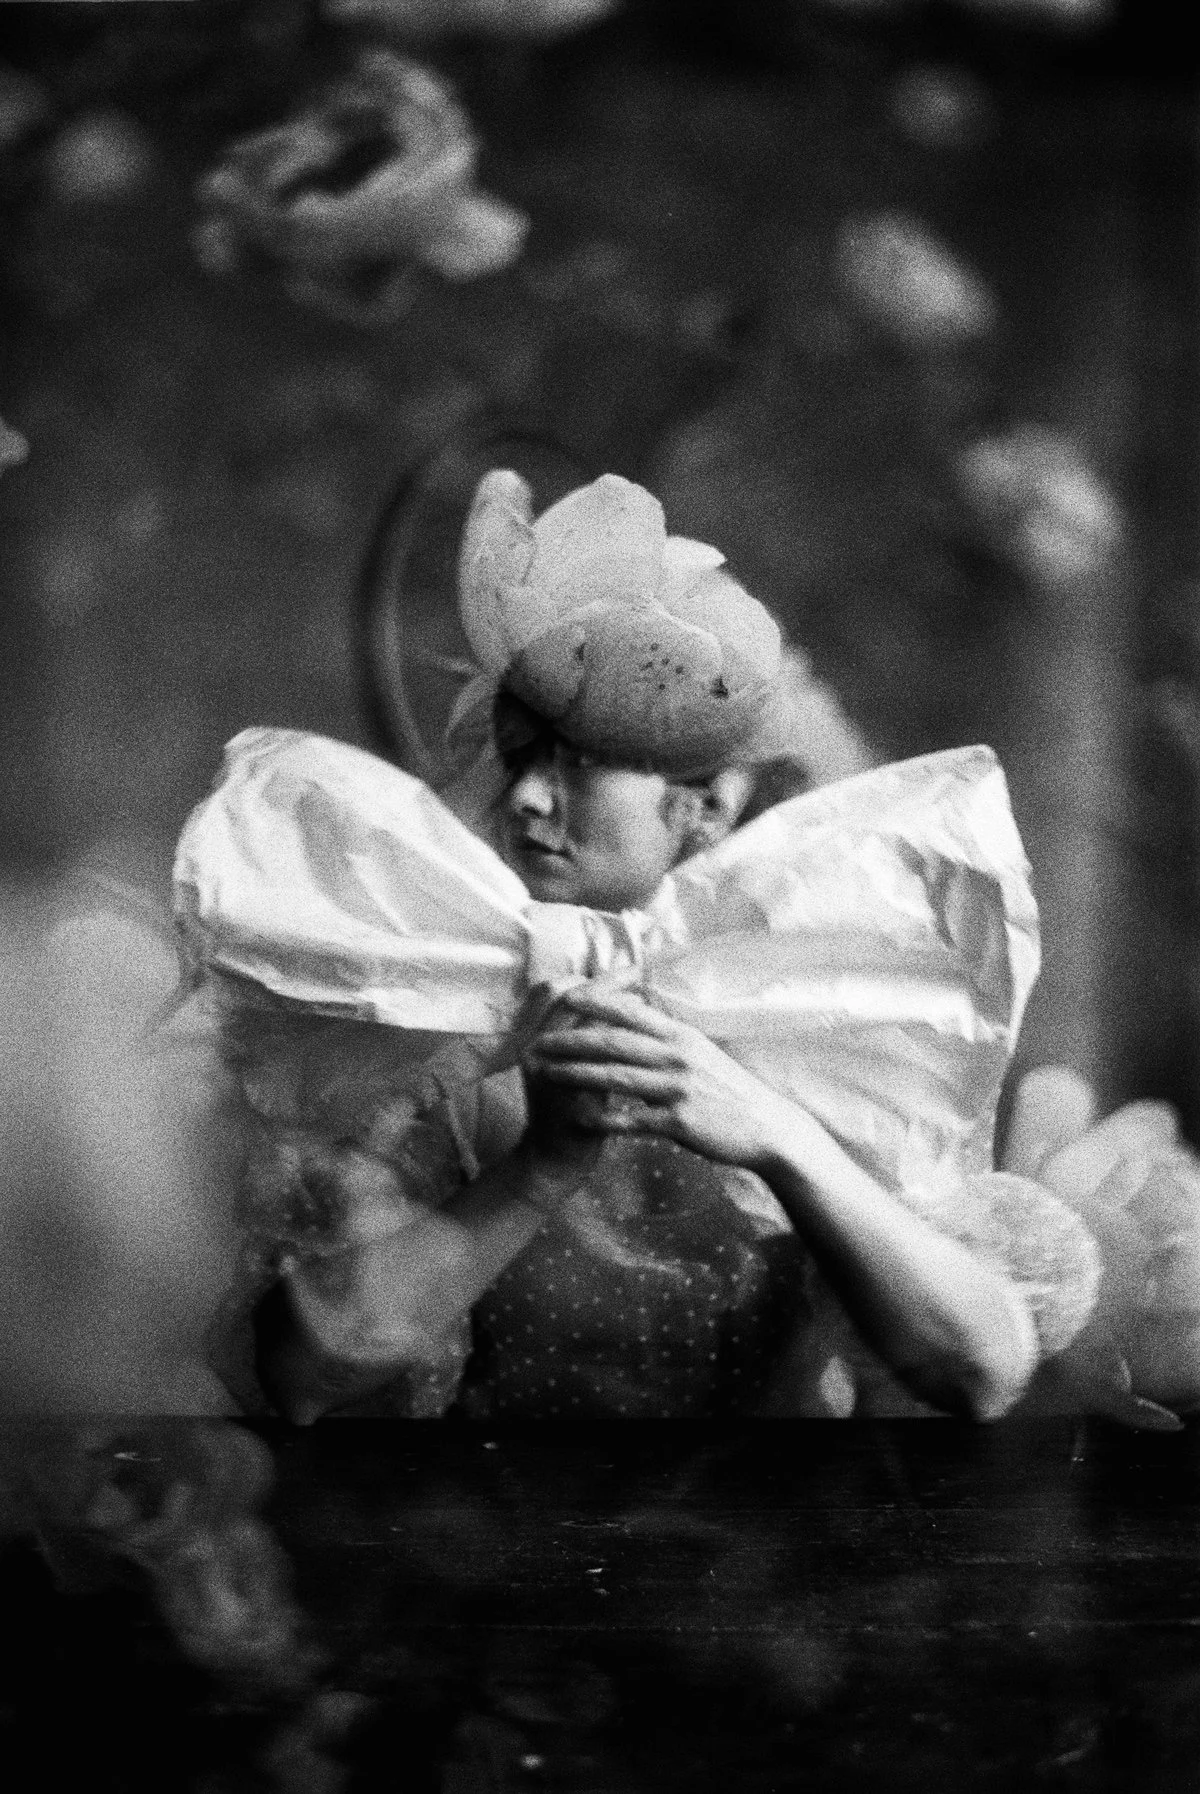
Double exposure with paper, I love how the texture came out
First time trying triple exposure - two "normal” exposures and one slow shutter
Double exposure - silhoutte and slow shutter
Again with the macro attachment
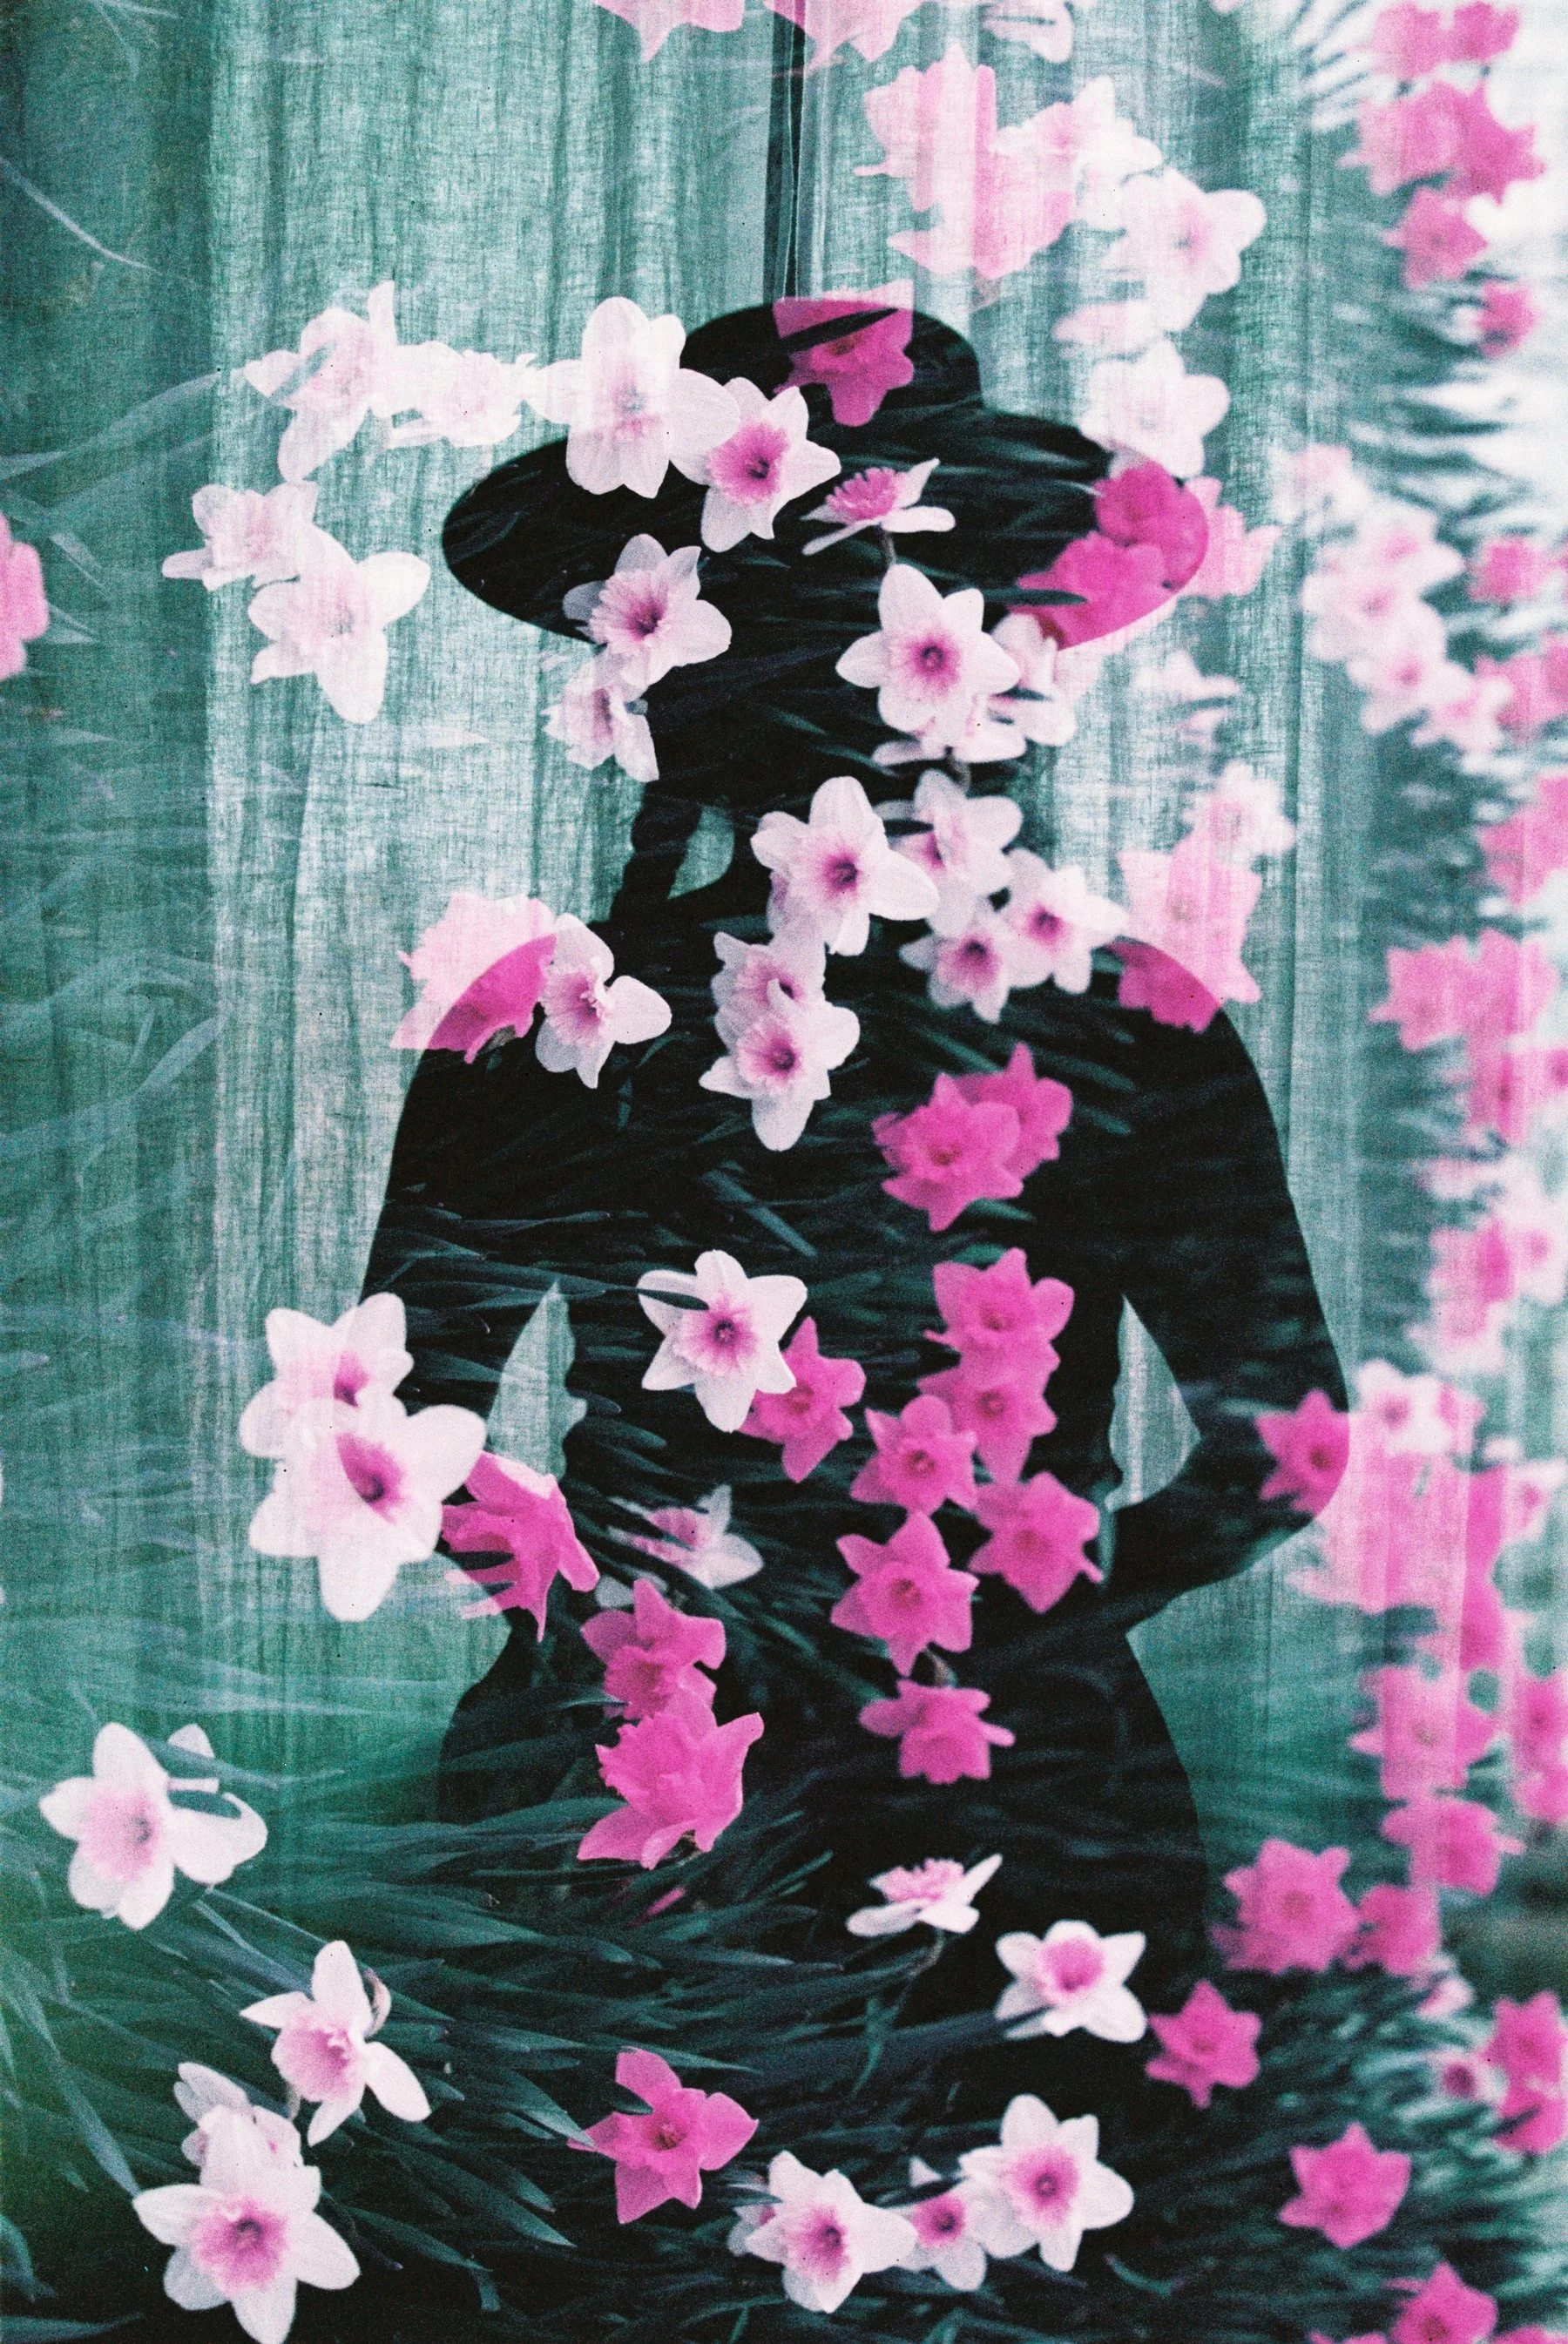
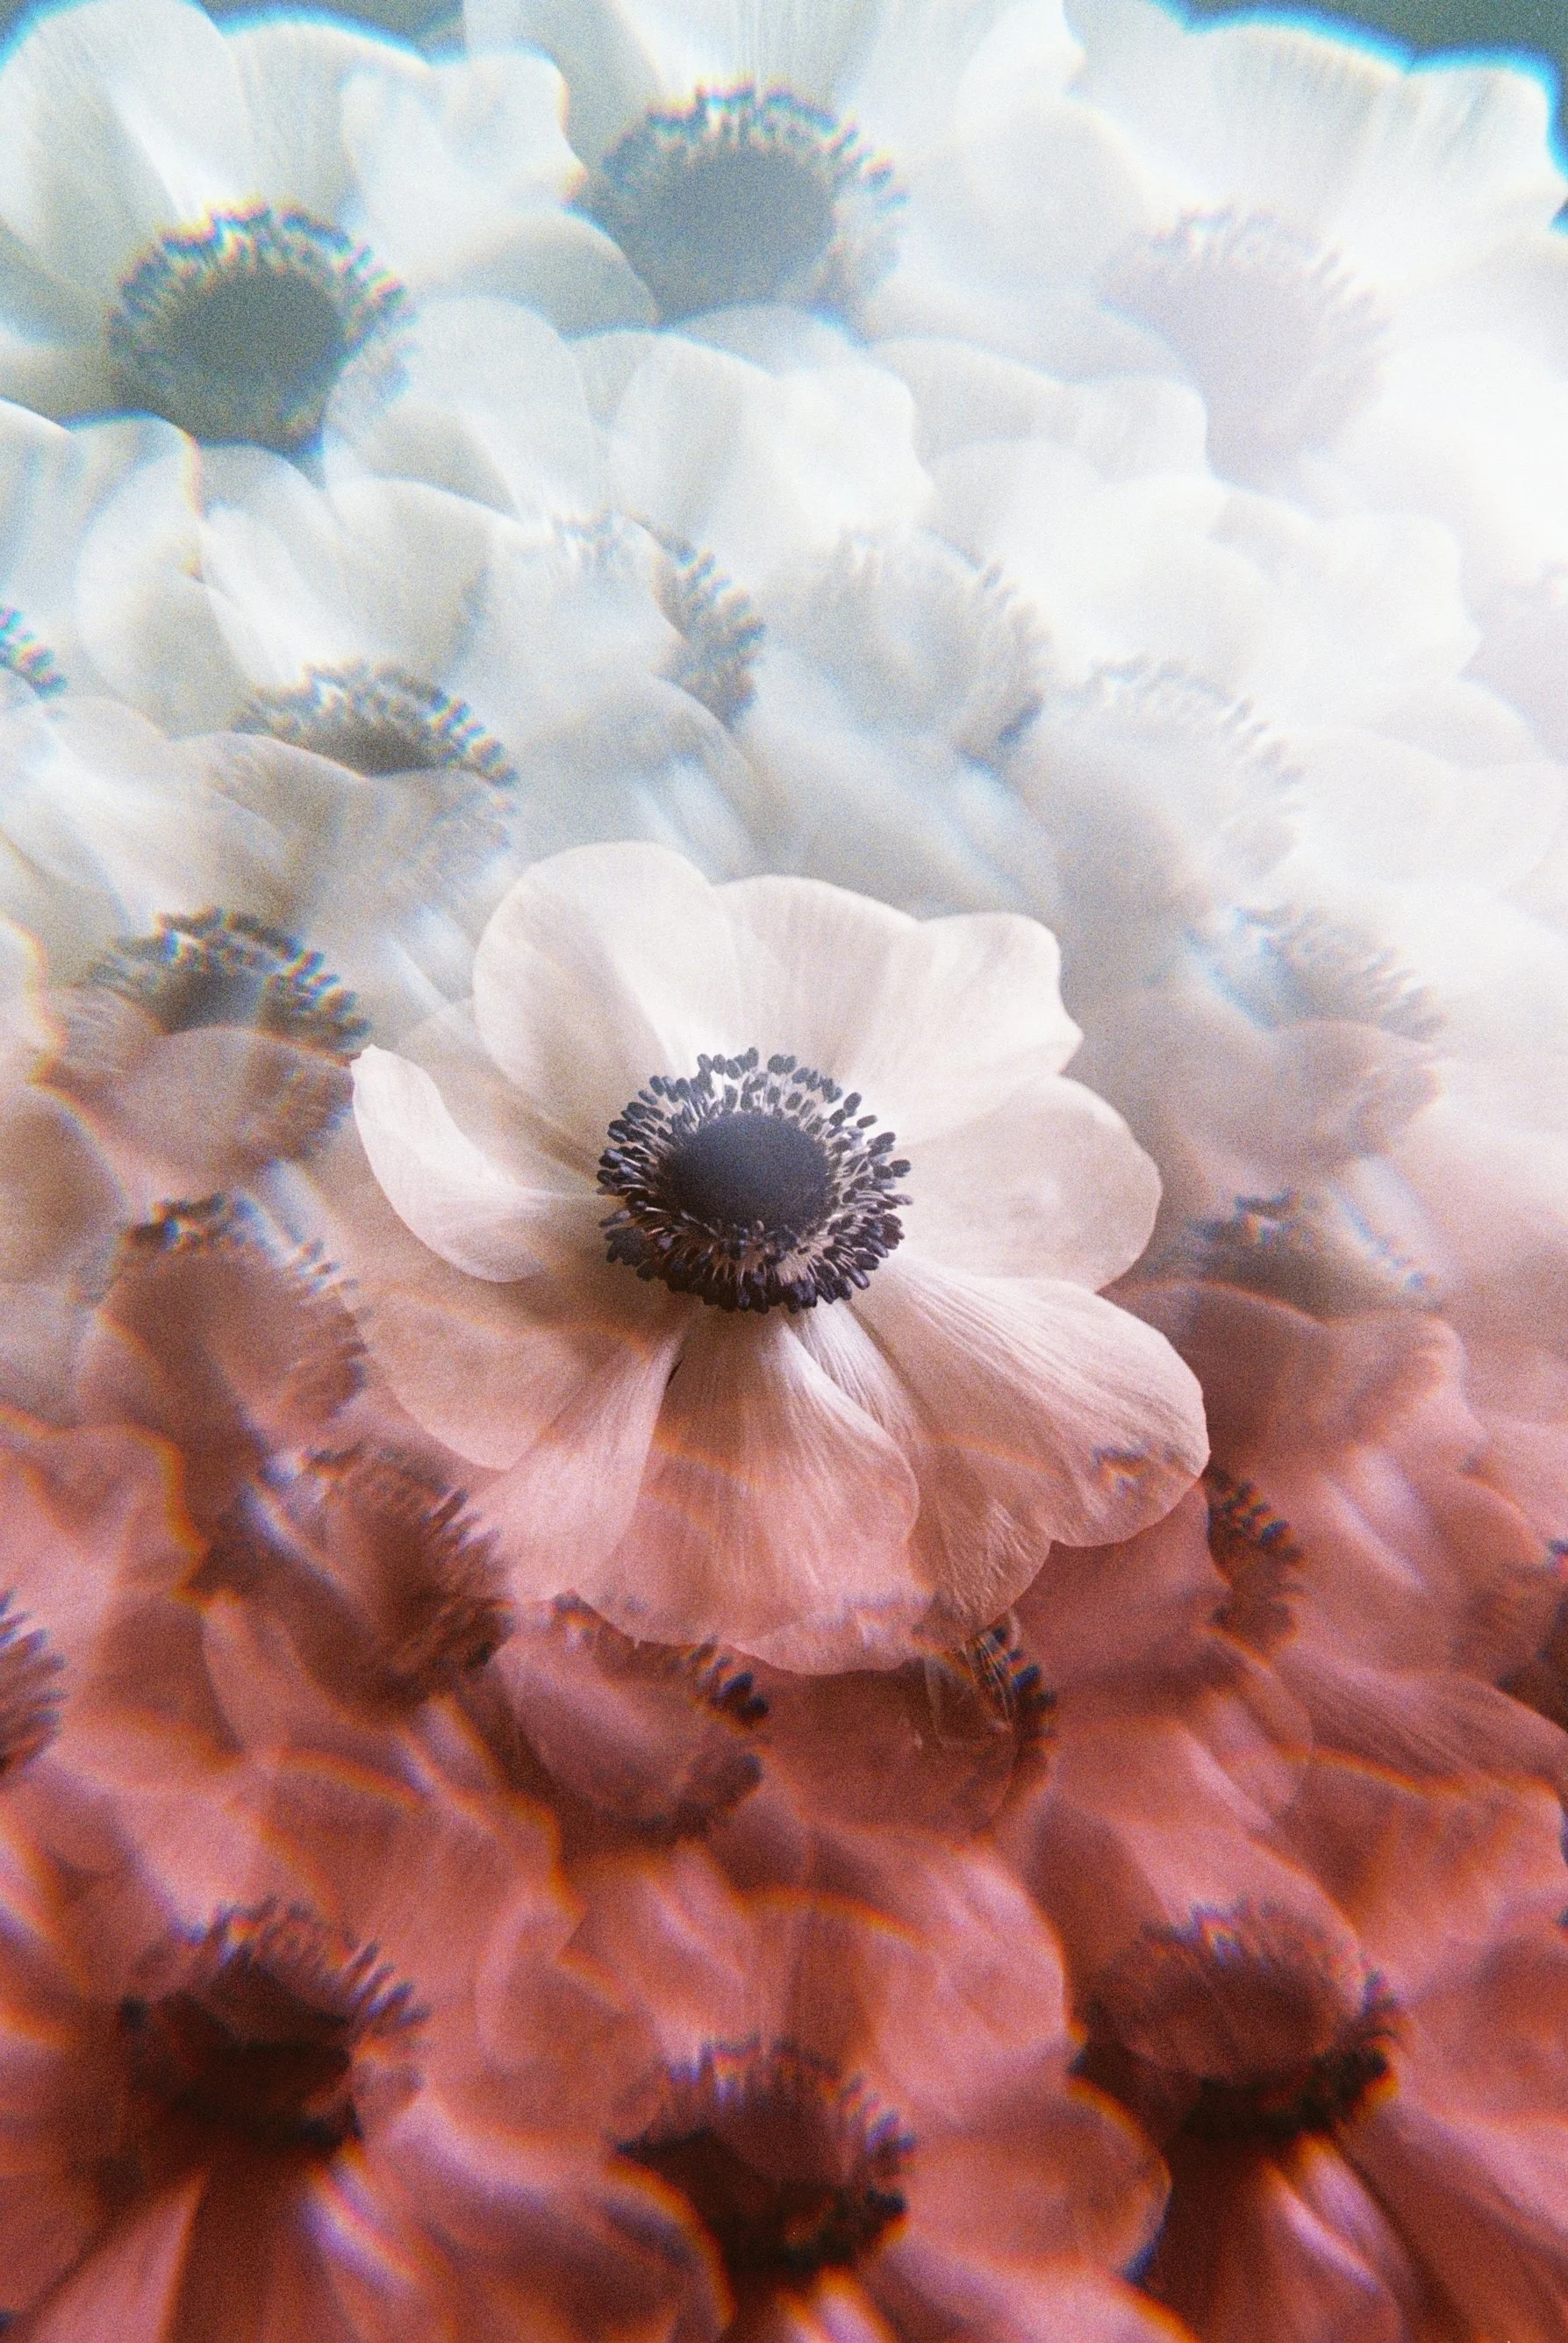
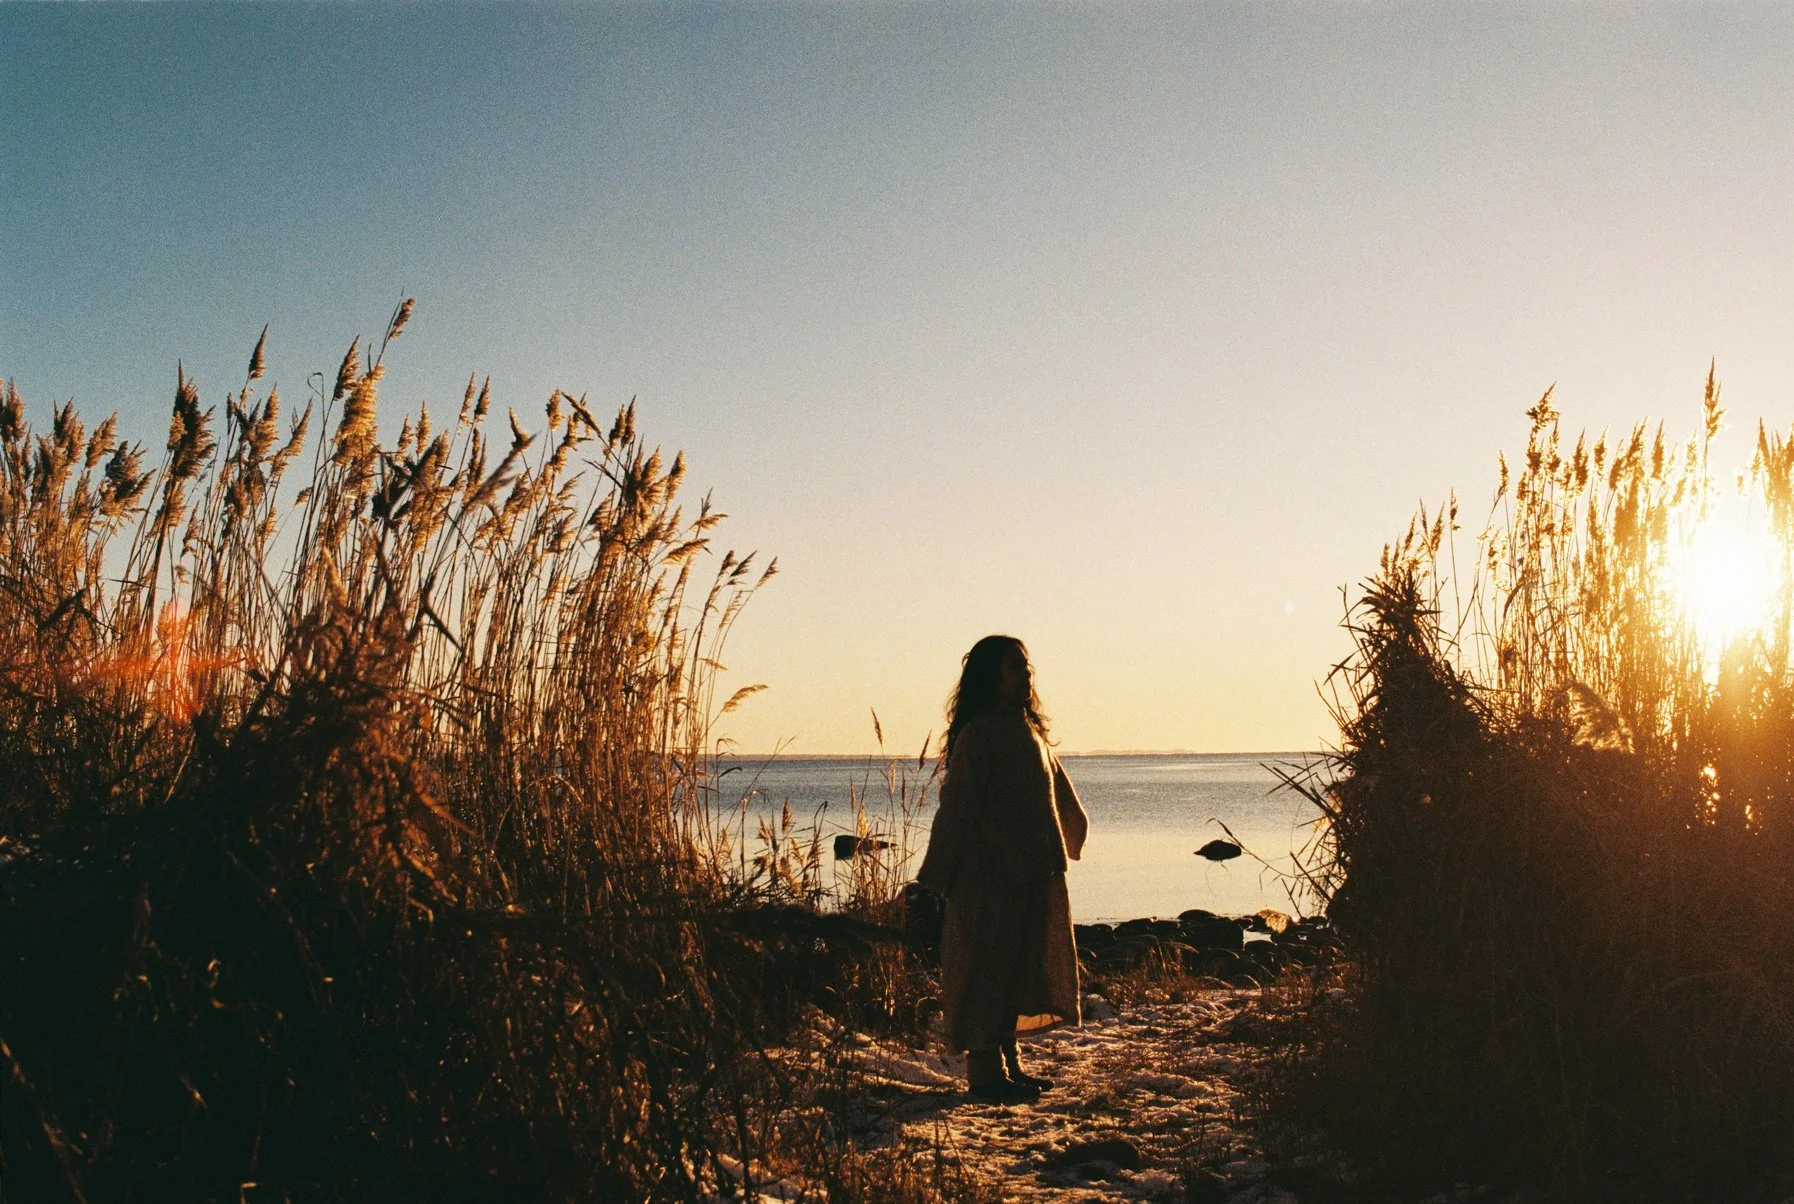
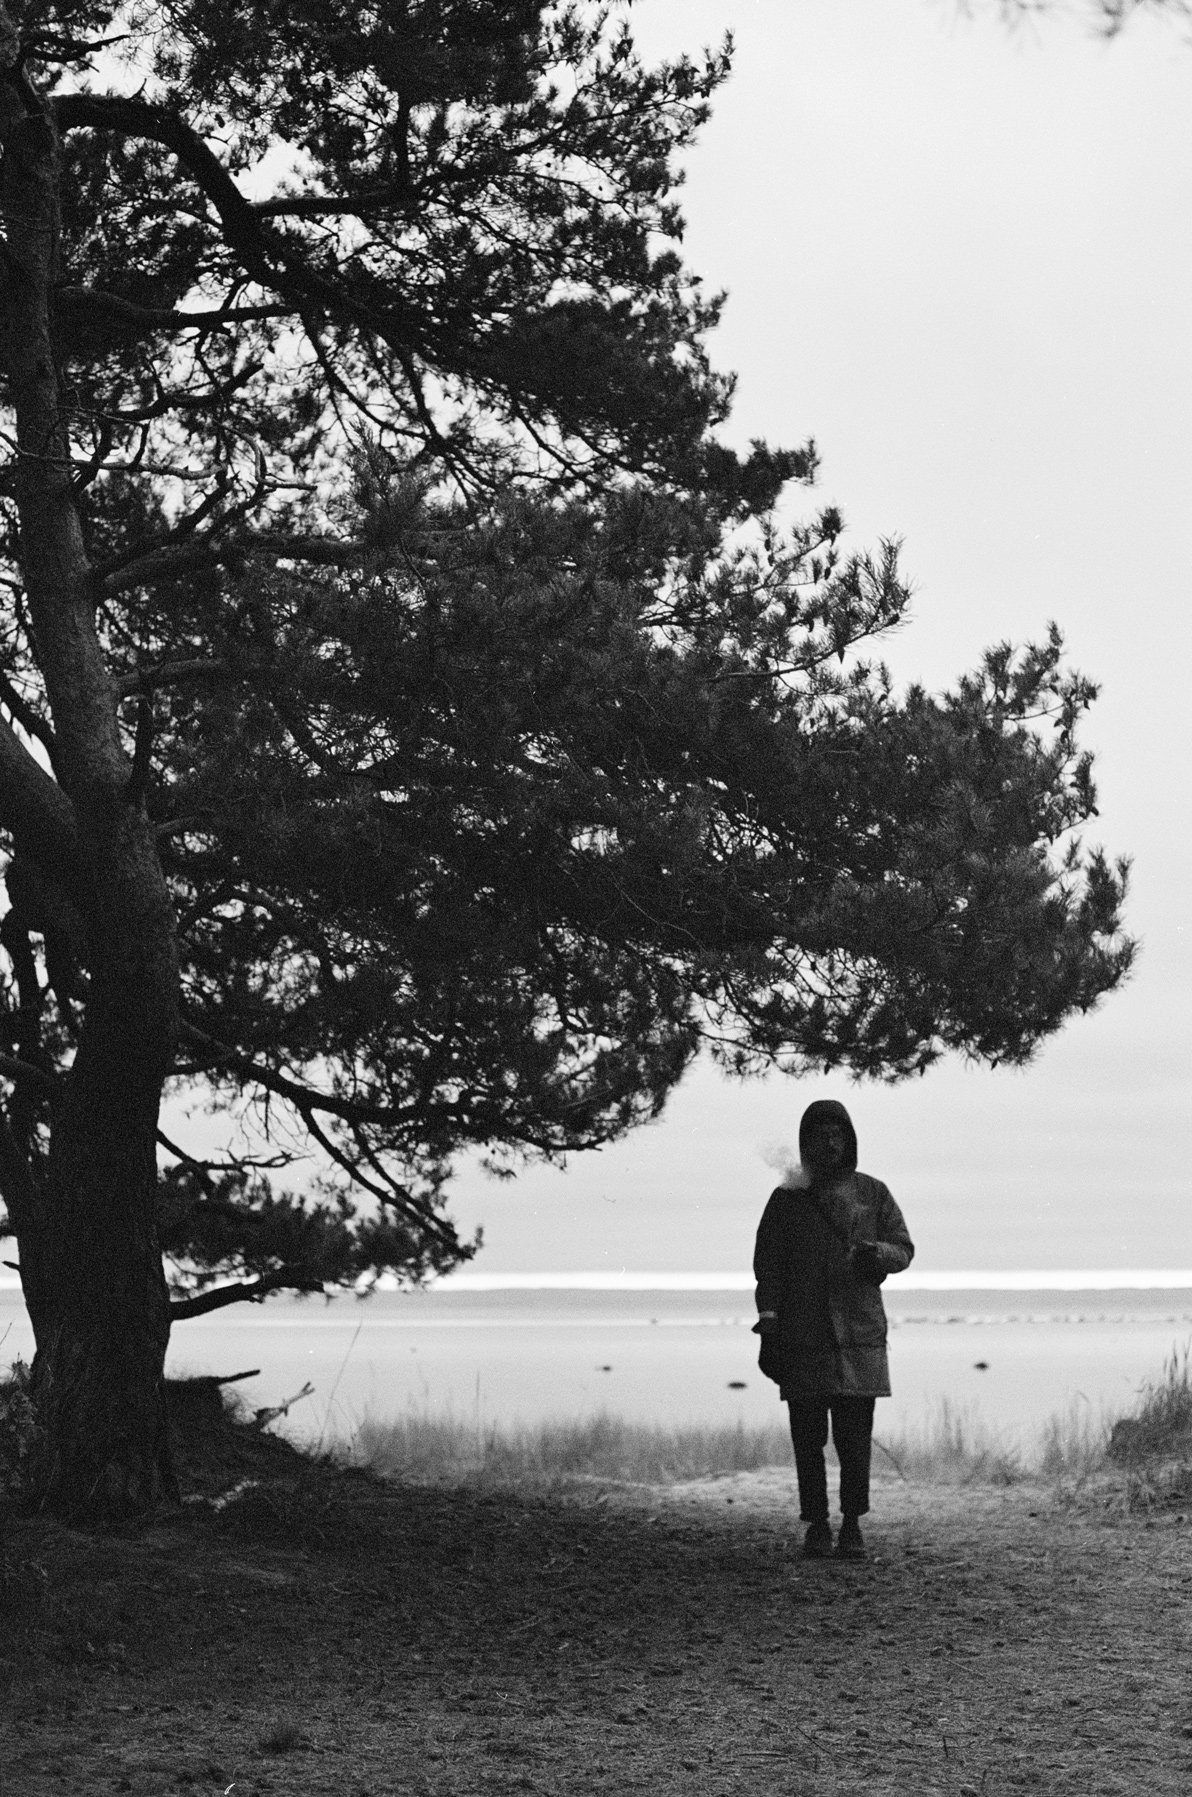
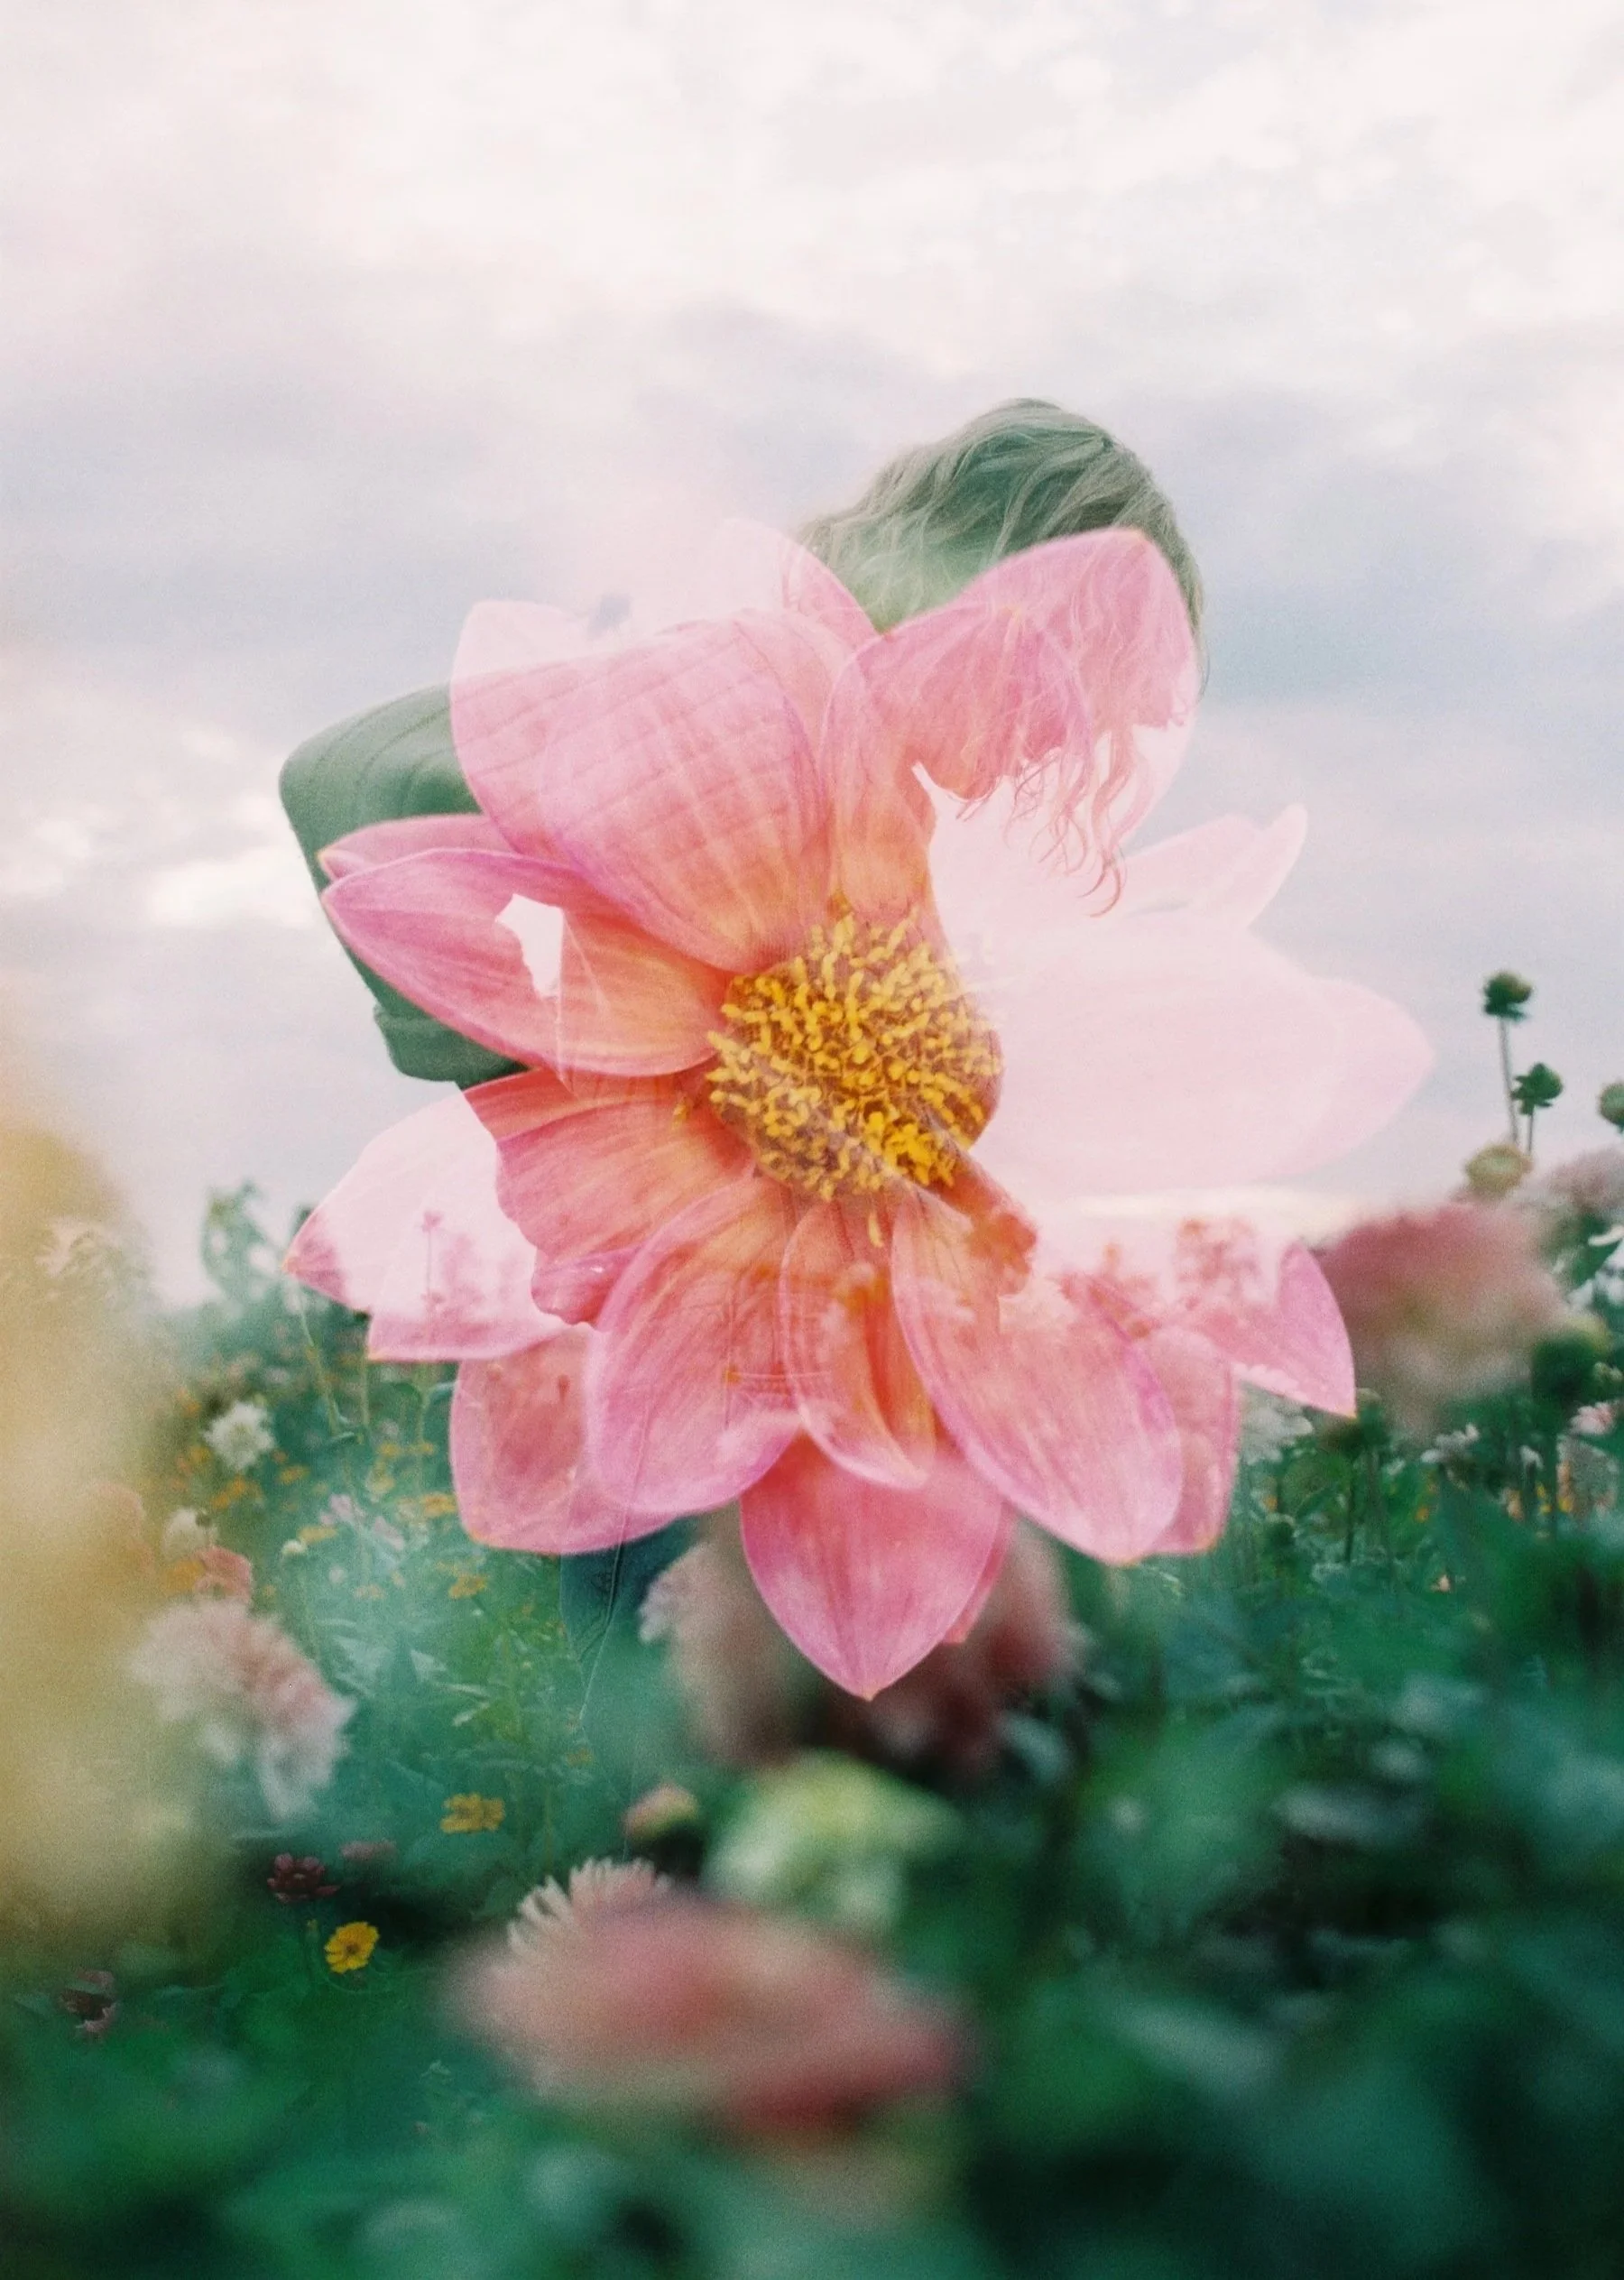
Spring on Lomo Purple
I love how this double exposure came out! But I do wish I had a better window at home to shoot silhouttes.. I might have to fix that.
I’ve been waiting for spring to arrive to shoot Lomochrome Purple again - one of my favorite film stocks. There is just something magical about it - I think the fact that I know that the colors will change, but I can’t picture how it will look. I’m finally landing on what I believe to be my best way to shoot - I love black & white film for planned shoots indoors and color for outside (which I guess makes sense). But, double exposures are my favorites no matter what film stock I’m shooting. I find myself thinking with each roll, why didn’t I take even more double exposures? It’s funny to think that the film getting stuck in my Pentax MX (which doesn’t have a double expo lever) two years ago turned into what is now my favorite thing to shoot.
Daffodil double exposure - when I first saw this I didn’t realize it was a double exposure. I even love the imperfections here. This was the last frame of the roll.
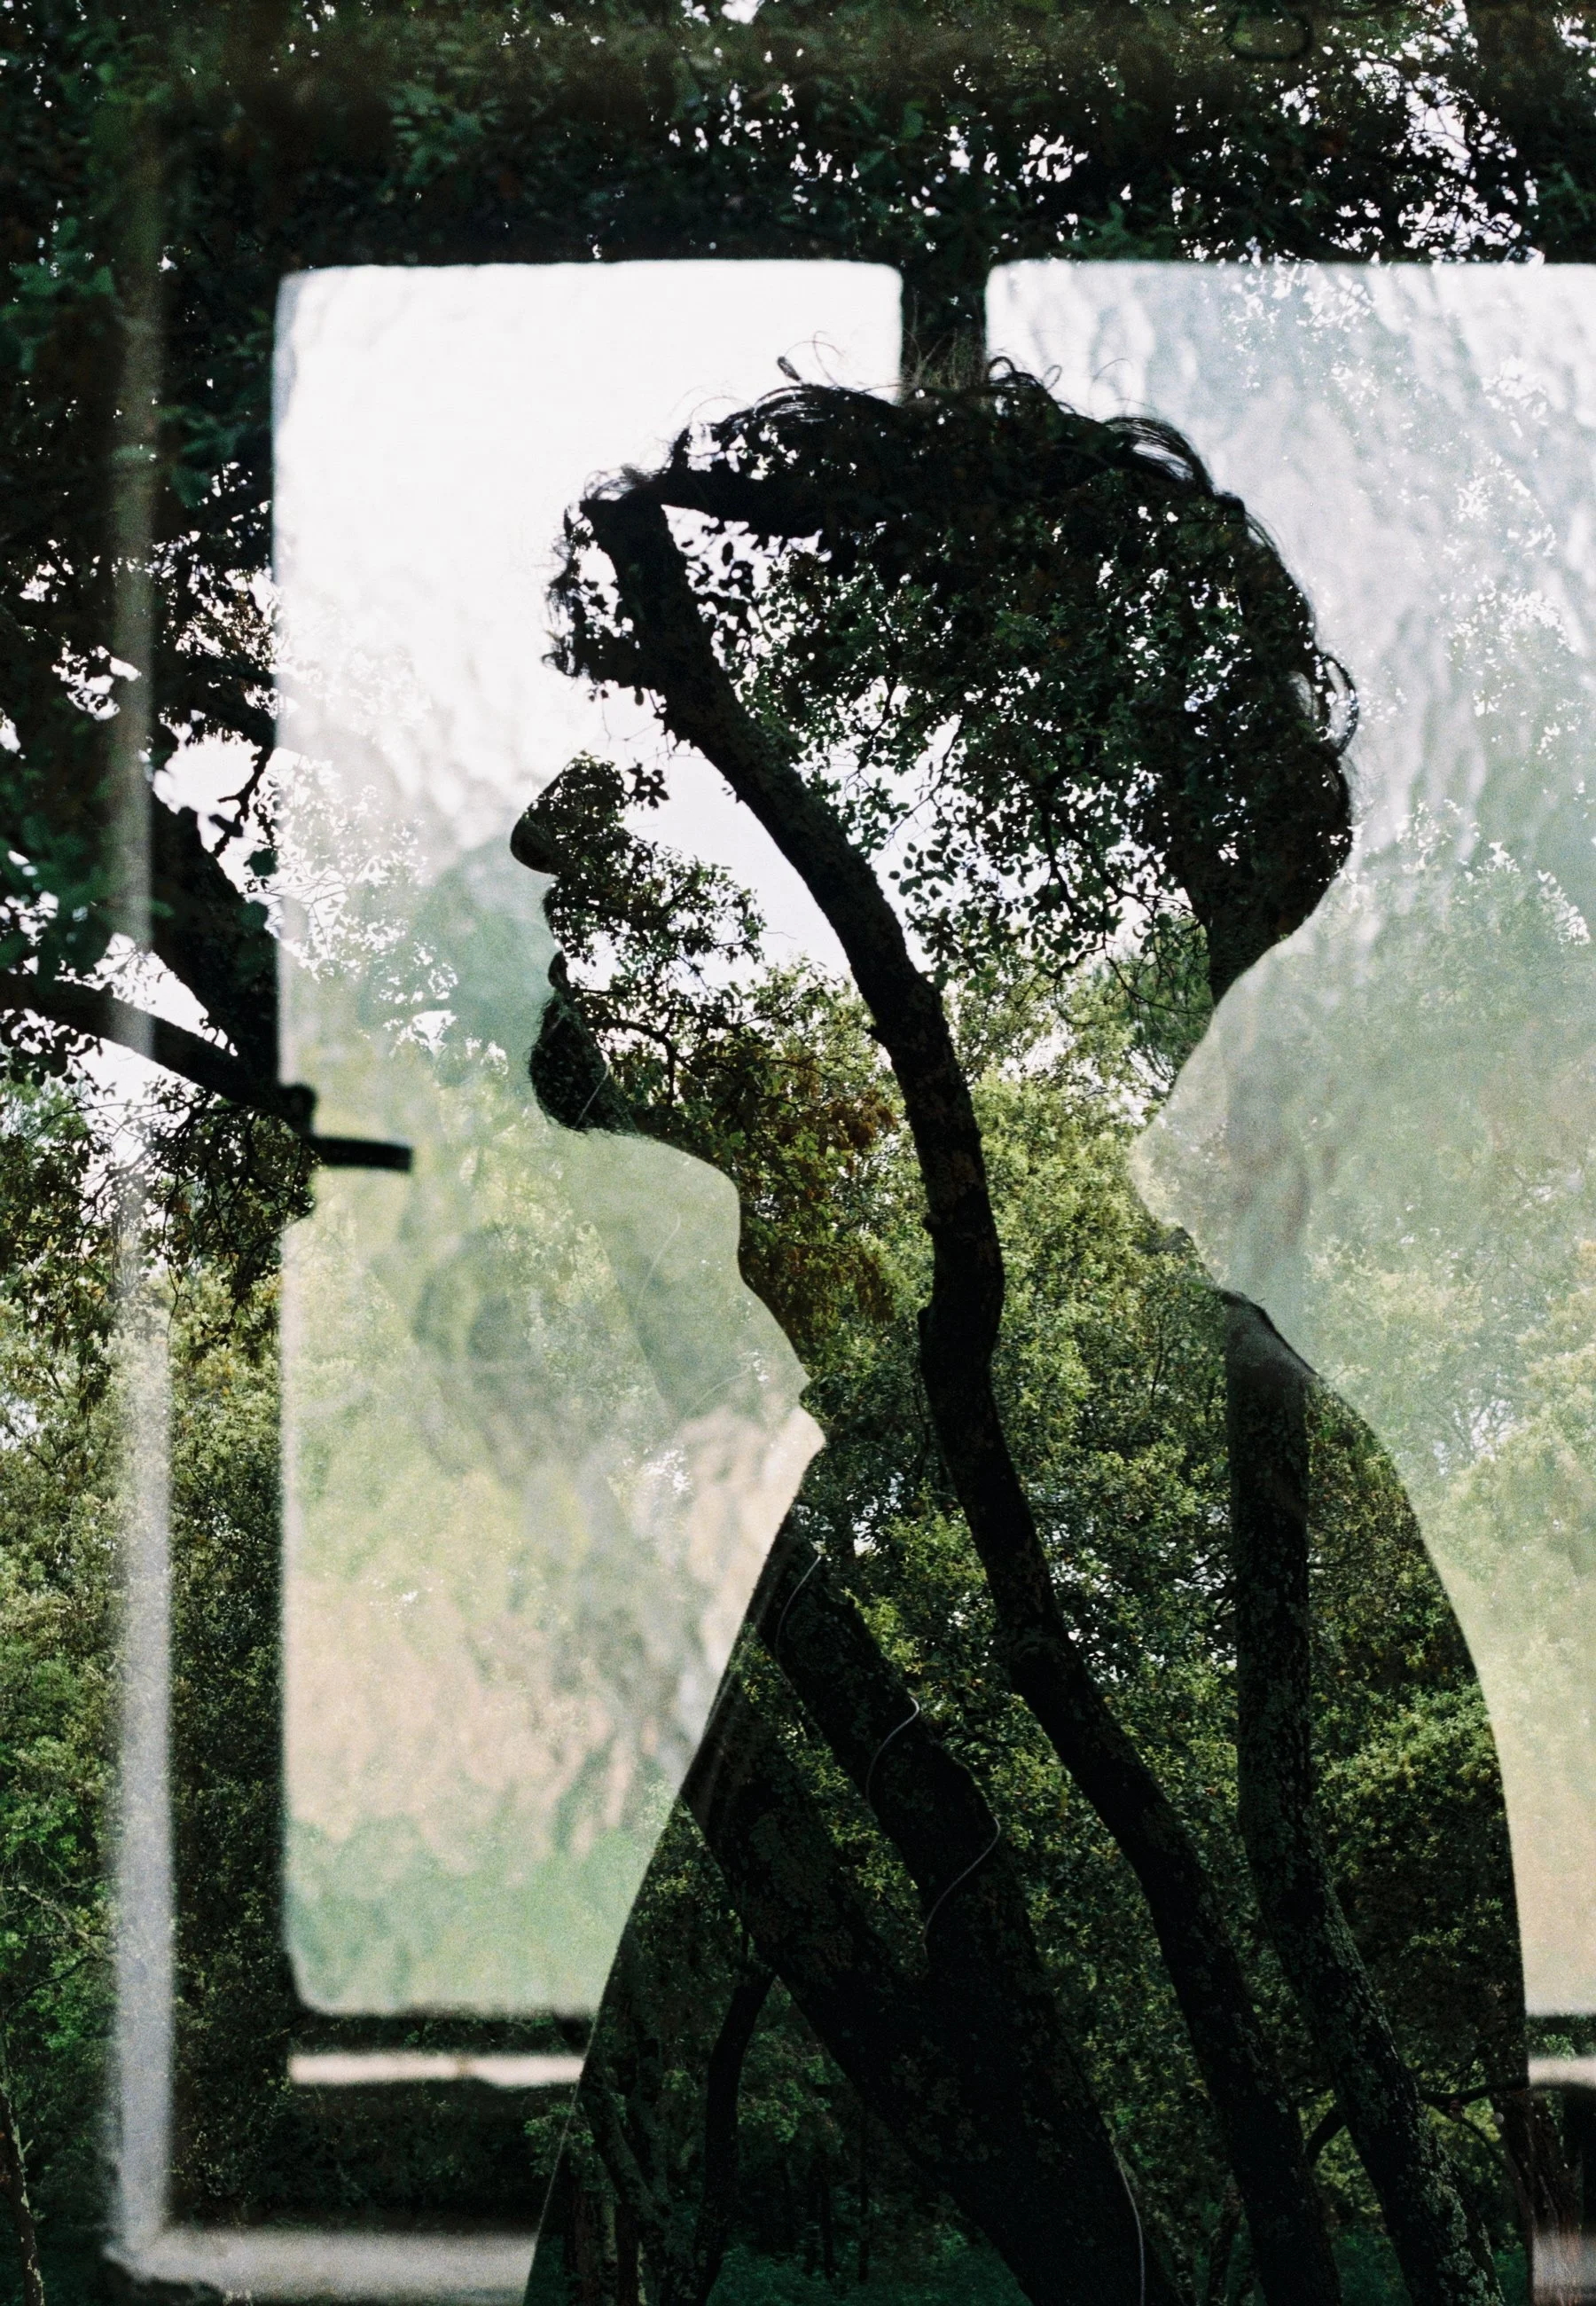
Double exposure with my friend Cecilia
Magnolia and reflections on the water - with a star filter
Daisies and clouds - my first attempt using a vintage macro extension
A close up shot of a tulip with the macro extension - and then without
Shooting tulips at Skolberget. Not too flattering for skin tones - but I do love how this came out anyway!
Ducklings turned pink!
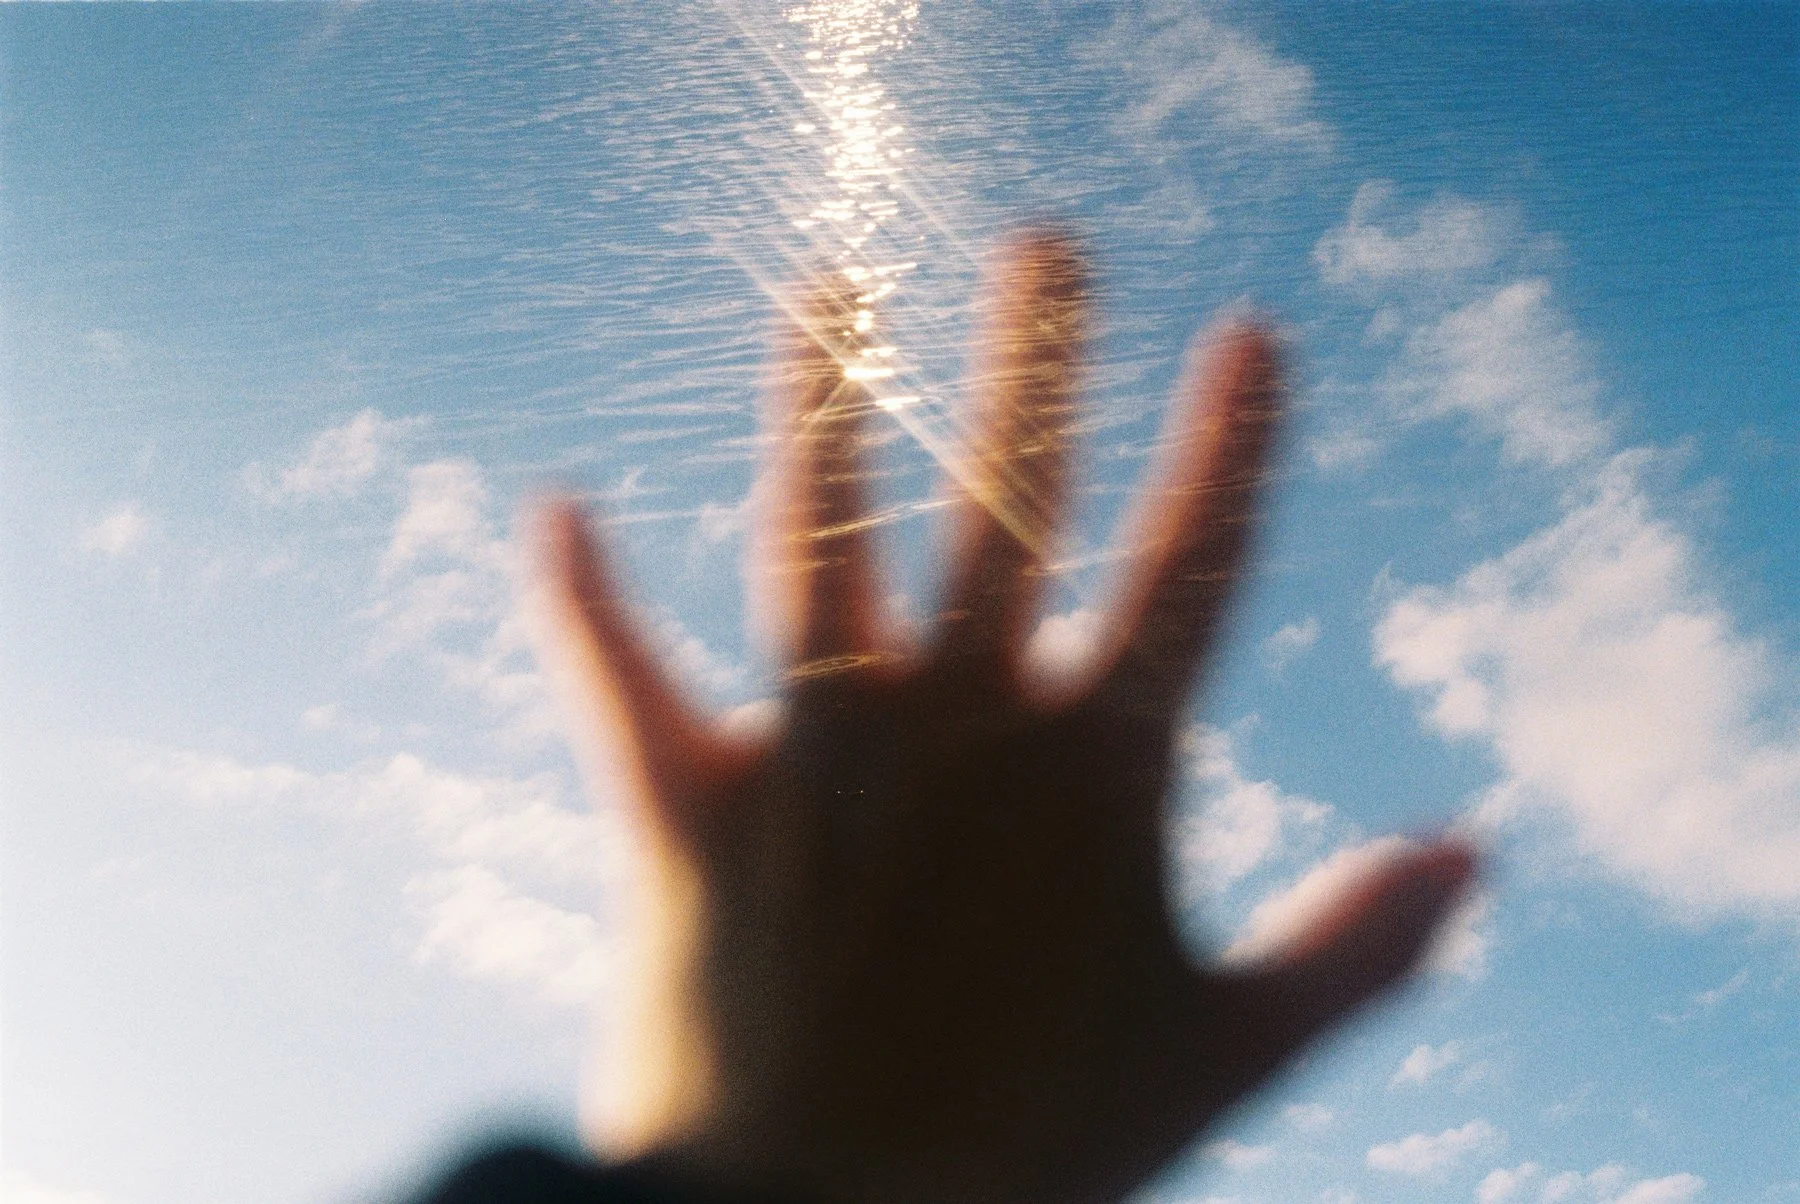
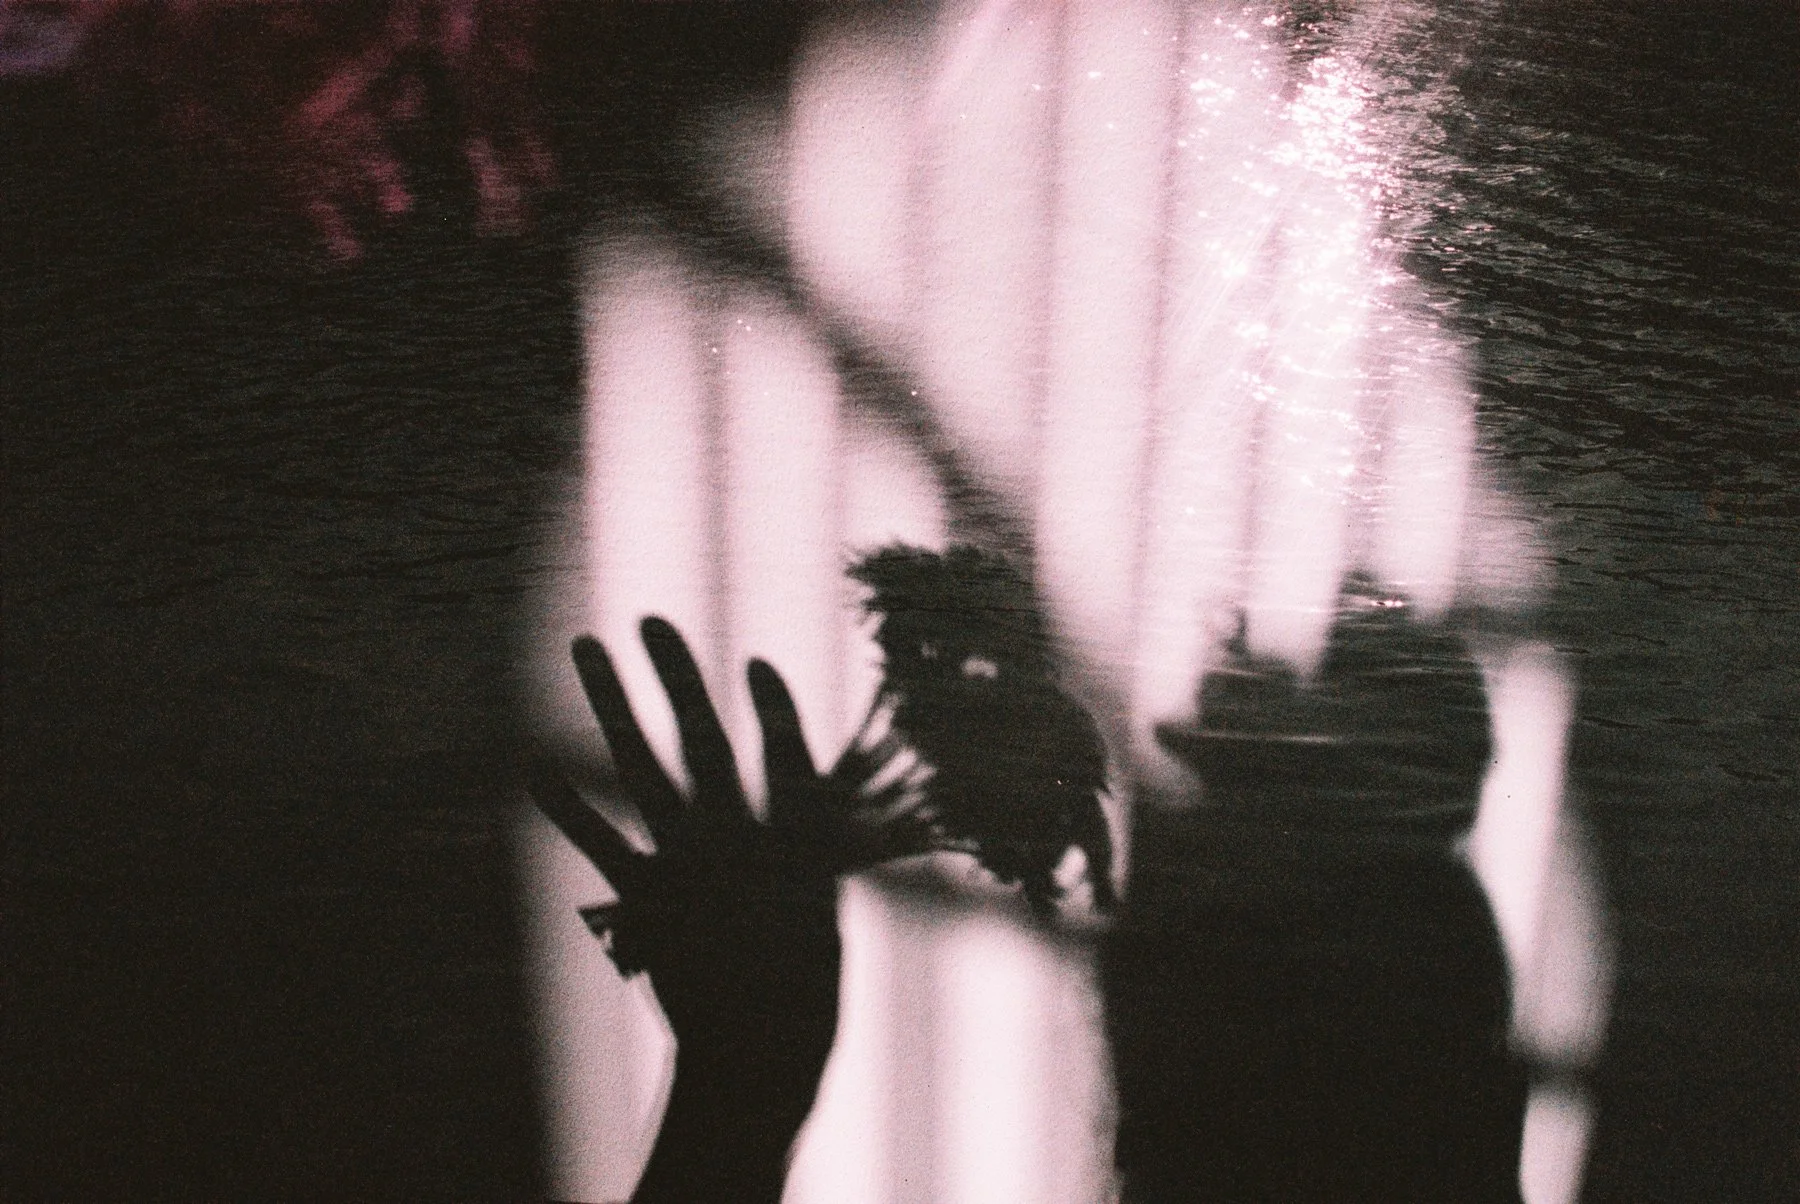
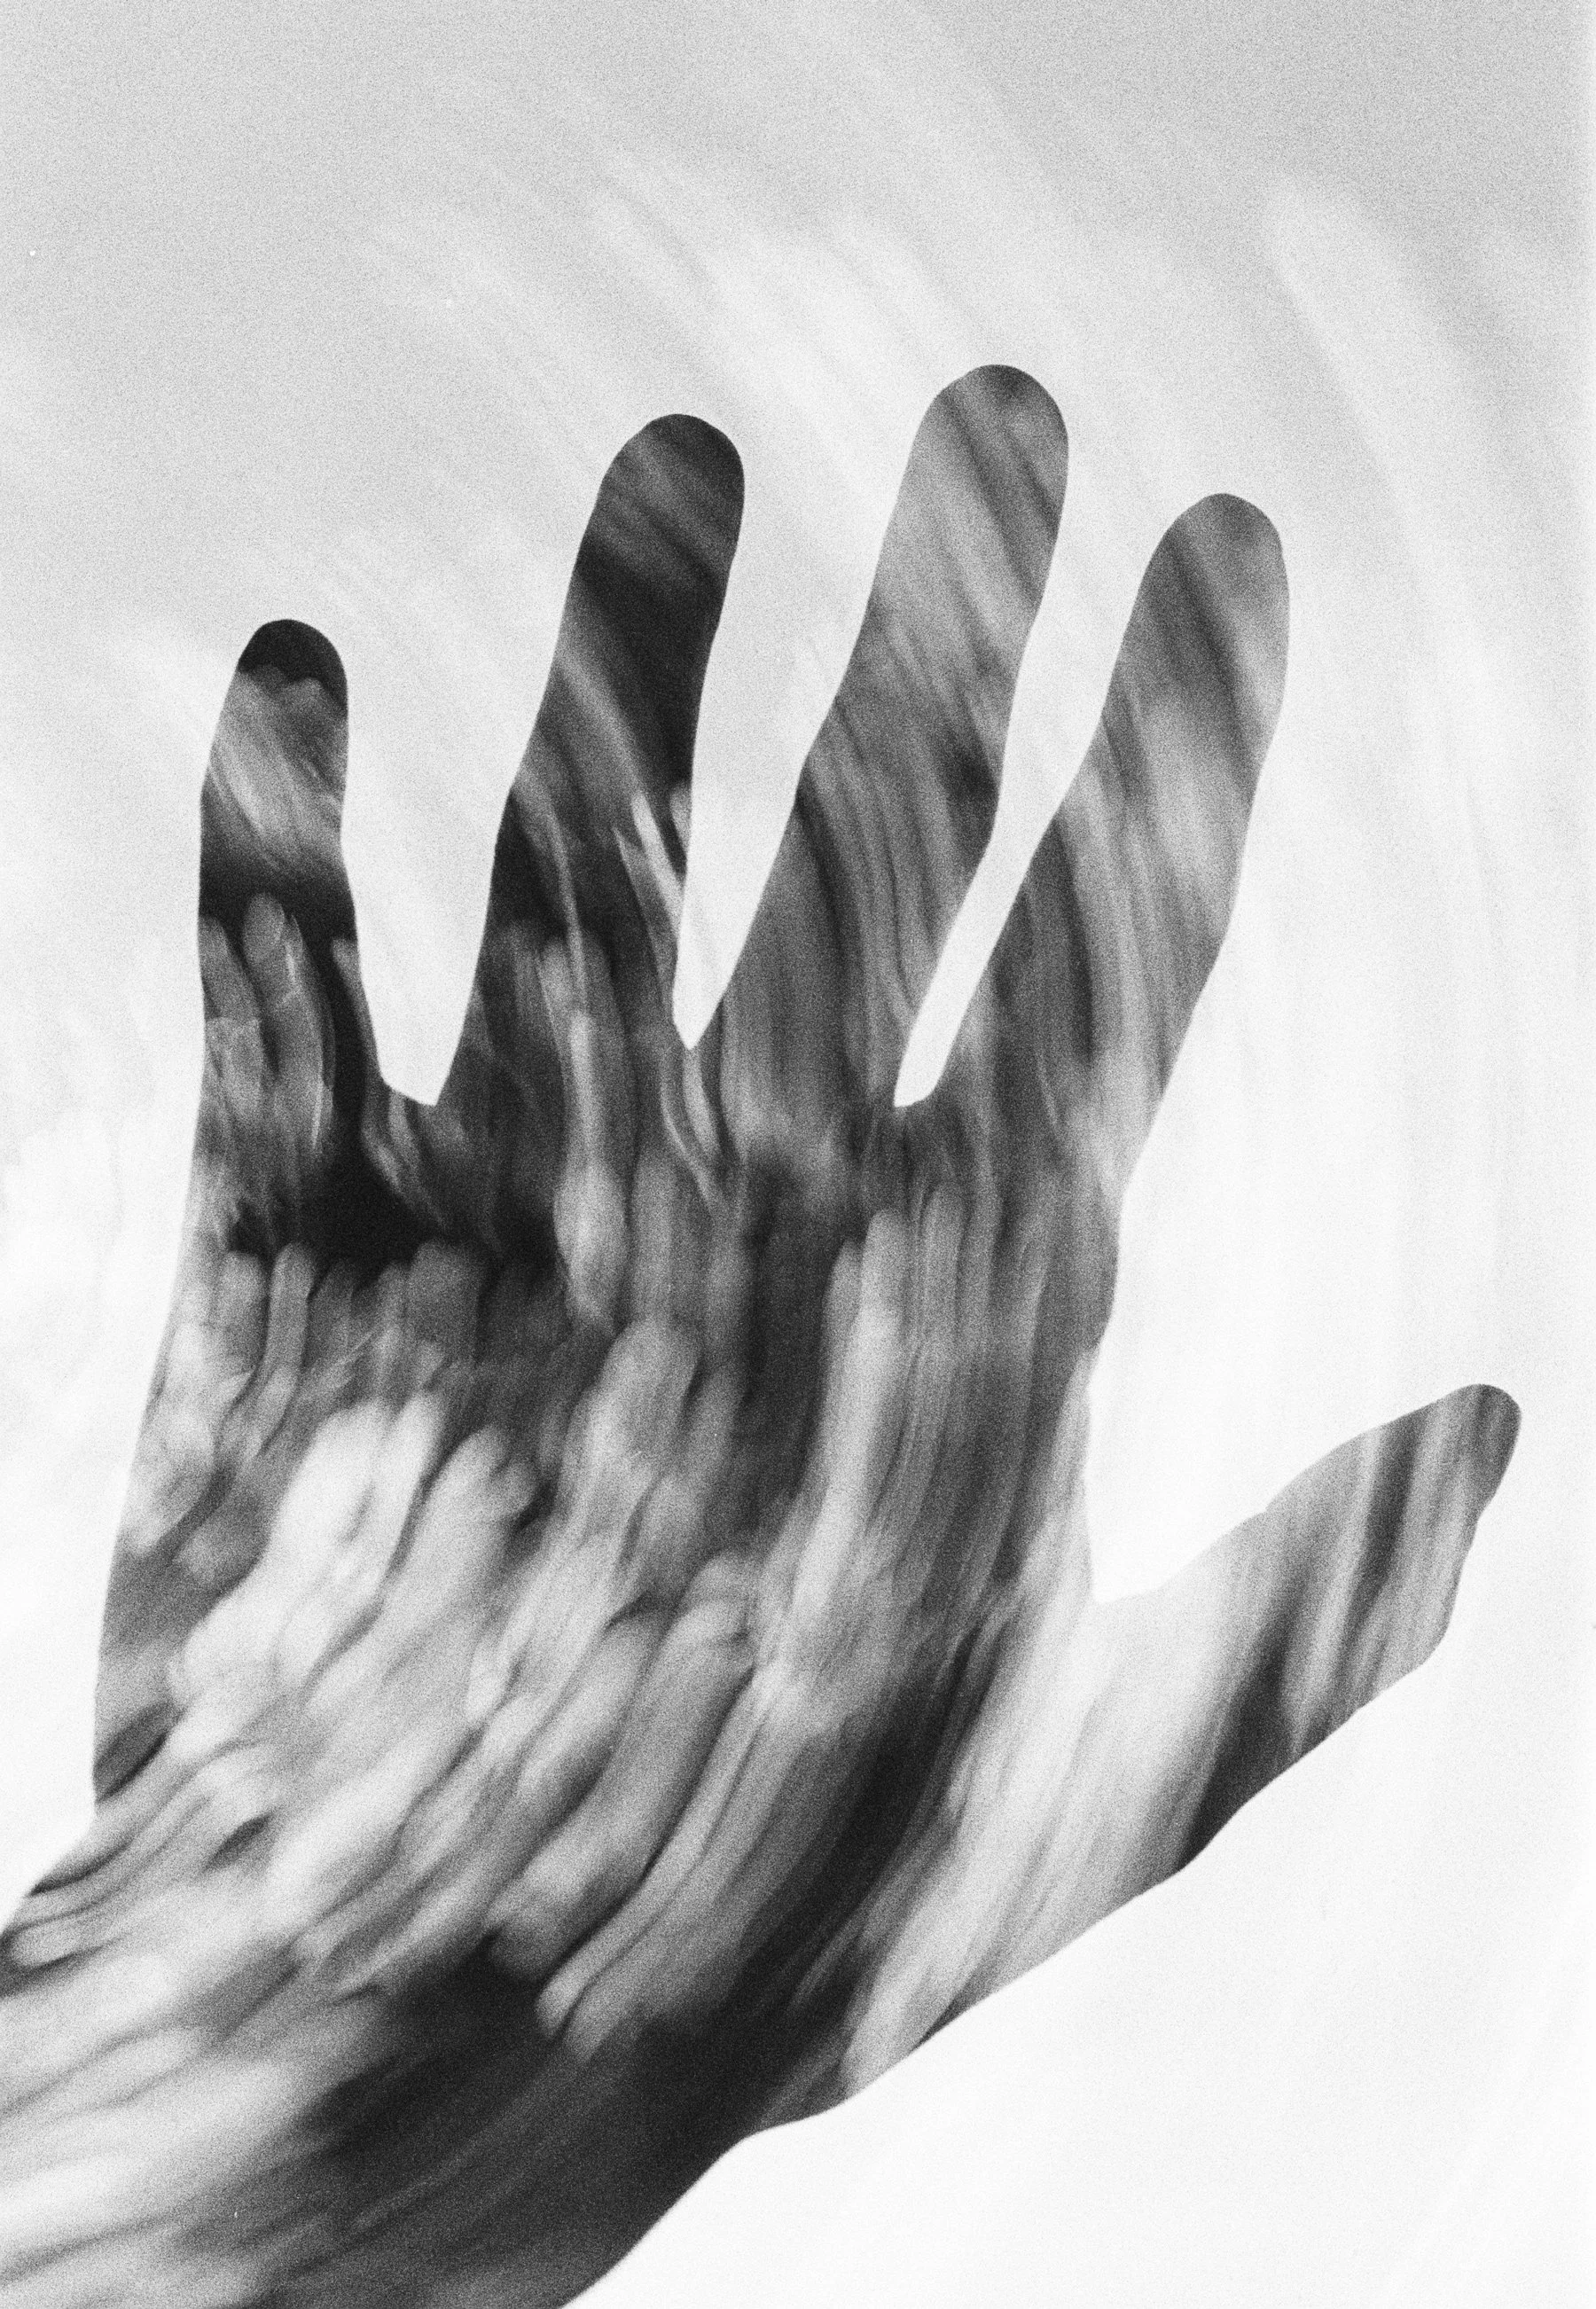
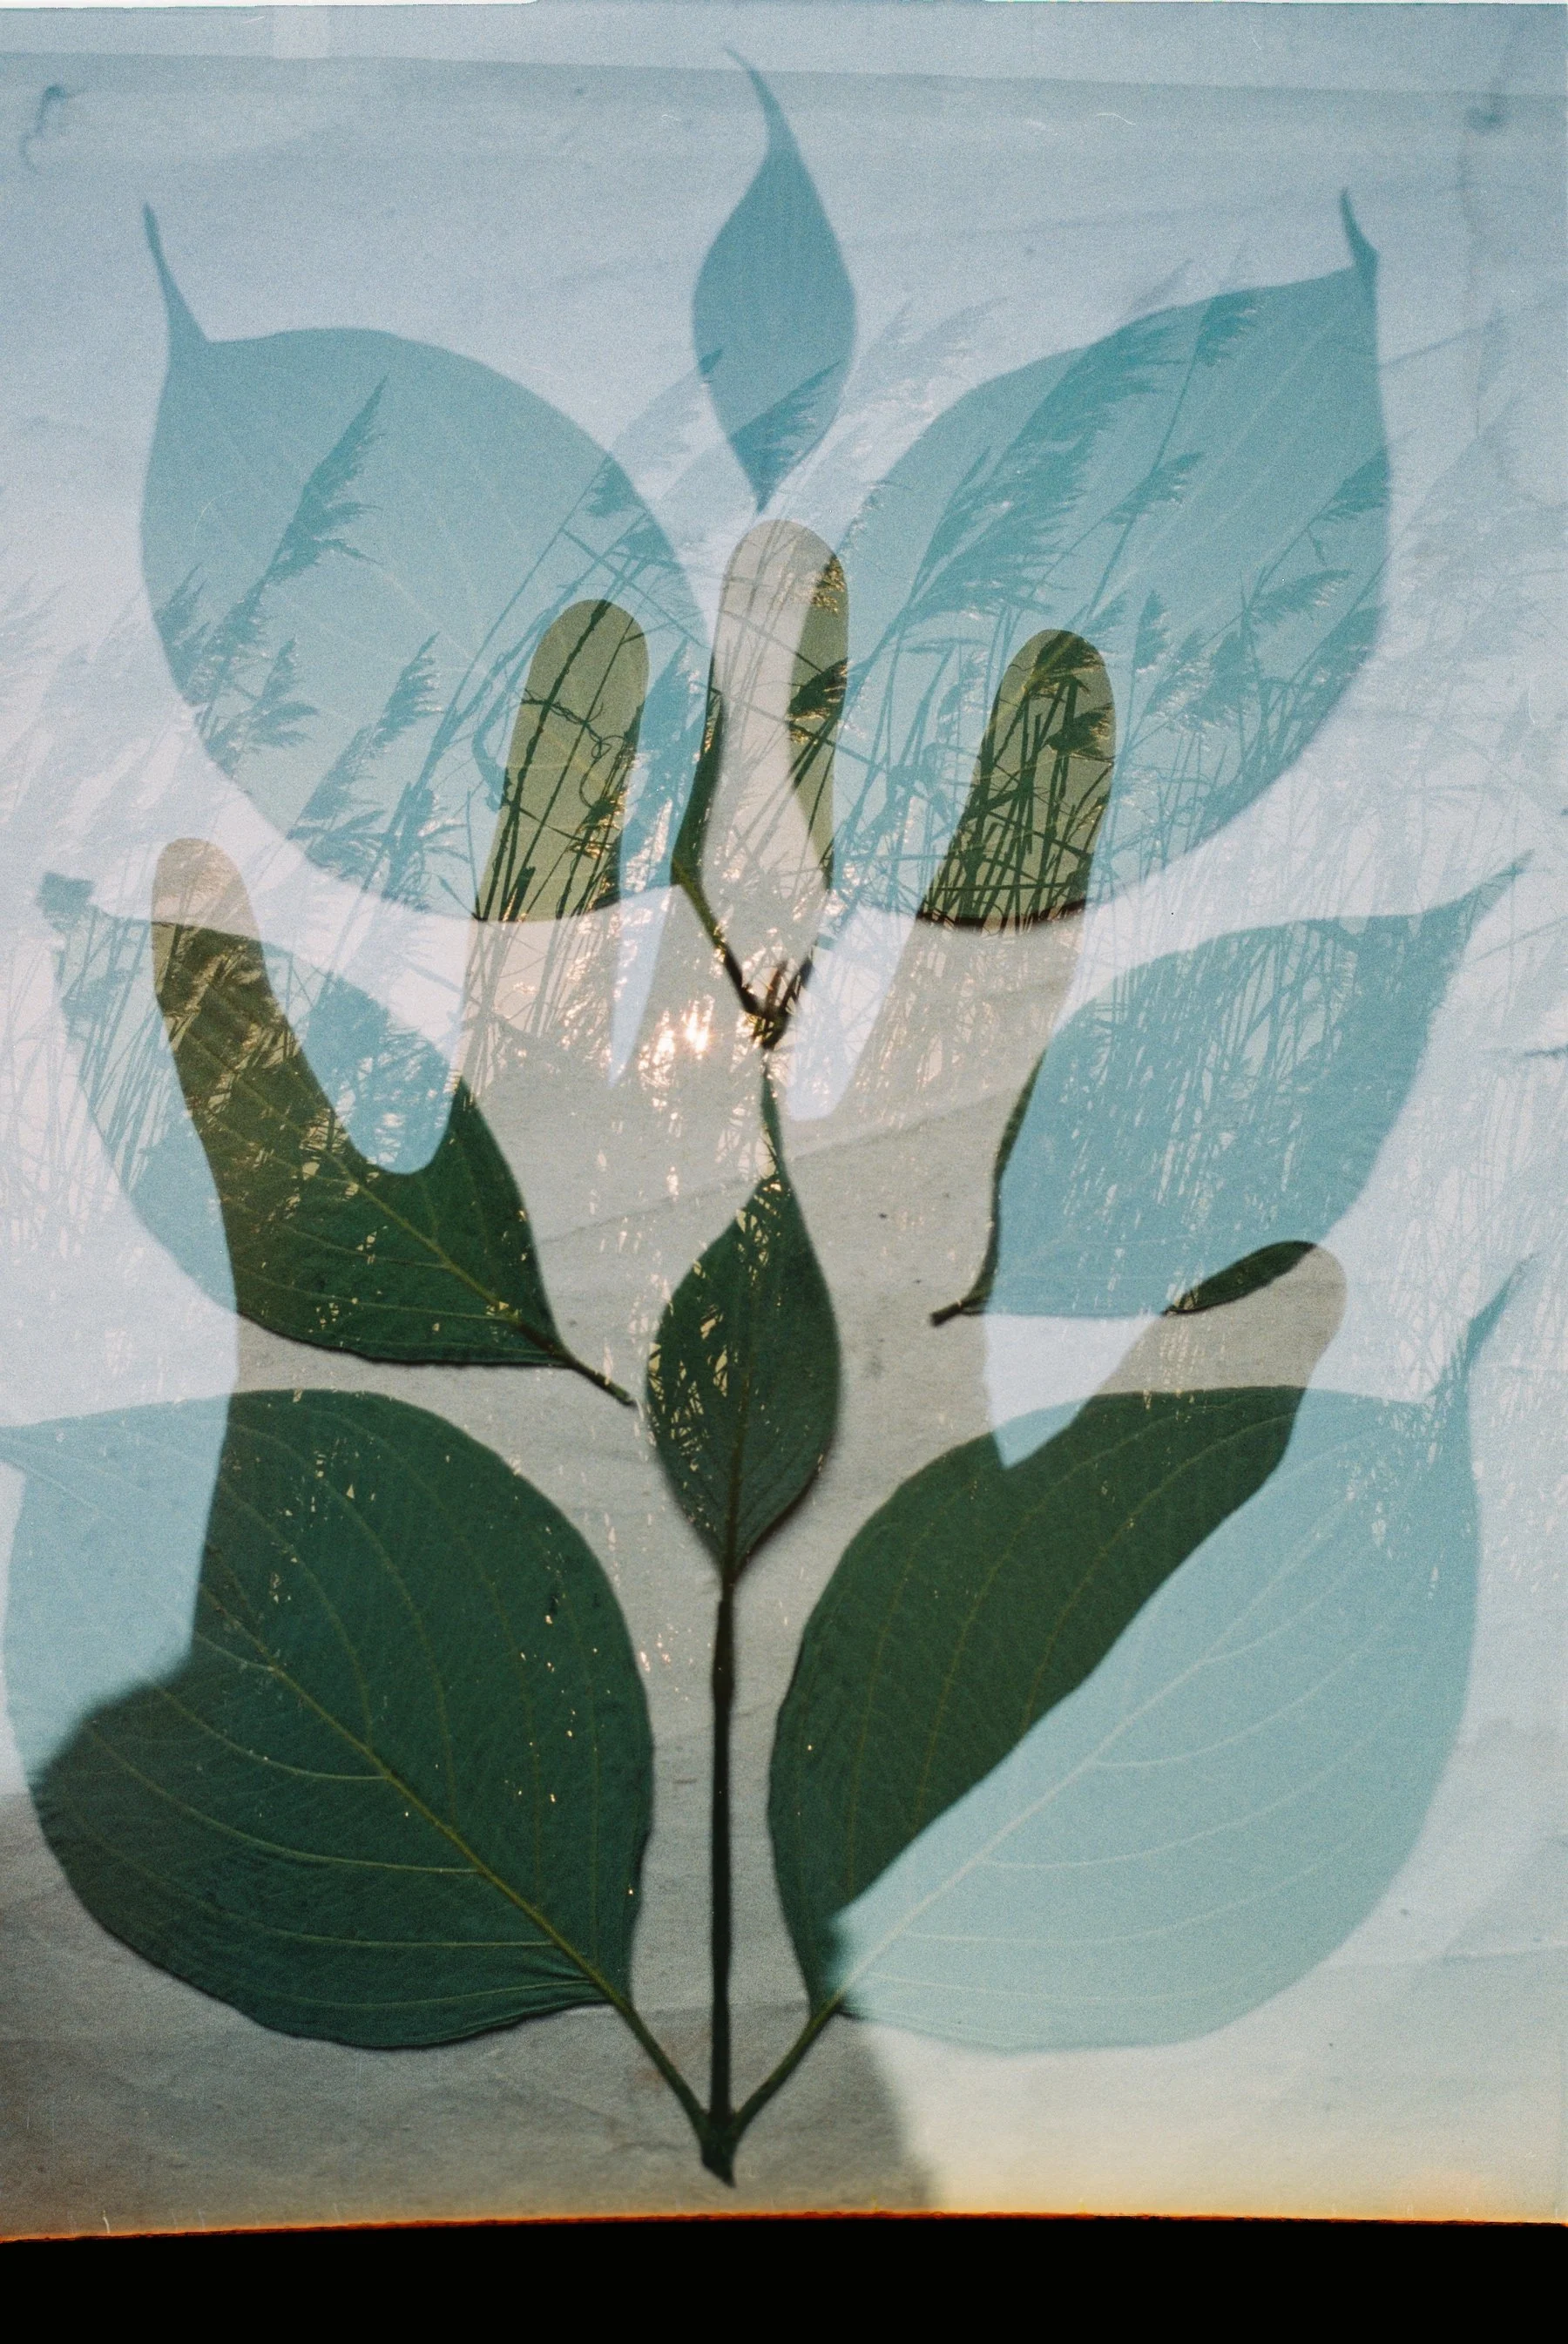
Slow shutter of flowers paired with a hand shot
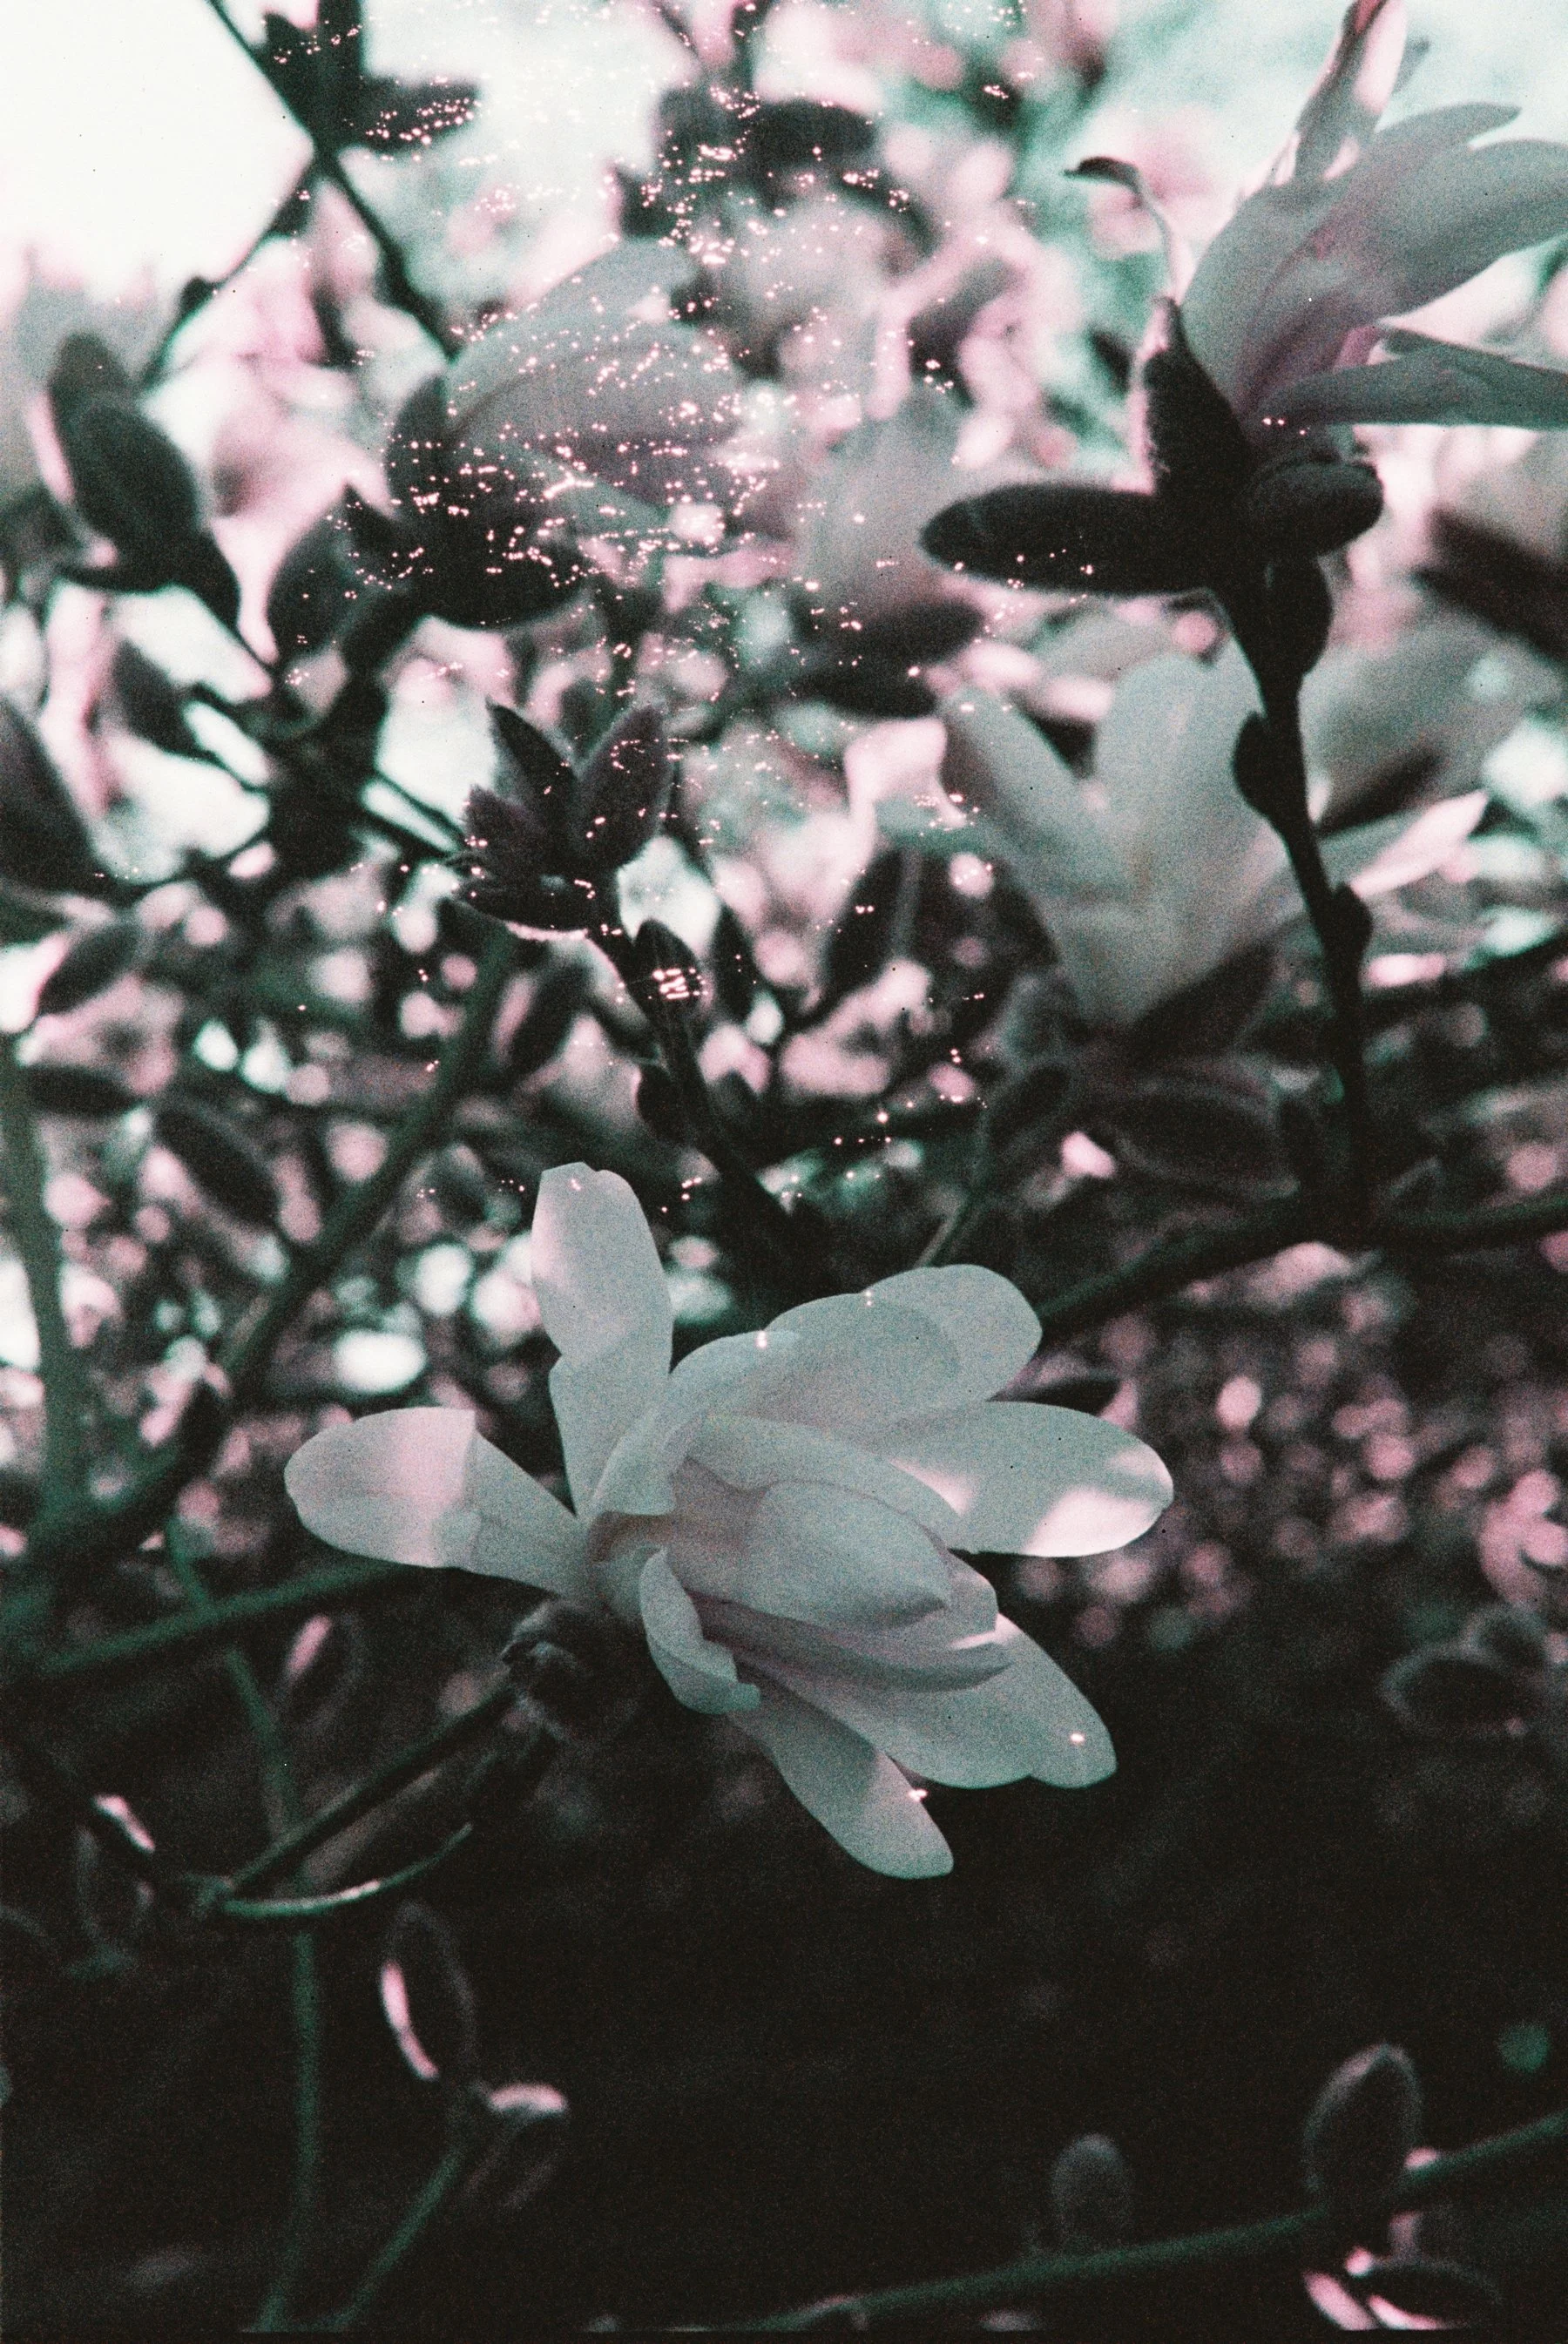
Magnolia and reflections on the water
March experiments
Double exposure with a Cokin star filter
I’ve been experimenting more with my vintage Cokin filters to see what kind of film they work best with. I’ve especially enjoyed shooting with the star filter I found in a thrift shop - which you can see in a lot of these photos.
For this roll of Kentmere Pan 200, I took notes on how I shot each image - how I exposed, if I used a filter and so on. I tried reading my notes when I got the roll back, but they were completely incomprehensible even to me so I definitely need to be more clear.
I still think my last few rolls have been a little bit too overexposed for my liking, probably because I have trouble reading the lightmeter on my Nikon FE. Compared to Nikon FM (which I shot with before) which has a diode meter, the Nikon FE has a needle meter. To my brain, it makes absolutely no sense and I have to think extra hard before each shot. It’s also almost impossible to read in dark conditions AND as a left eye shooter, the light meter is on the left side which makes it harder to see because I have to look up. You’d think I’d get used to it but even after four months, I still struggle with this!
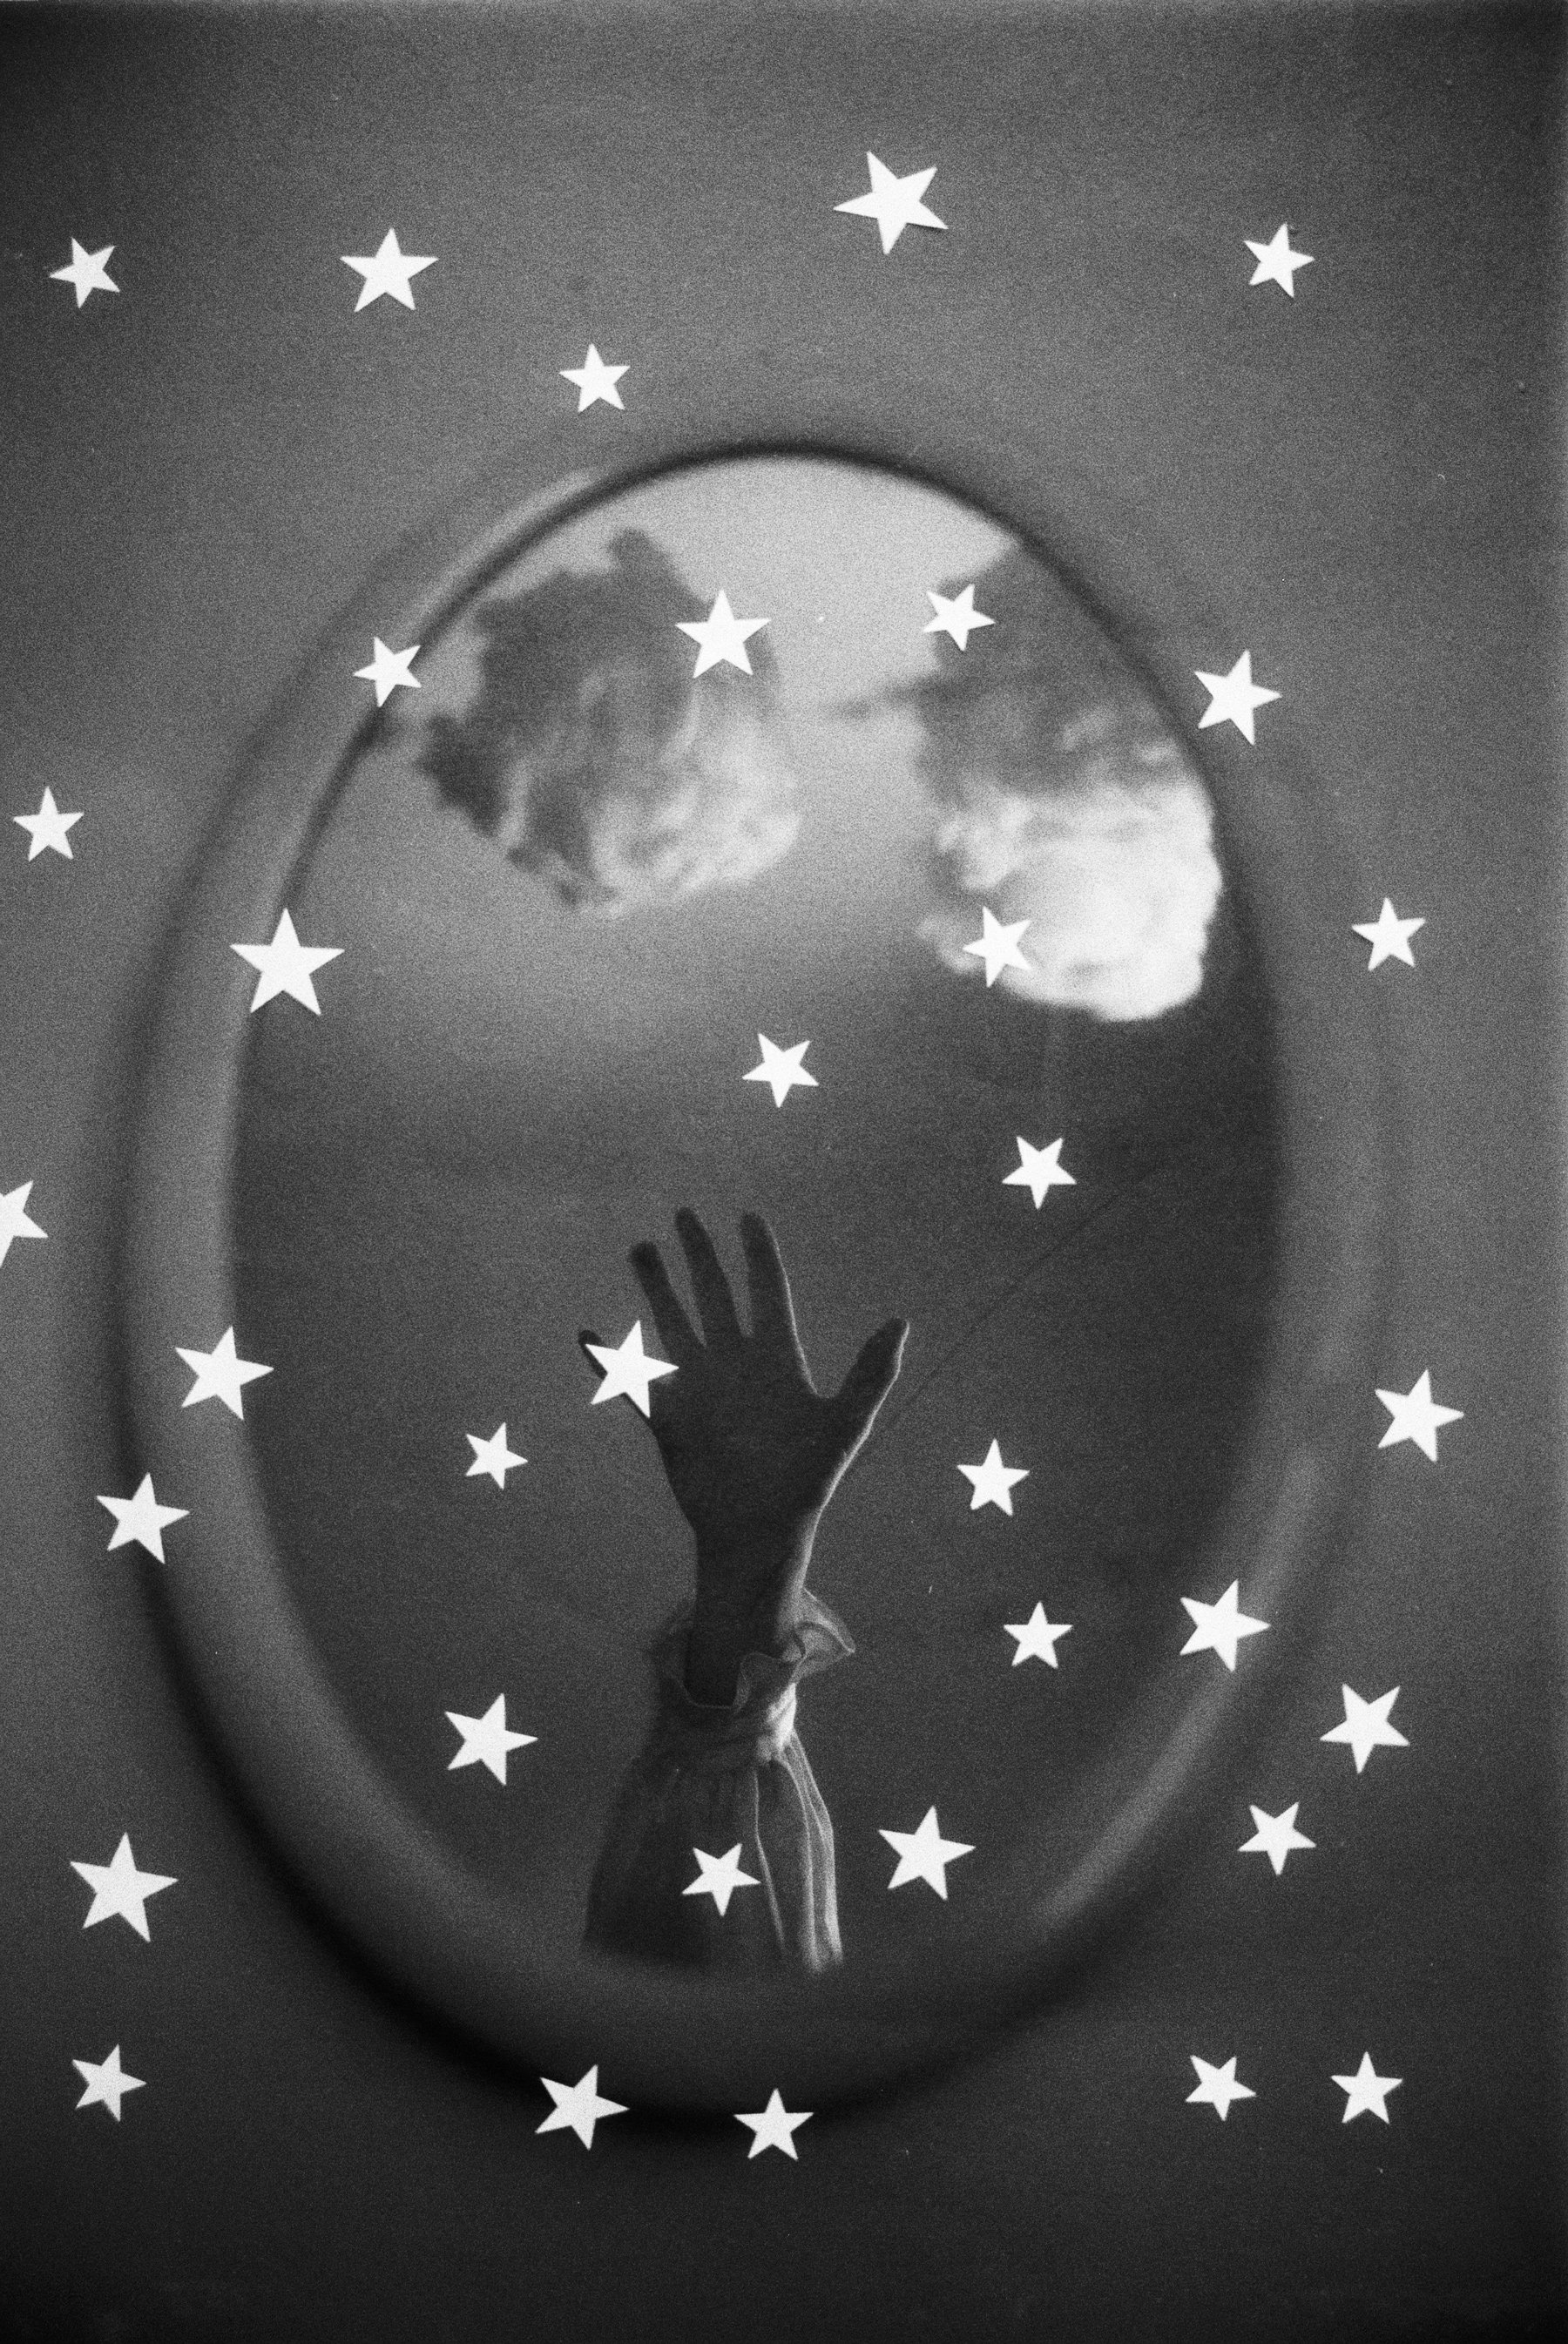
Double exposure - I cut out tiny paper stars and placed them on black paper to get this effect. The mirror is on the wall. Here I didn’t use any filter.
Double exposure with a diffusion filter - not ideal for this film stock (Kentmere Pan 200). I’ll probably stick to using it with ilford xp2 which is sharper and less contrasty.
Double exposure with a mirror
Double exposure with a star filter
I think I used a diffusion filter here, I prefer the ones above!
Double exposure on a foggy day
Here I used a Cokin Fog filter, you can see a subtle fog on the left side of the image
Shot with a splitzer filter - I obviously failed to line up the windmill here.
Here I used a diffusion filter - not sure how I feel about it, I think it might be TOO soft for this roll
Shooting with vintage cokin filters
Blue filter and star filter - the stars are cut out from regular printing paper
Recently, I was lucky enough to get my hands on some old Cokin filters (probably from the 80s). My last few rolls have all been black and white, so I never had the opportunity to try the colored filters (technically you can still use them and get different results - but not what I had in mind). I decided to shoot a roll of Kodak Ultramax to try them out, but I must admit it felt challenging to come up with ideas. After each roll, I write down how I feel about it and what I like/don’t like, and as always a reminder to shoot less ‘random’ photos. Maybe that sounds counterintuitive because this is supposed to feel more ‘free’, but I truly enjoy creating more staged shoots, self portraits, double exposures and using filters.
The diffuser that I’ve previously enjoyed on some of my black and white rolls came off too strong on here - instead, I enjoyed the star filter much more because it gave the shots a softer look without making them look unsharp.
I was happy I got these double exposures and flower photos because honestly, it was not one of my best rolls - but these shots really saved it. This is part of the journey though, and I’m really enjoying learning new things with every roll.
Blue filter star filter on both exposures
Double exposure with a combination of a blue filter and a gradual mauve filter
Blue filter paired with star filter. I placed glass from a picture frame in front of the rose and sprayed it with water.
Gradual mauve filter, and one of my tops in front of the camera
Double exposure - Blue filter paired with star filter. I placed glass from a picture frame in front of the rose and sprayed it with water.
Gradual mauve filter and star filter
Blue filter in the first shot, possibly gradual mauve in the second
Blue filter and star filter
Gradual mauve and multi image
Blue filter and diffuser - I like this shot but feel like it would be better with just the blue filter
Blue filter and diffuser
Reflection in the water - with blue filter and diffuser
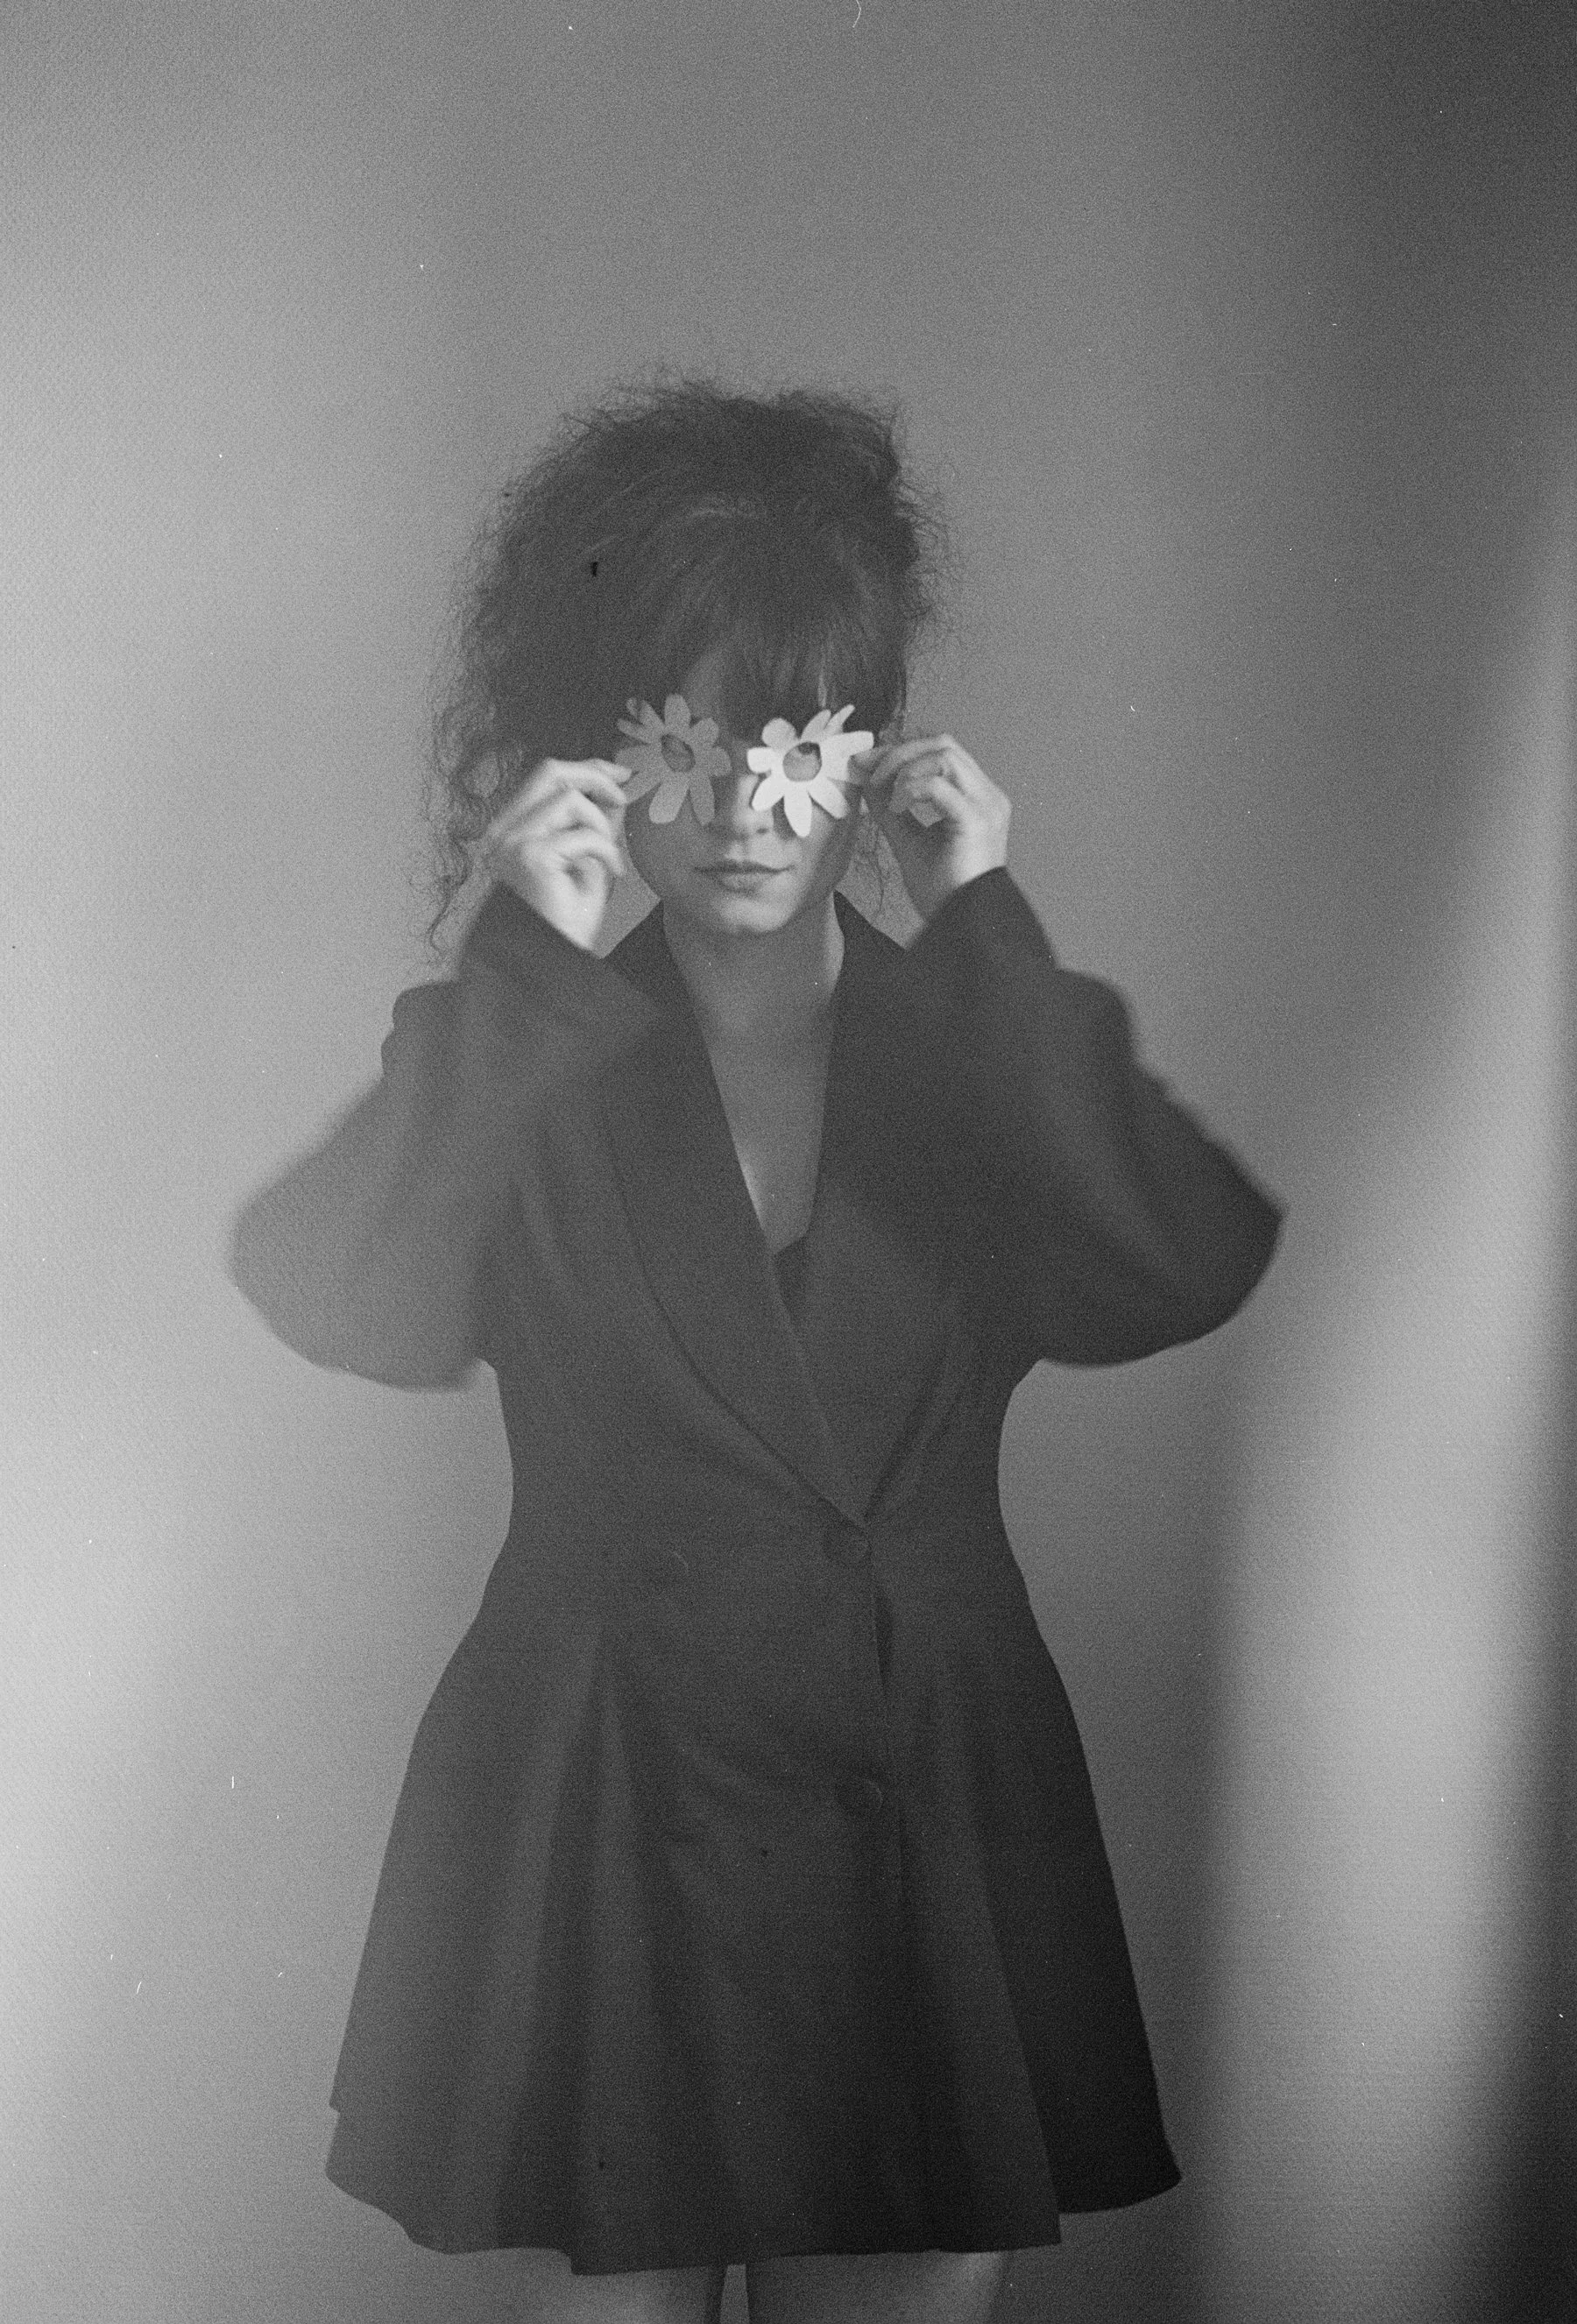
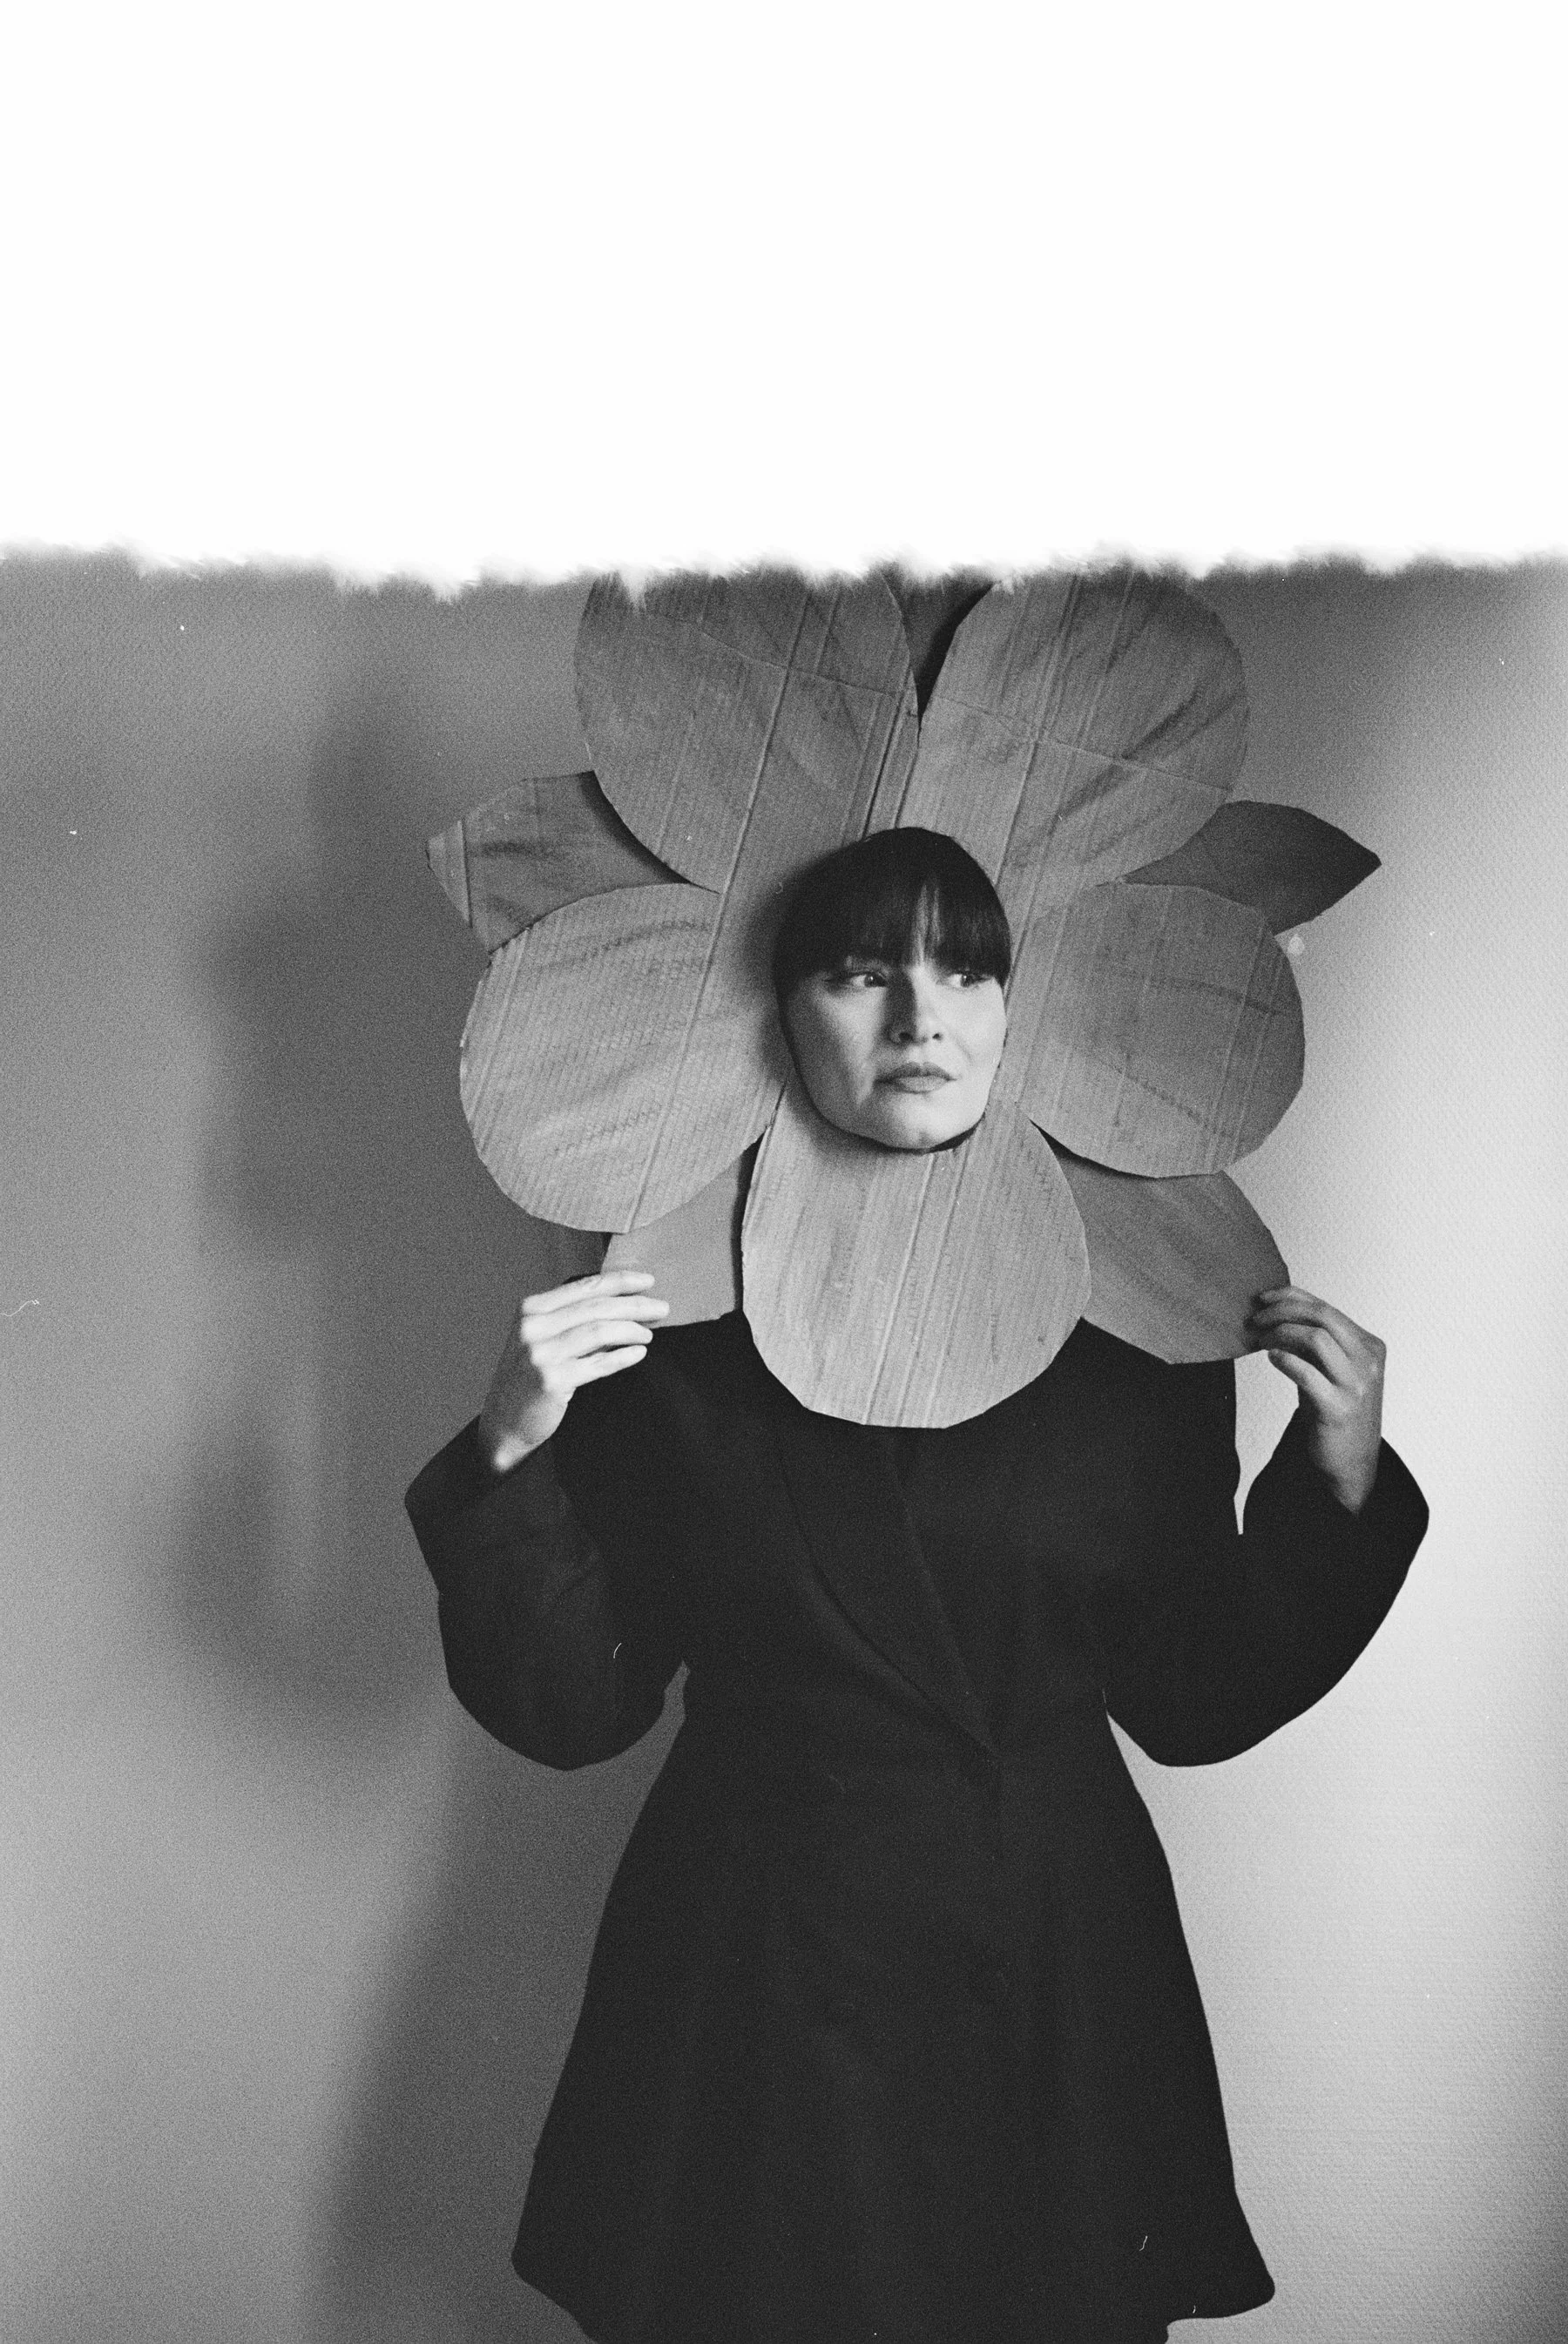
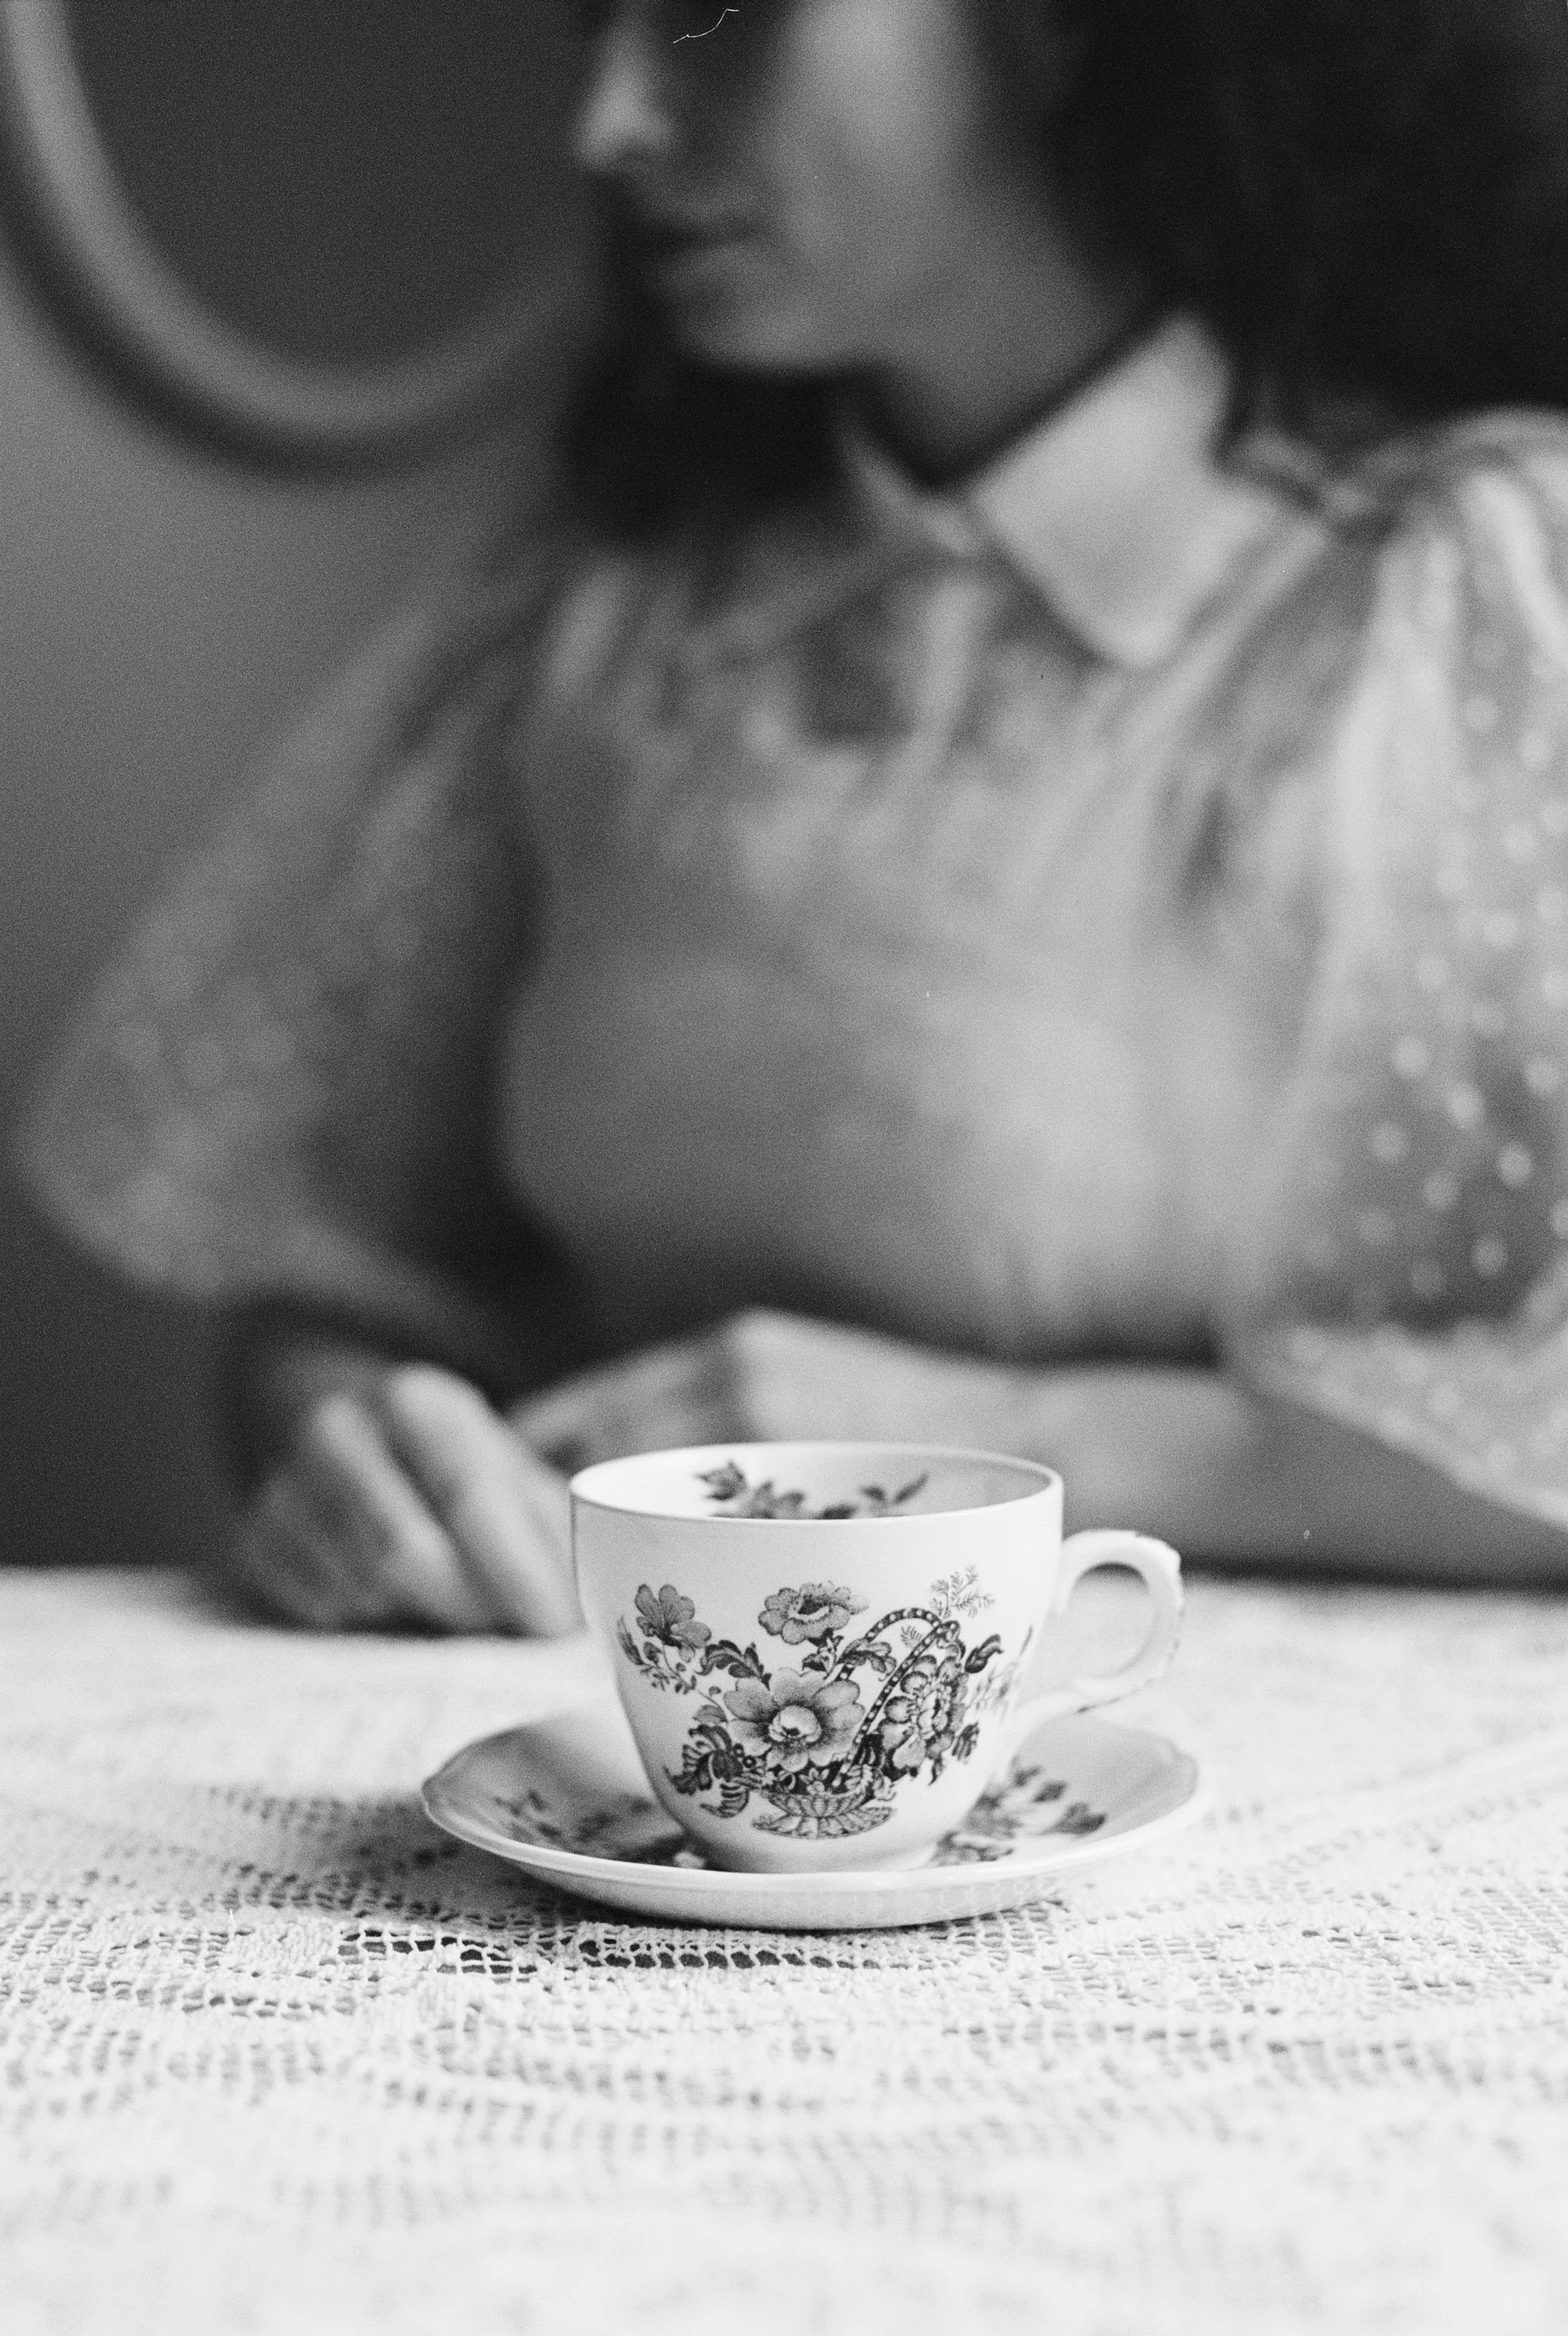
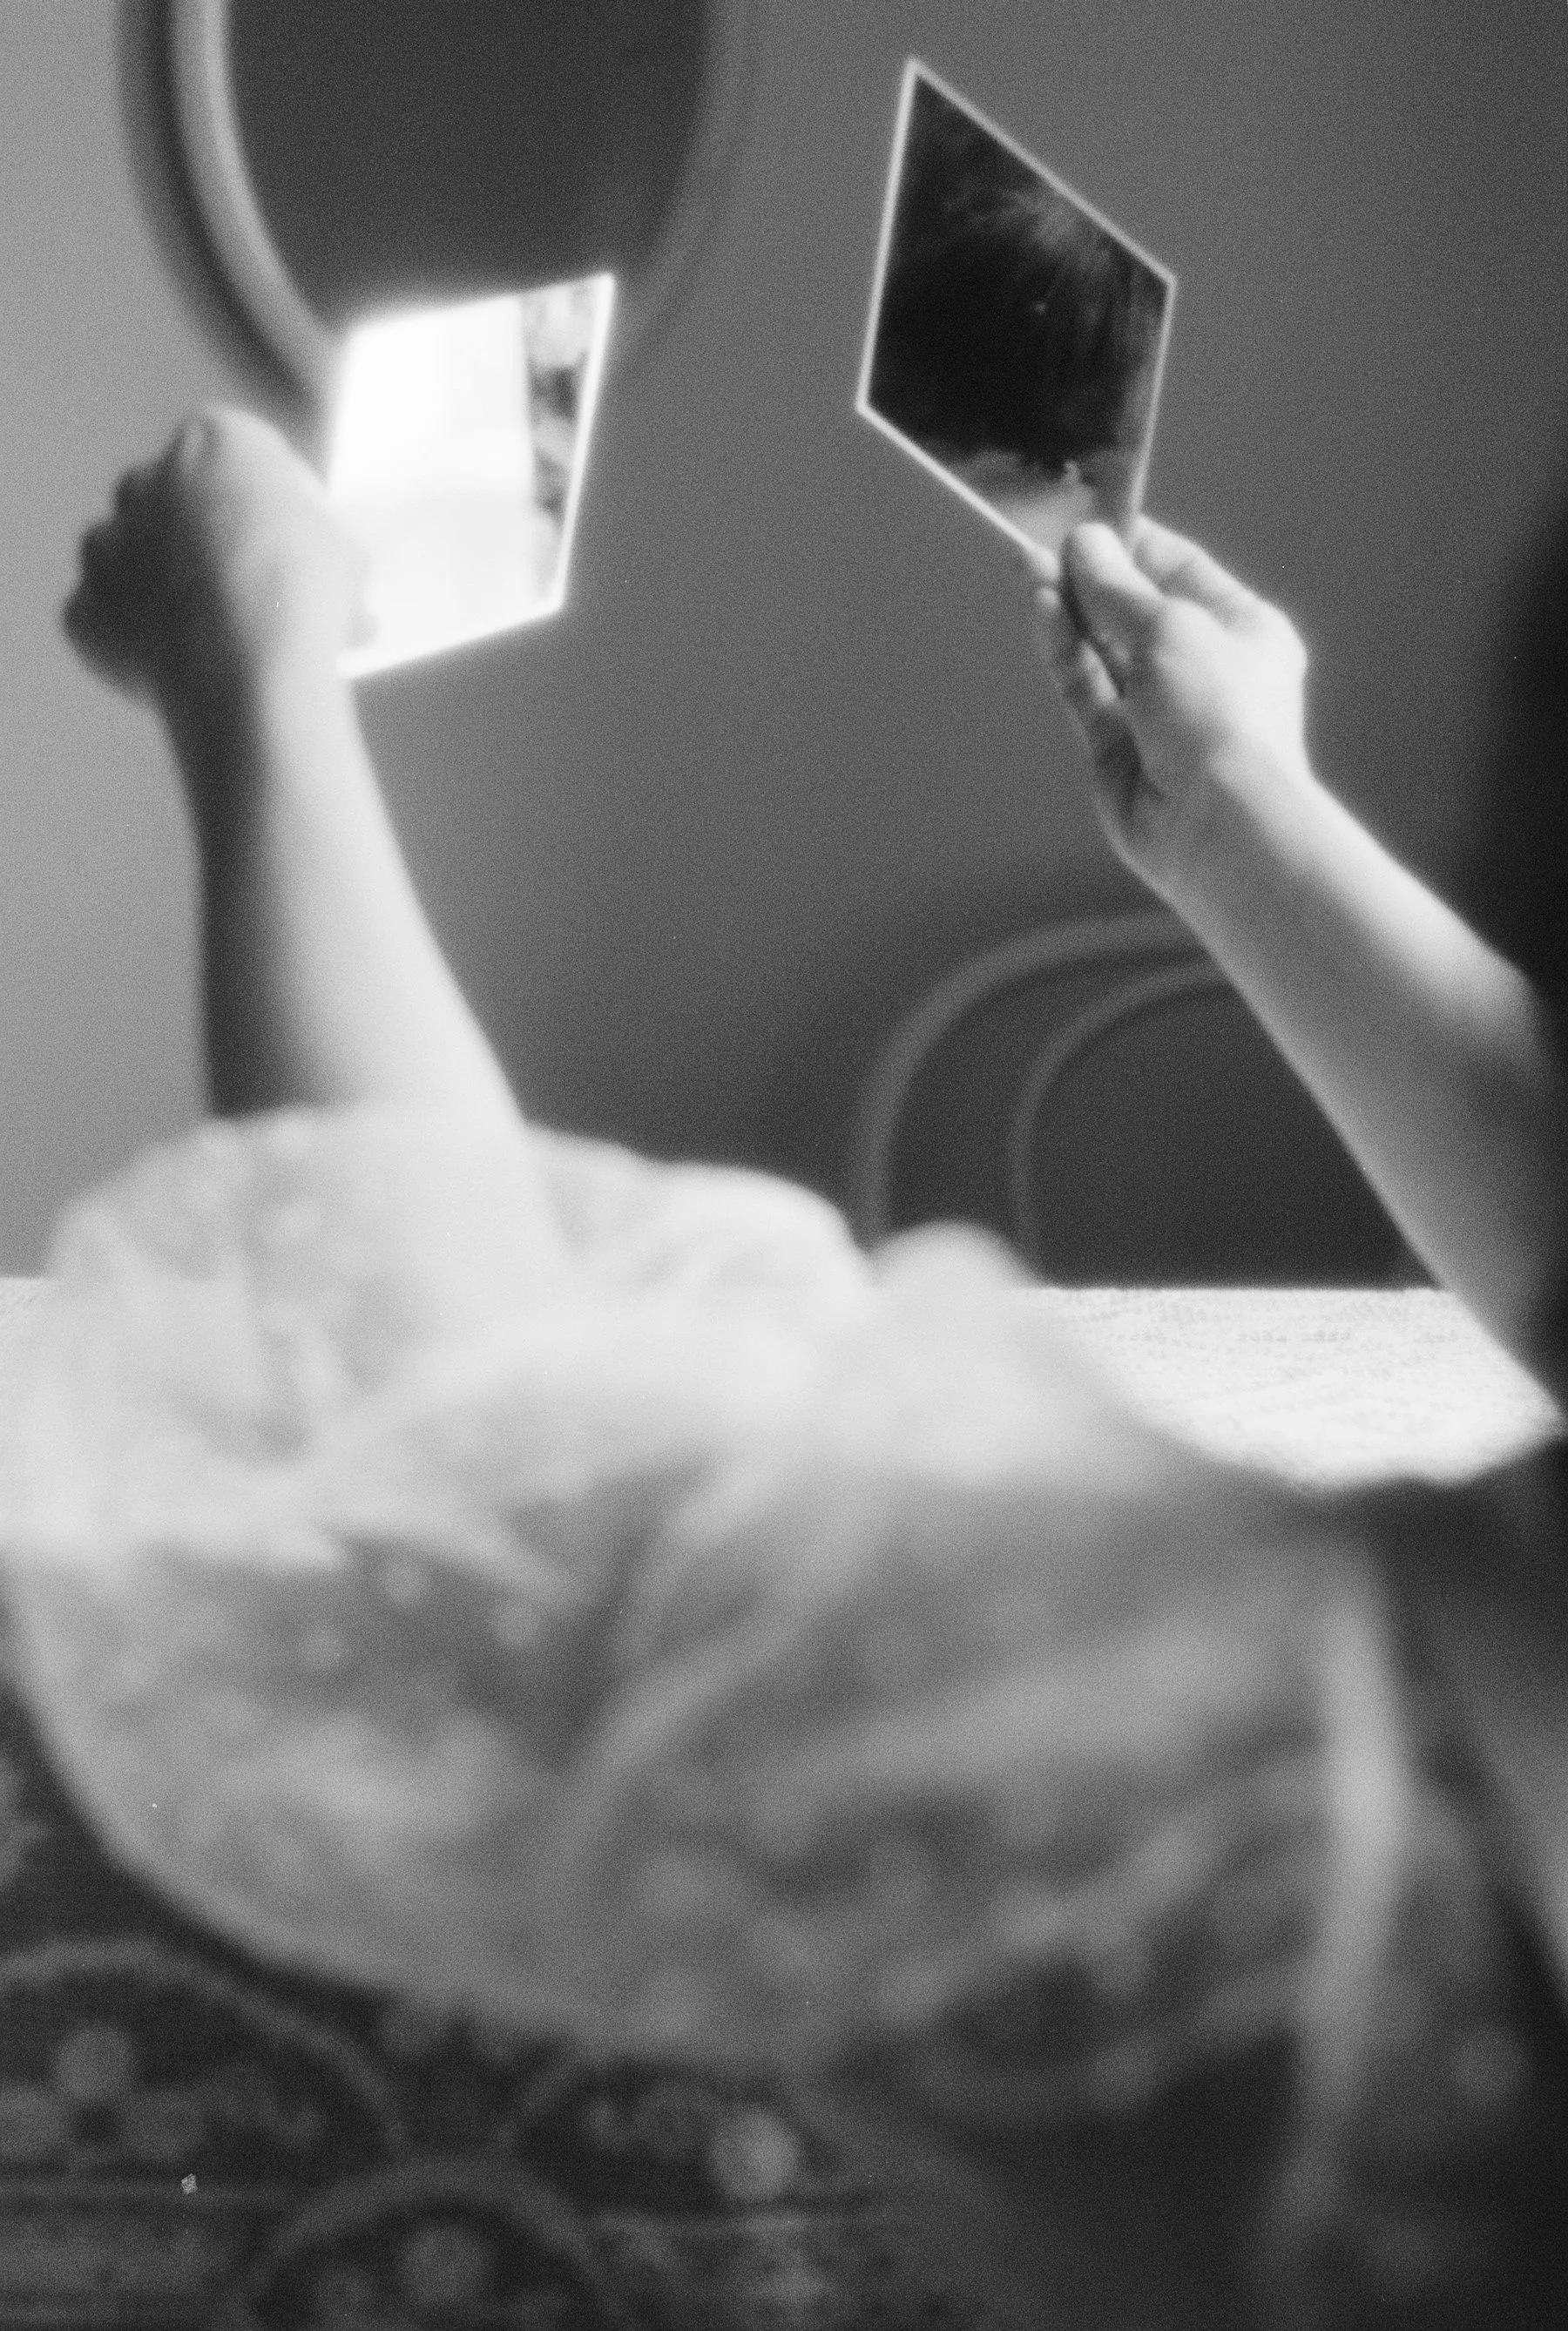
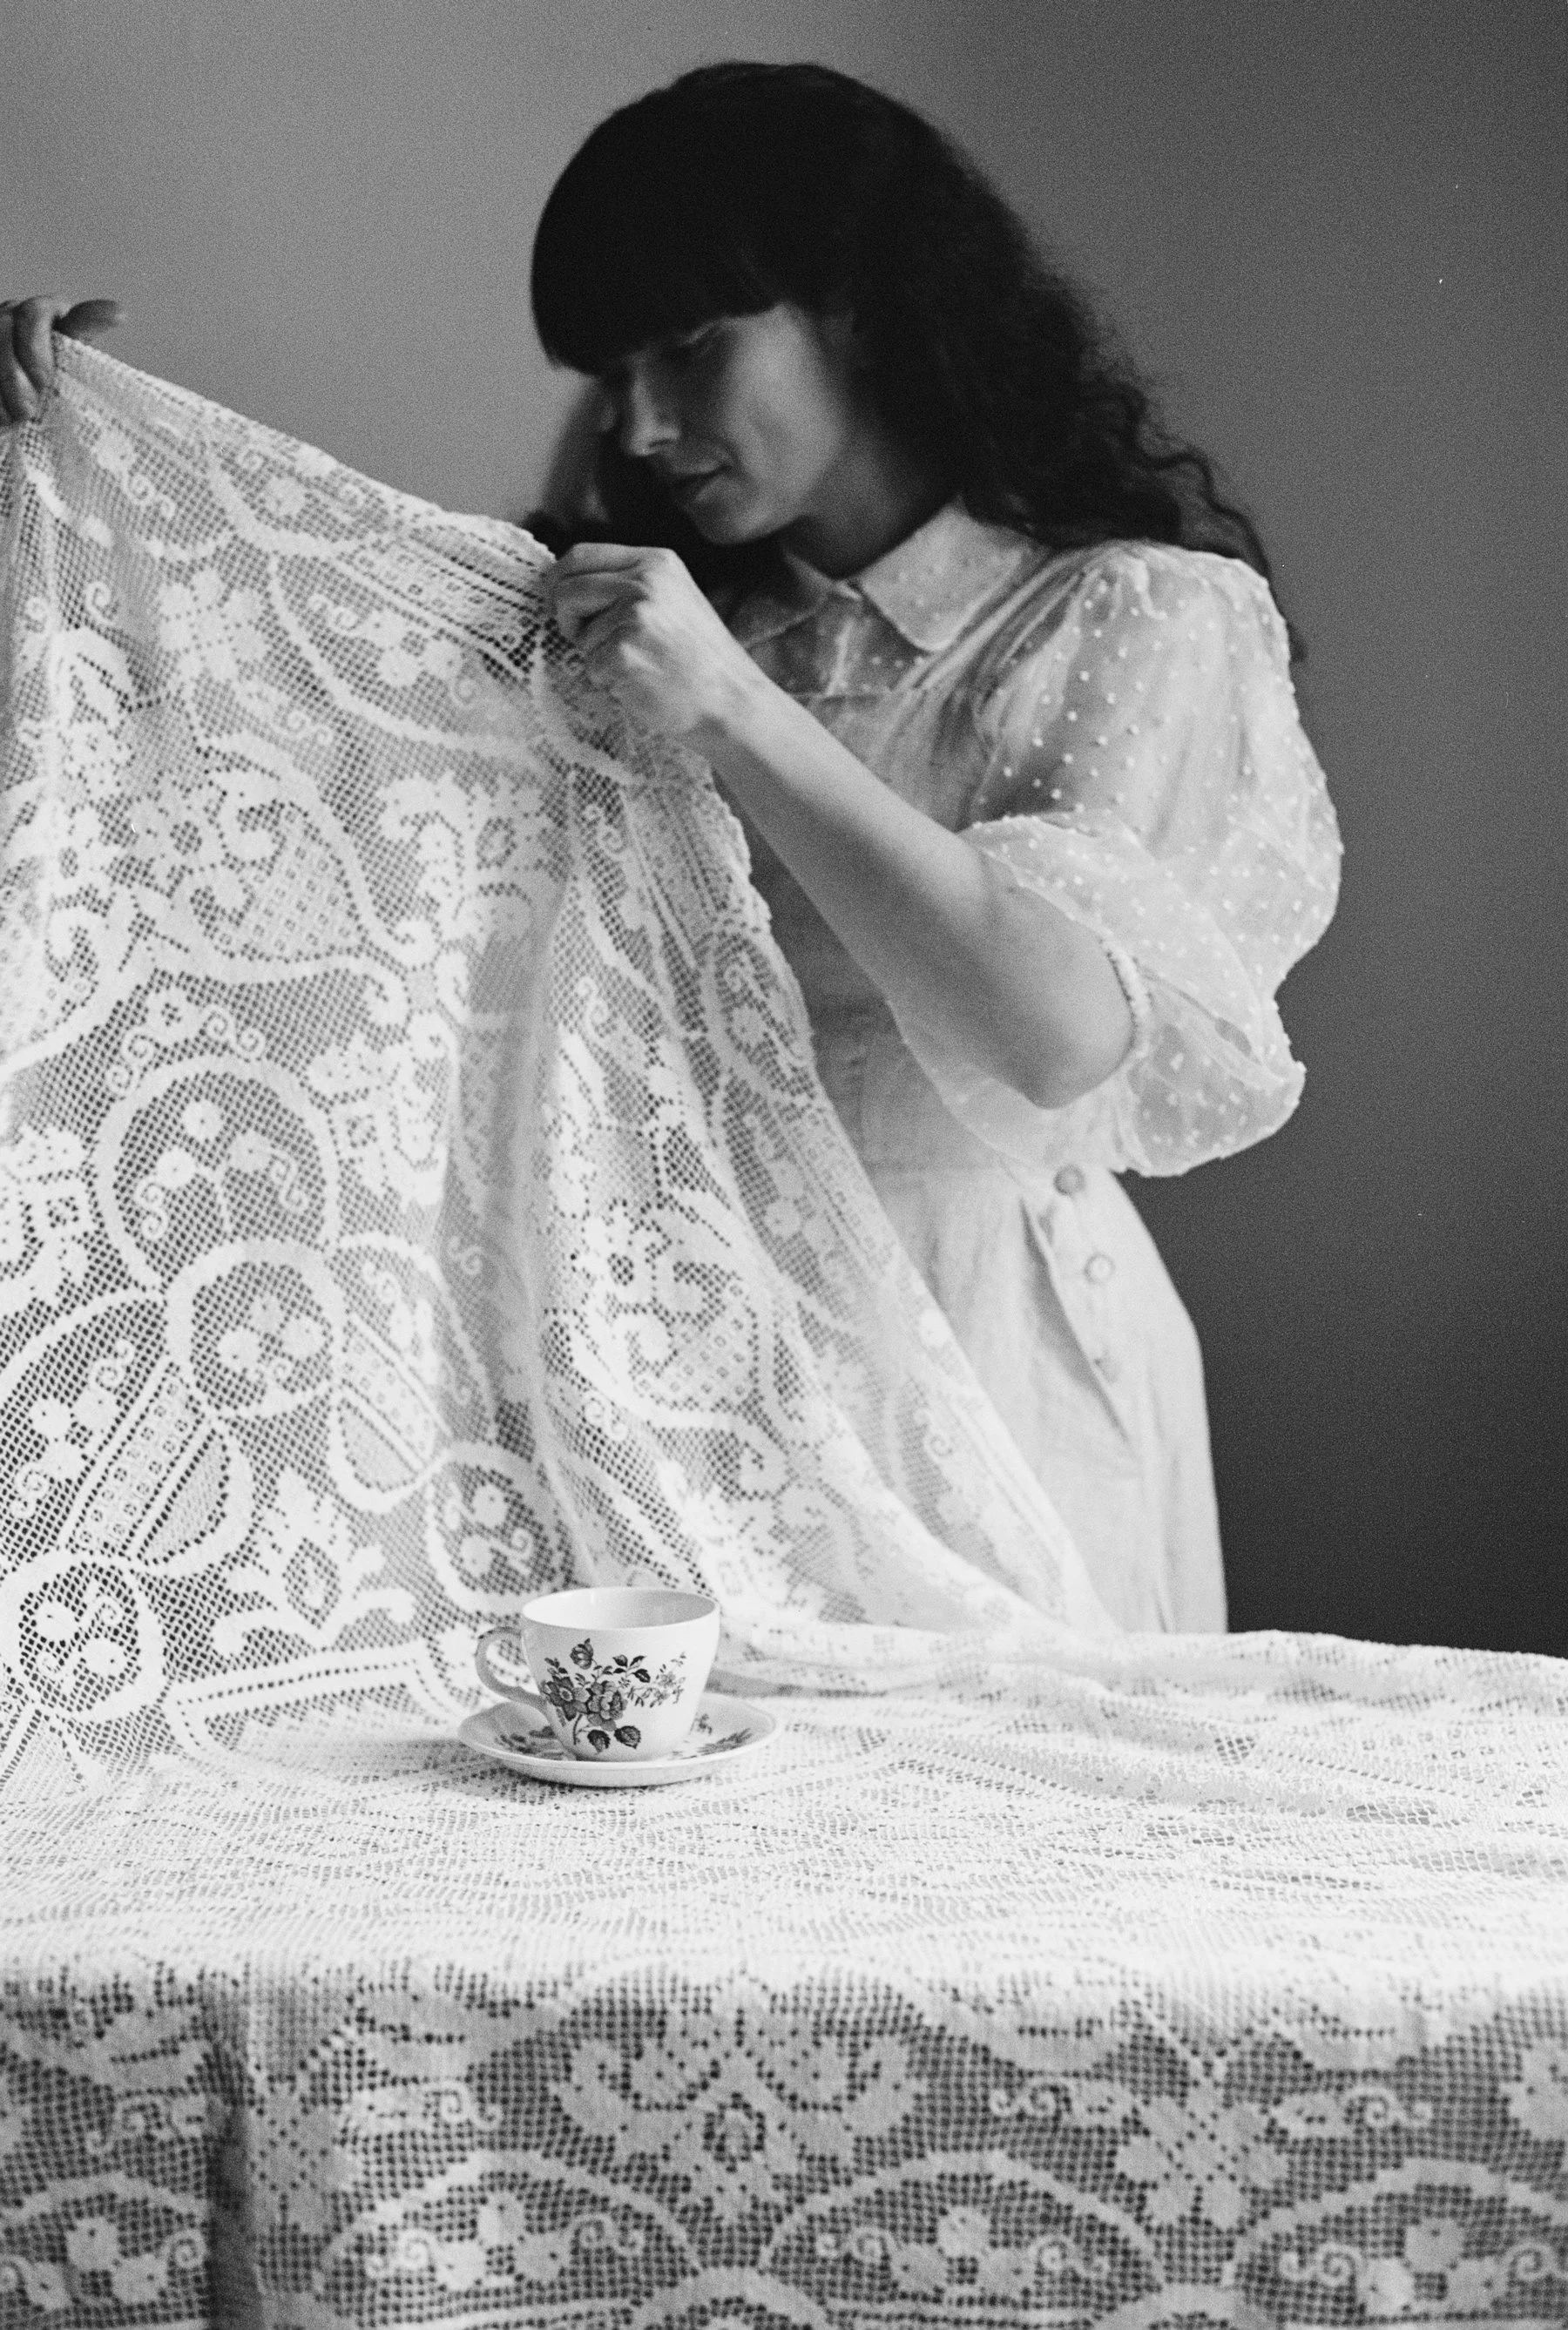
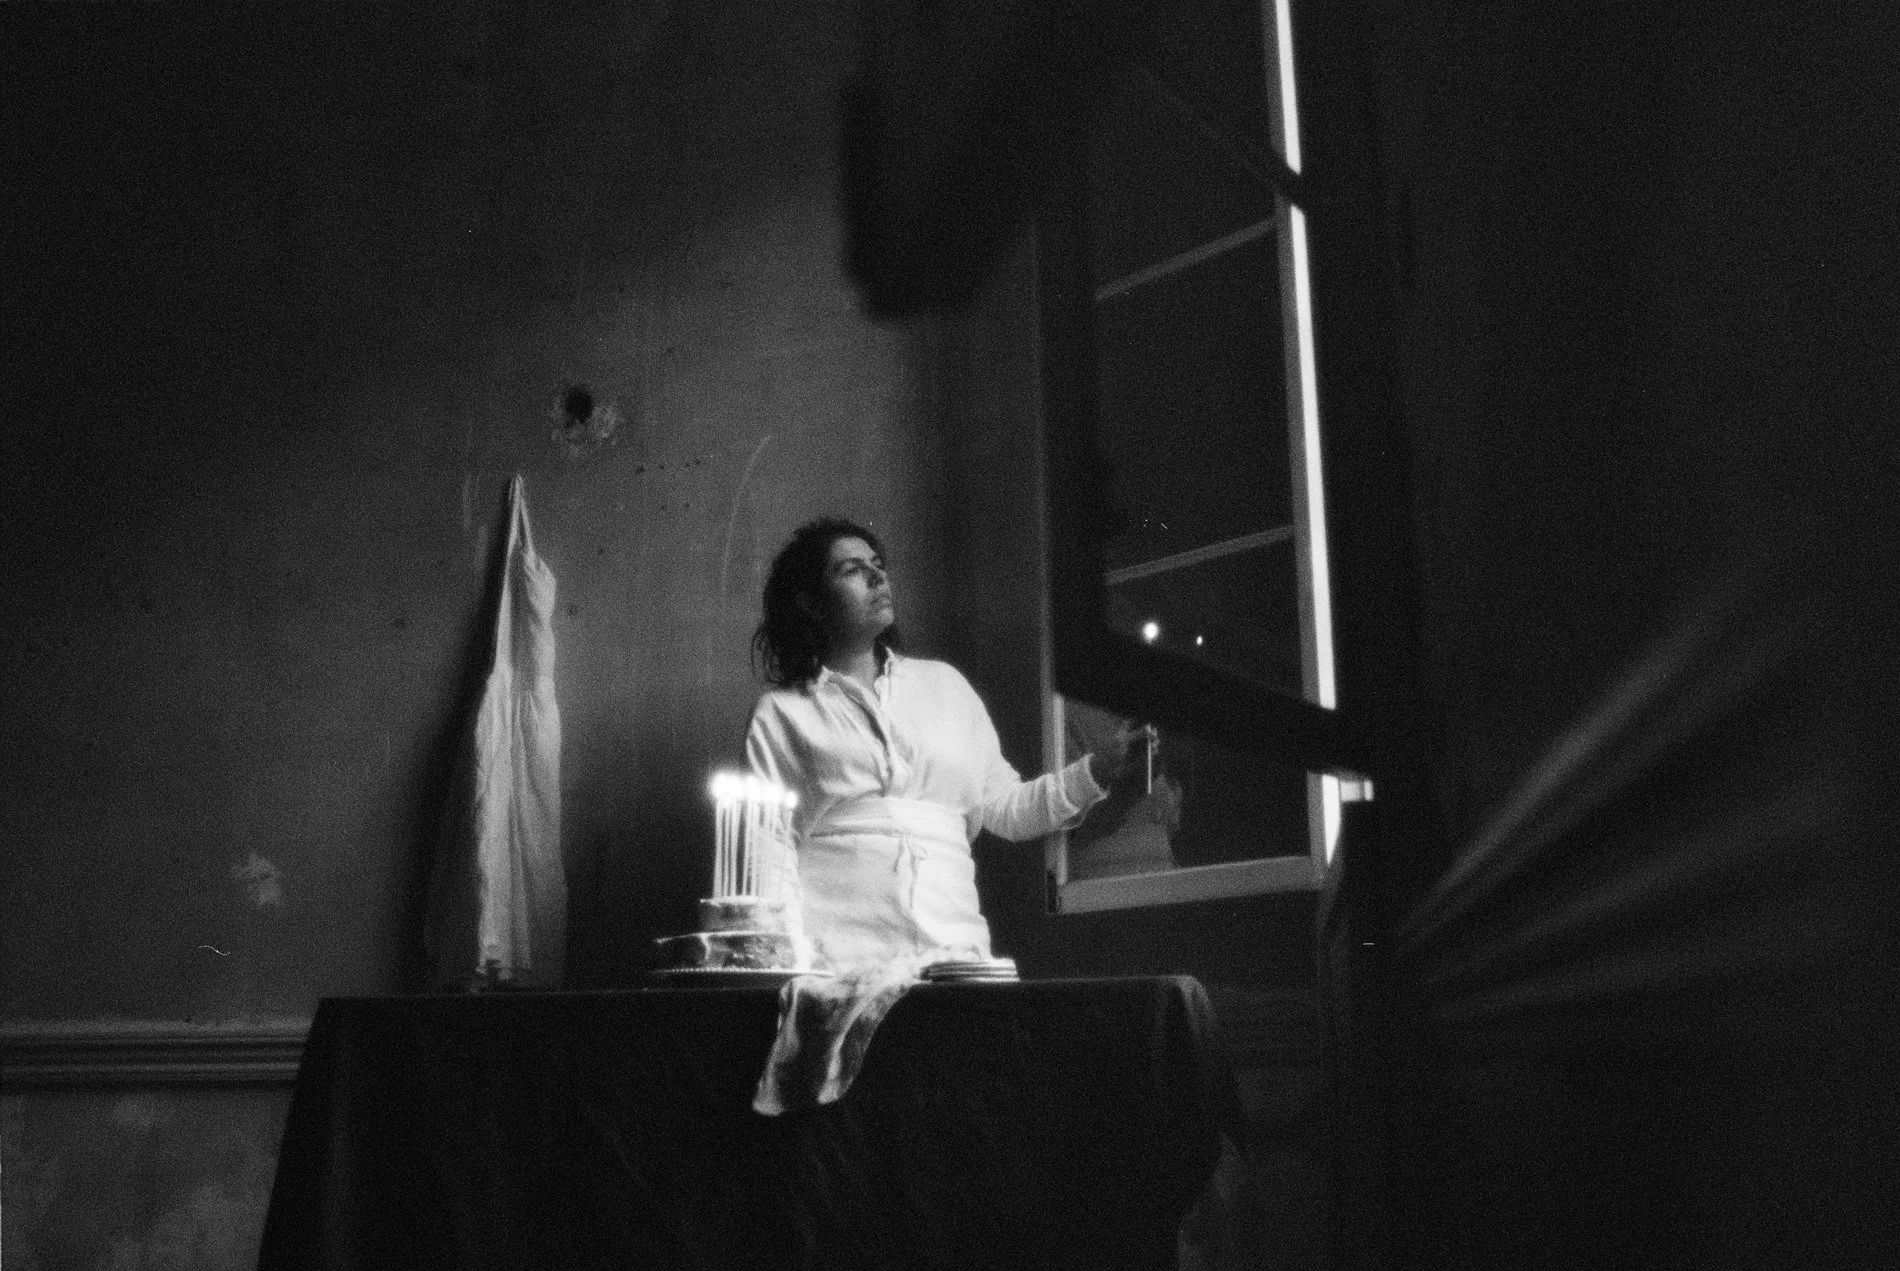
Self-portraits on film
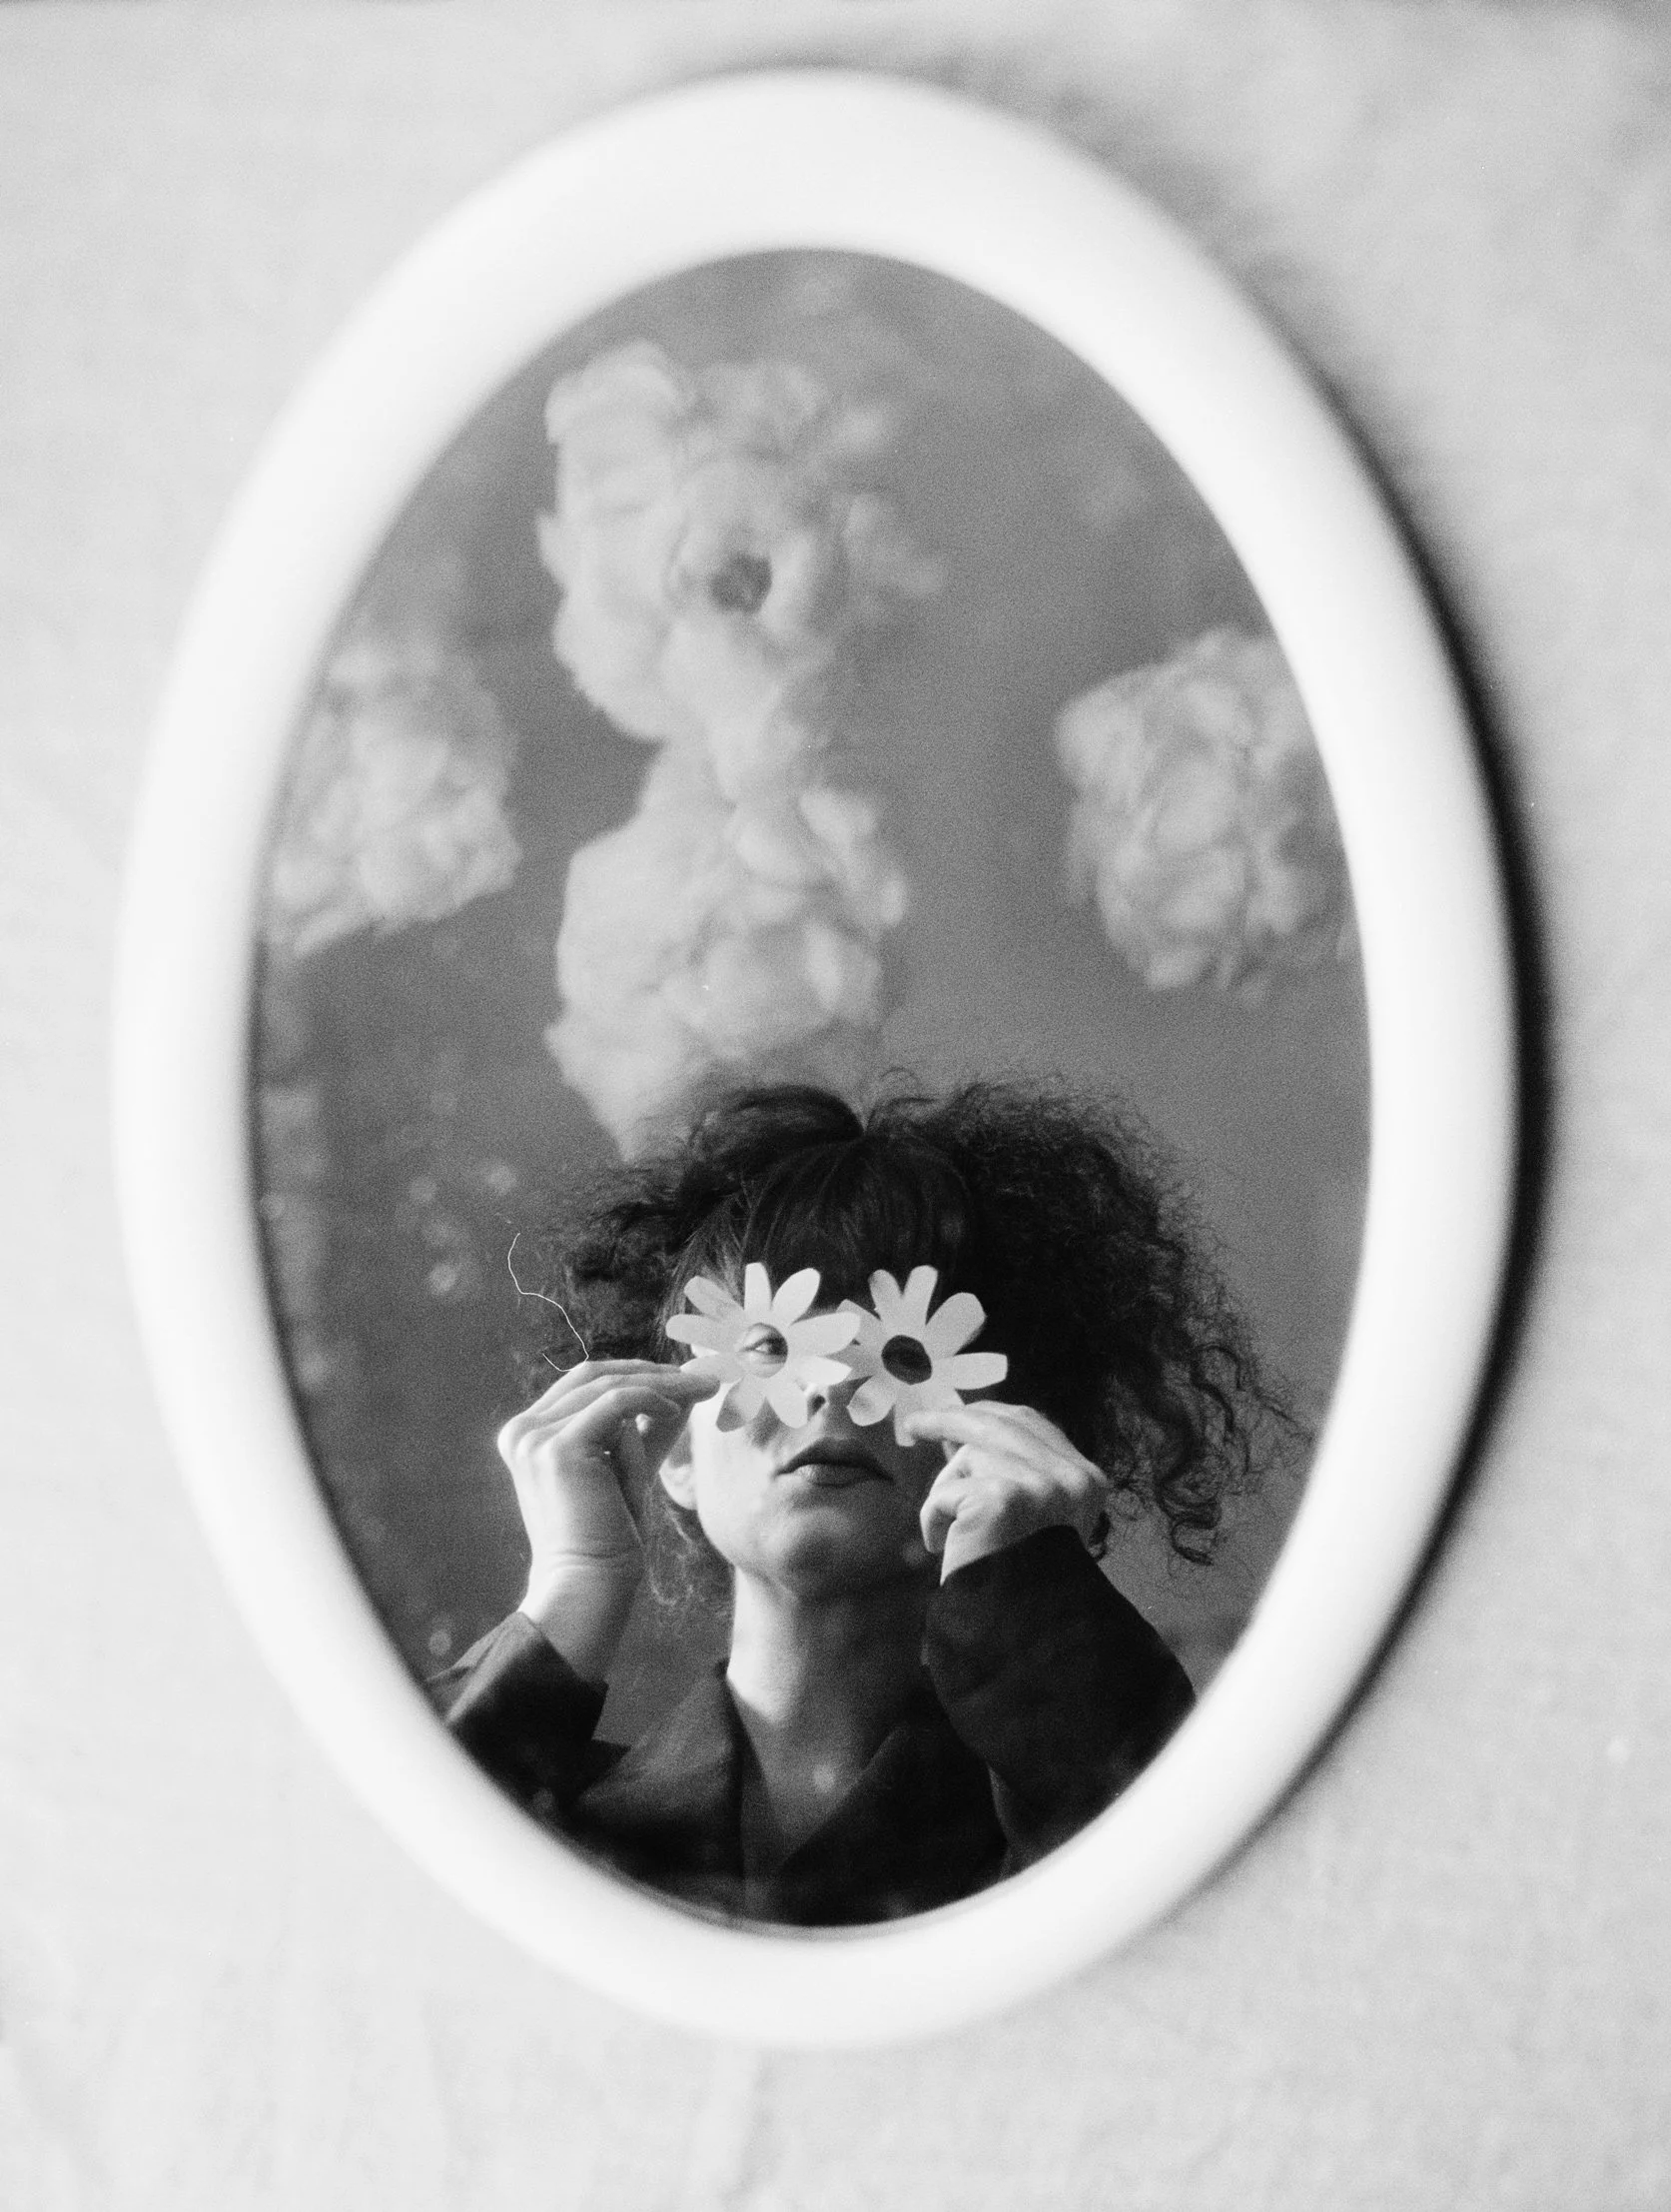
I got this idea when I was taking another self portrait - I removed the mirror from the wall and put it on the table, and then I saw the clouds reflect in the mirror.
I started experimenting with digital self-portraits around 2023, usually just a couple of times a year. Over the past few weeks, however, I’ve been creating them weekly. What started as a simple practice has grown into a restorative, introspective ritual almost like meditation - where I can be fully present with myself and my camera. After years of constantly pushing beyond my comfort zone (sometimes too hard), this practice feels exactly like what I need right now
I’ve been experimenting with different techniques and filters, like double exposures, slow shutter speed and using different props. I really enjoy going to flea markets and thrift shops to look for small objects to incorporate into my portraits, like the lace fabric and small mirrors you’ll see in many of the shots below. I’m always on the lookout for interesting textures and reflective surfaces, small mirrors, fabrics, filters..
One of the things I love about shooting film is how it encourages experimentation while also making me more deliberate about what I truly like. Since I started shooting more thoughtfully and arranging scenes more intentionally (but still, often without a clear plan), I’ve enjoyed the outcome far more. Often while I’m capturing one image, I notice something else I want to try and that naturally leads to the next shot. I rarely feel fully “ready” when I start. I just begin and let the process unfold - what has been really important for me is to have a clear space, like a corner of a room, where I can get started immediately when I feel the inspiration hit.
Lately I’ve been shooting primarily in black and white because it allows me to focus fully on composition, textures, and shadows without the distraction of color. For example, on a sunny day, the wall I usually shoot against reflects a yellow light that really bothers me. Shooting in black and white lets me concentrate on the shapes, contrasts, and mood I want to capture.
All shot with Nikon FE with 50mm 1.8 and 35mm 2.0 lenses. From two rolls of Ilford XP2 super 400. I use a tripod and the camera’s built in self timer for these.
An attempt at using a “splitzer filter” for double exposures - this came out better than expected!
It took me a while to figure out what had happened with this shot, but then I remembered I’d accidentally forgotten to turn on the self-timer. The first photo was just the wall, without me. Once I realized, I took another shot with myself in it, which is why the texture of the wall seems to wrap around me. I like how it looks a little washed out, like very old film.

Using the splitzer filter, again - I must have accidentally moved the camera a little bit between the frames
Slow shutter speed - I think I shot this one at 1/15 or 1/8 of a second
My usual double exposure leaf and mirror
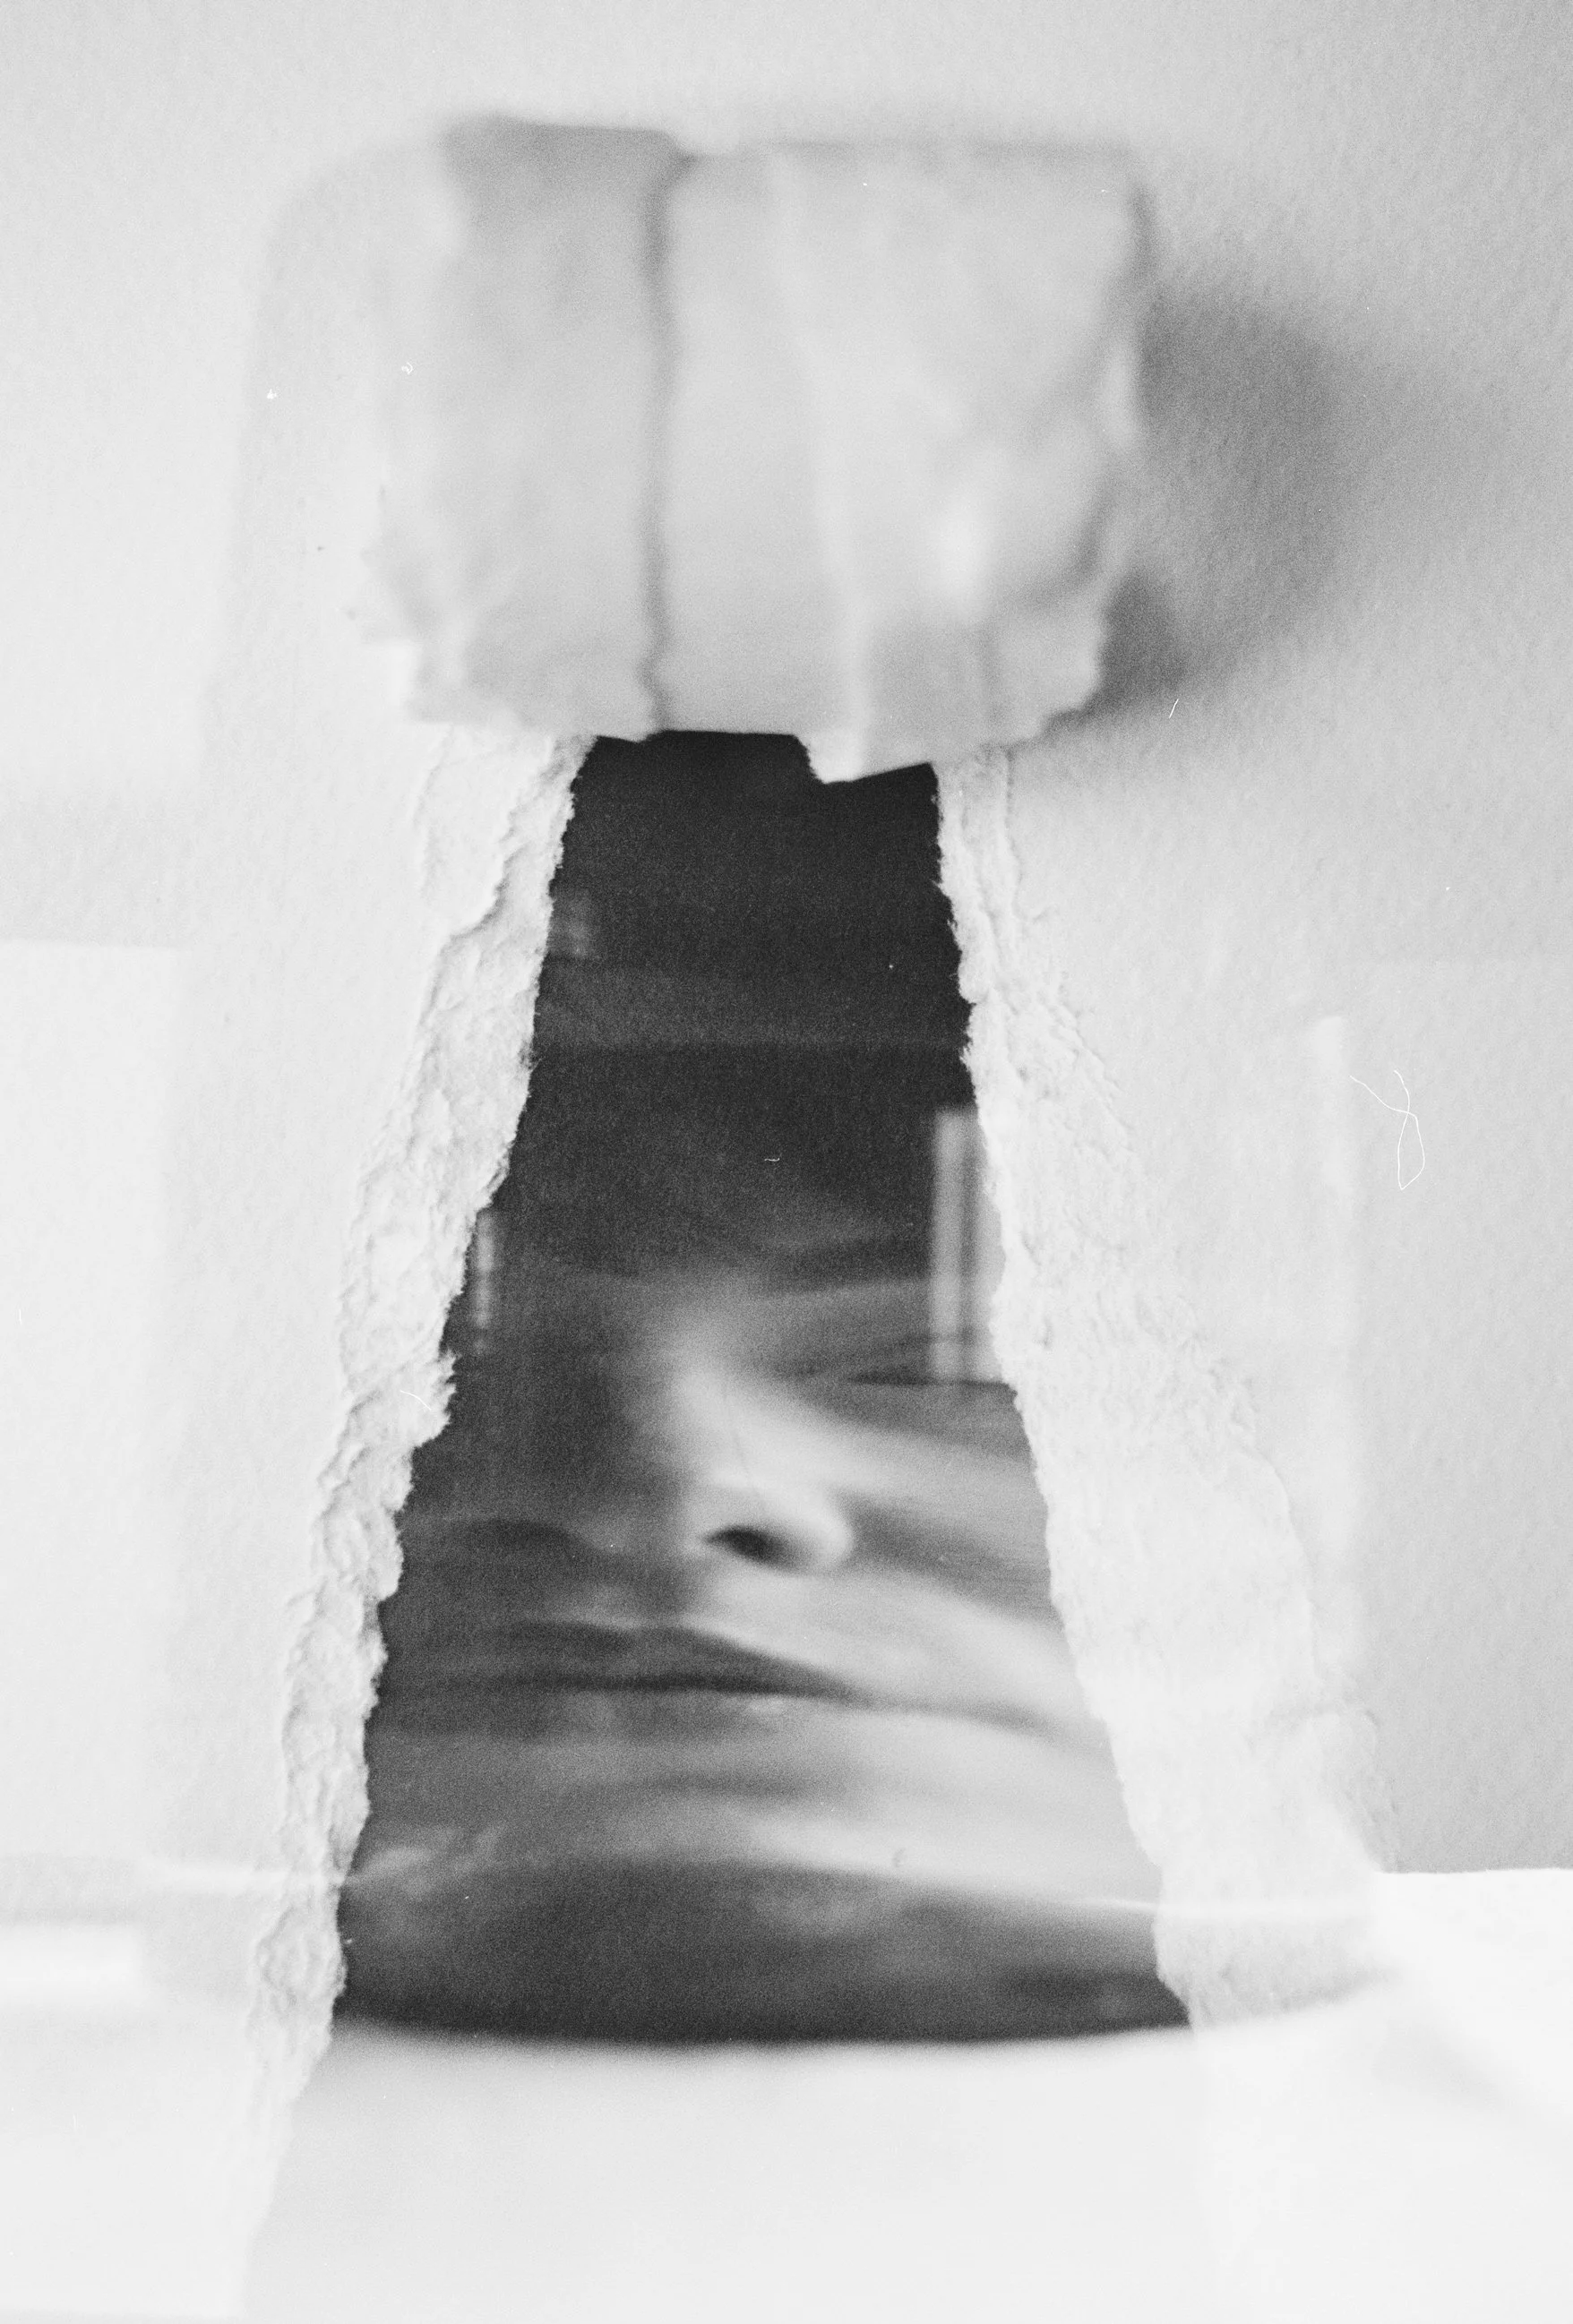
This was an interesting experiment for a double exposure! Basically I used thick watercolor paper and made that rip in it, with black paper underneath. I then made another exposure which is what you see in the middle.
This was surprisingly hard to set up, because you have to get the focus right on the reflection, not on the mirror.
First of the roll - mirror self portrait with a multi image filter
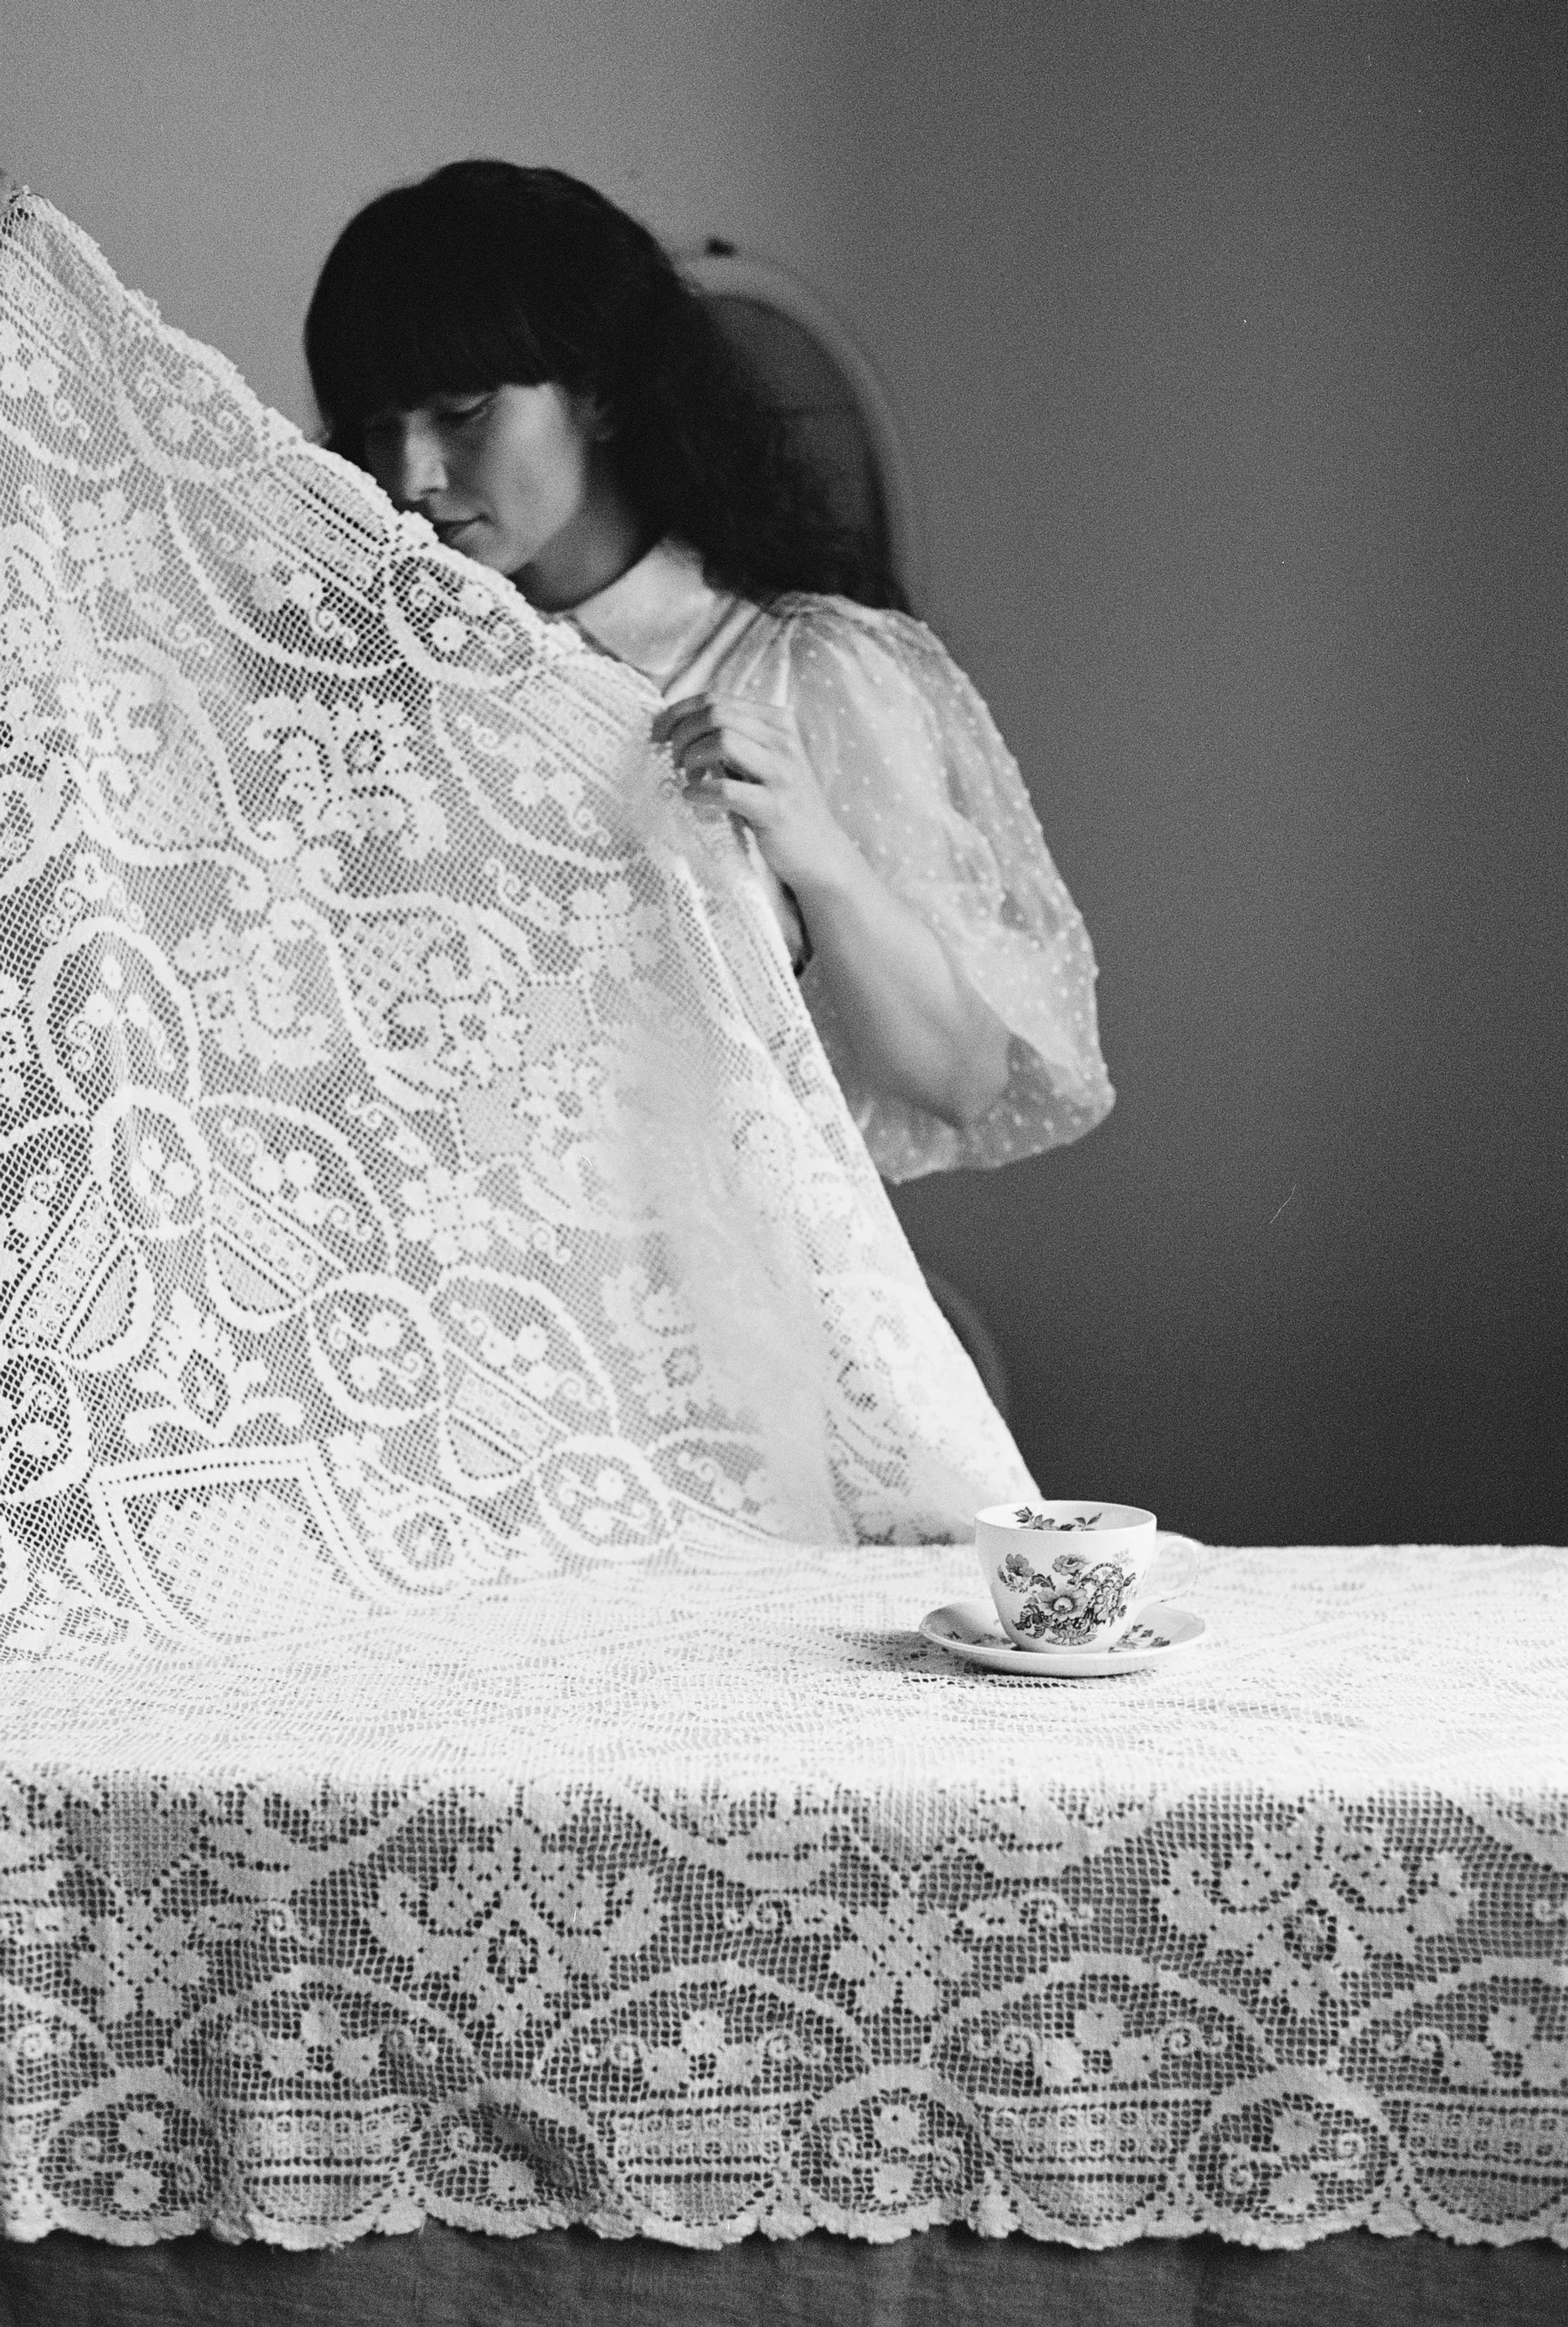
Playing with a small light and lace
Let me know if you had a favorite! And if you want to see more, you can follow my film account on Instagram.
Shooting expired color film
I still haven’t found my go-to color film. I have some favorites, like Cinestill 400d and Lomochrome Purple but those are not exactly for everyday use. Cinestill sometimes struggles with shadows and Lomochrome Purple is well, special (although I really love it) and both are pretty expensive. I might need to go back to shooting Kodak Ultramax or Gold, or Fujifilm for a while to see how it feels.
I figured it was time to write about one of my favorite color films - Fuji Superia 200. Sadly it can’t be my go-to, since production of this filmstock was discontinued in 2017. I have a few rolls at home, all expired in 2013. Before shooting it for the very first time last summer I tried to learn as much as possible about expired film, and consensus seemed to be to overexpose one stop for every decade the film has expired. Some said to overexpose even more. Of course, it depends on how the film was stored as well - I got two rolls from my brother, and I knew he had stored them at room temperature but in a drawer, so they had at least been protected from light. Still, you can never know the outcome, and you might end up with a blank roll. As I know negative film likes light, I decided to shoot my first roll at ISO 50, so two stops overexposed. That one turned out just right, but I shot it with a different camera than with my second roll. After shooting the same roll with my new camera, I realized the lightmeter slightly underexposes all images, so in the end I could have given this one a tiny bit more light but I still really like the result! I have since adjusted the exposure compensation so the lightmeter reads more accurate. What I enjoy about this film is especially the blueish greens (which are nowhere to be seen right now), so it’s perfect for summer - but I wanted to see how it would look during winter too. Weirdly my frame counter stopped at 34 but I got 40 frames from this roll!
Trying out my 200mm lens
An accidental double exposure - the first frame was intentional but on the second frame I slipped and took a random photo
I had this idea for a double exposure for a while, didn’t quite turn out as I imagine - I might try again with the lights out of focus instead.

It was not easy shooting inside at ISO 50 in January
I don’t remember taking this triple exposure - I think it’s the last frame of the roll
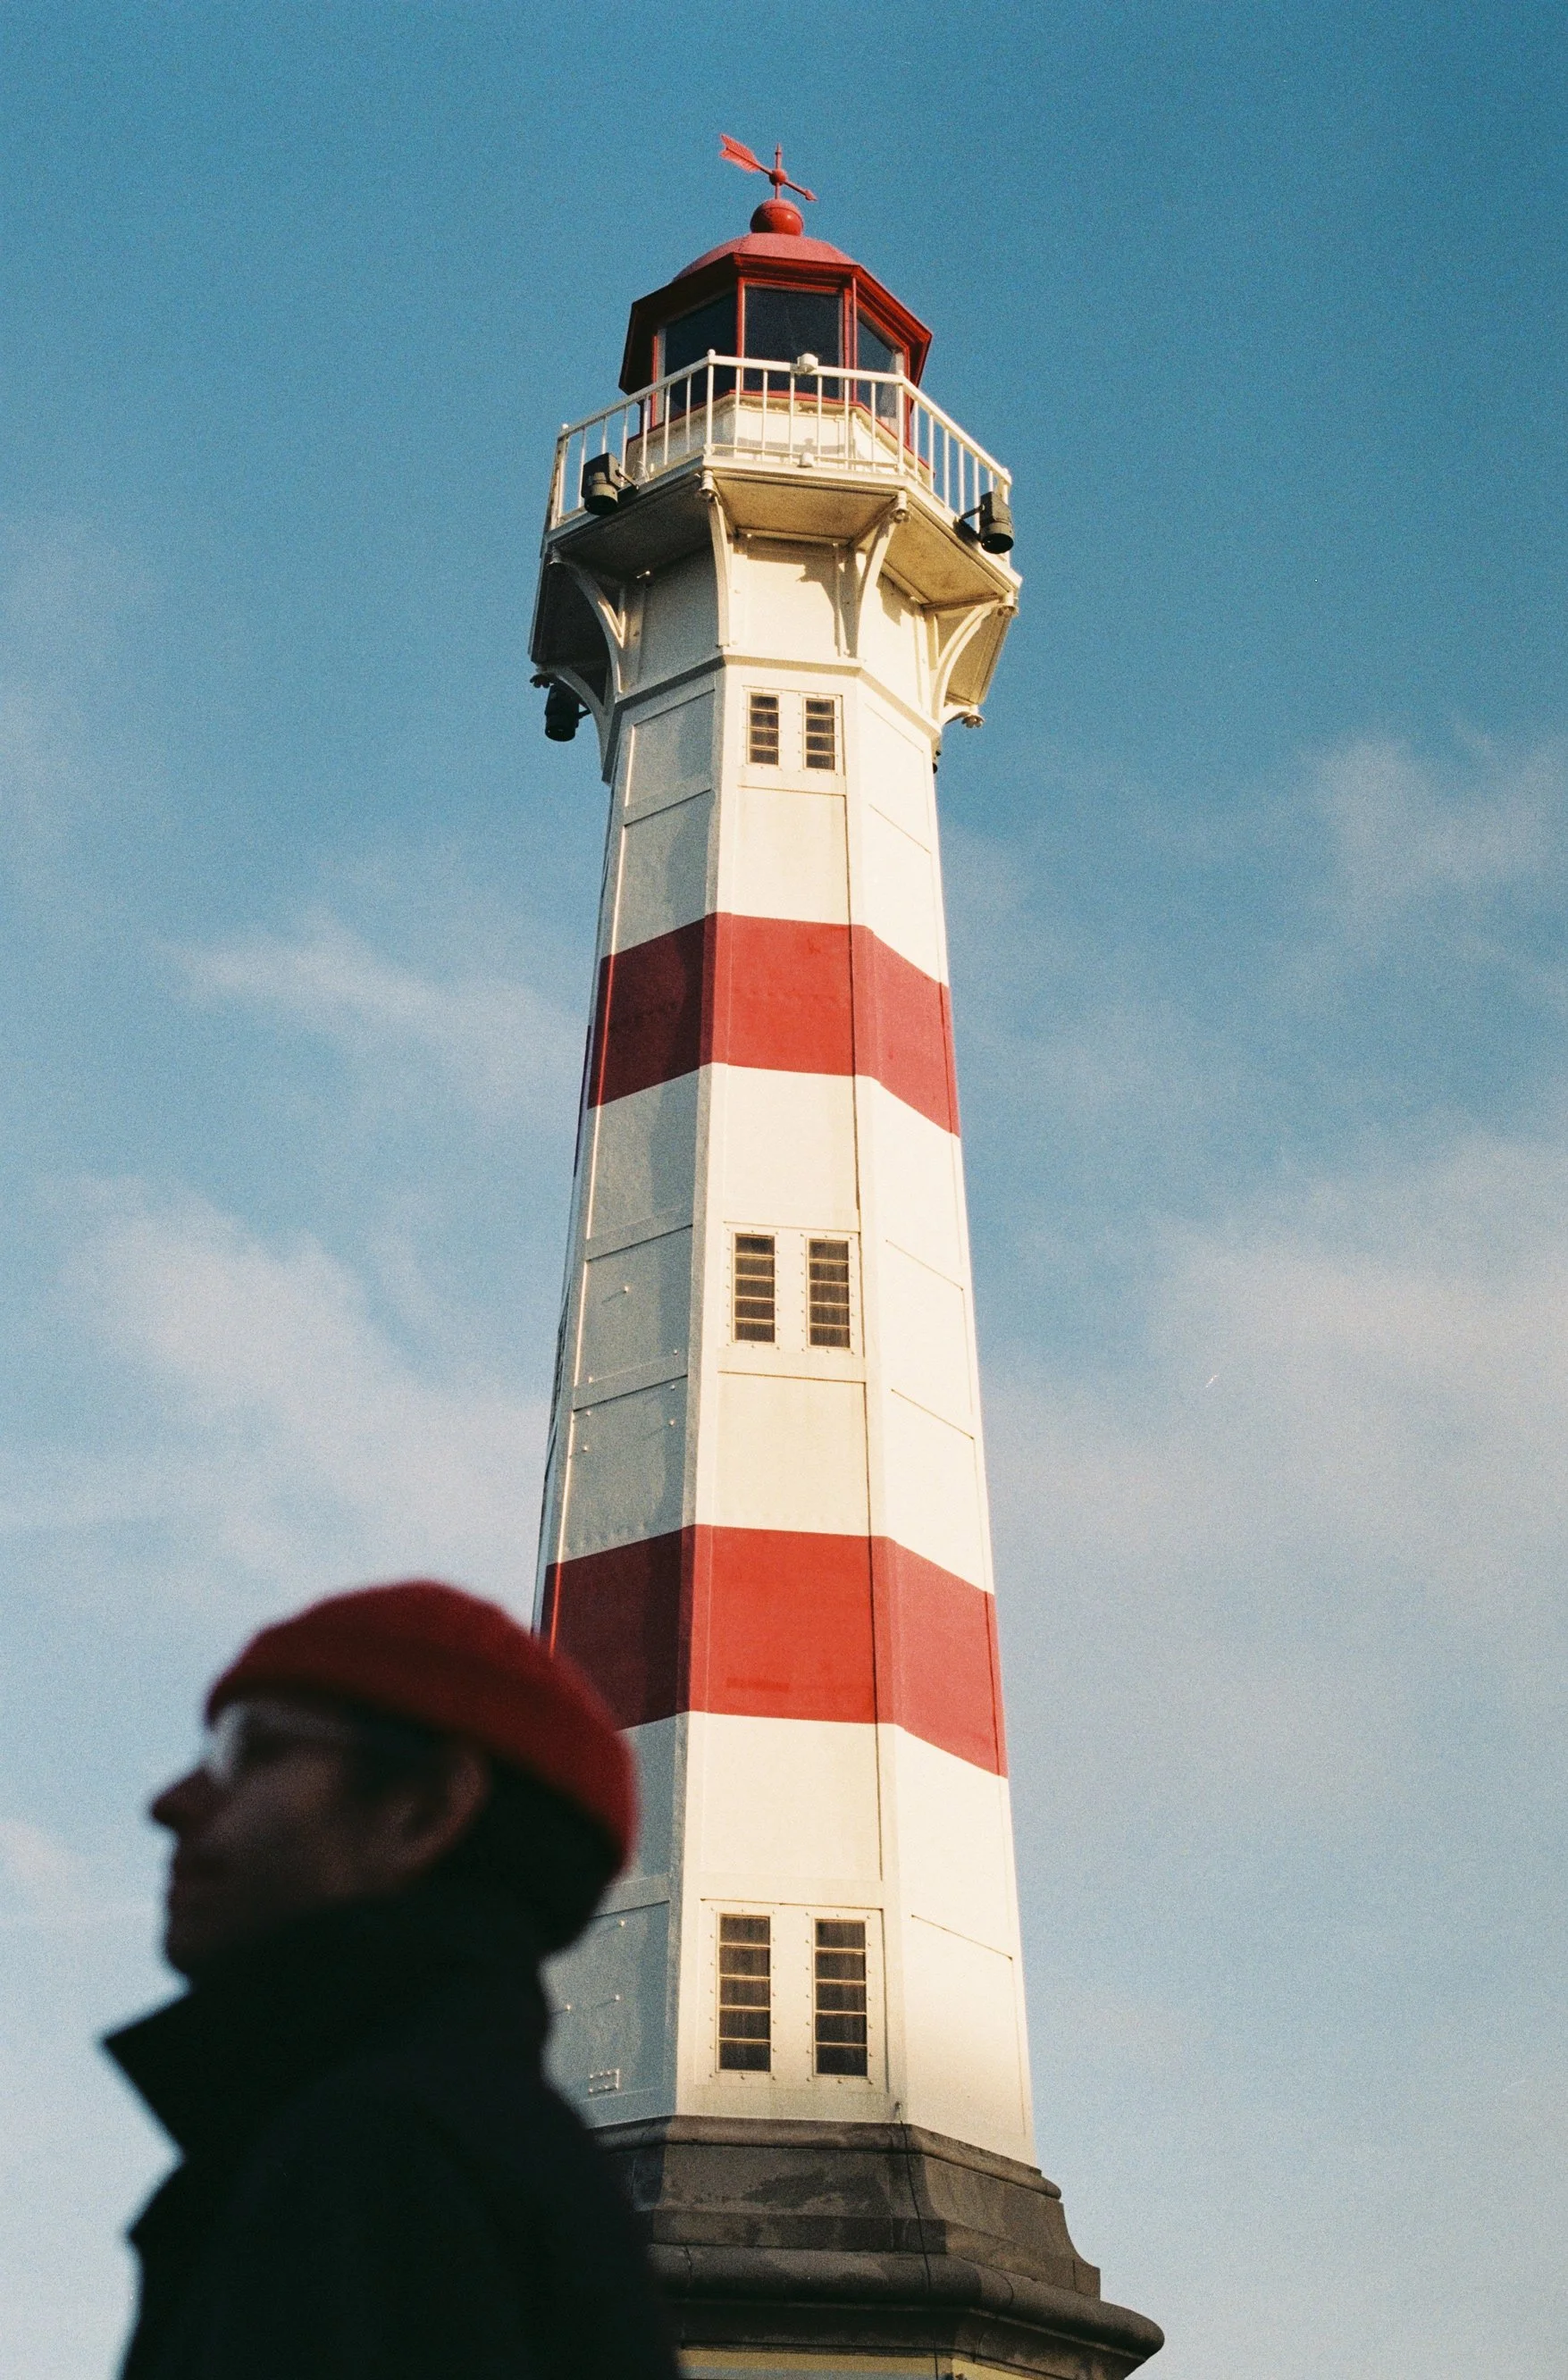
Here are some frames from the roll I shot last summer:
The same lighthouse and same film from last summer - as you can see it looks a bit better with more light (but also it’s summer here)
Experiments on B&W Film
A couple of weeks ago I went to a local thrift store and found a filter I had been looking for (a blue Cokin filter - not ideal for b&w though). The gentleman at the check-out counter looked at the filter and asked me “Are you interested in more of those? I have a lot at home! Come back next Saturday, I’ll bring them for you.”. And so I did, and he had brought a whole bag for me and written a little message. It was the sweetest thing! One of the filters in the bag was one I had really been searching for - a Cokin multi image filter. I was so excited to try it before finishing the roll.
This is going to be a long post because I liked almost every single photo out of the 39 frames I got. Most of these are shot in my studio.
I usually write down all my ideas and projects I want to shoot on film - one list for B&W and one for color. Shooting a whole roll of double exposures has been on that list for some time. When I put this Ilford XP2 super 400 in my camera, I decided this was going to be the one. When I get the photos back from the lab, the double exposures are always the ones I’m most excited about, since I can’t really imagine how they will turn out. I like shooting double exposures with things in nature - leaves, flowers, trees, clouds. But right now that is a bit of a challenge.. so I started, and halfway through it was too challenging and I didn’t want to limit myself. I’m glad I still got a lot of them on this roll, and I tried a bunch of new things too.
With the Cokin multi image filter
Long exposure - “light painting” with my phone flashlight
This is actually a double exposure, but it looks like it’s a mirror self portrait
So tell me, if you’ve made it all this way, which photo is your favorite?
My first roll of Kentmere Pan 200
Double exposure - I shot the flowers first and the self portrait second
I haven’t shot that many different black and white film stocks yet, but this one has been my favorite so far!
I really like the blooming highlights, to me it looks like I’ve shot it with a diffusion filter. Although, I will say that I’m not sure if it’s because of the film or because of my 35mm Nikkor lens that is incredibly hard to focus with. Either way I like the soft grain, the strong contrast and the dream-like feeling this film produces. I was able to get those really dark shadows without the image turning completely muddy - something I have struggled with before. I know some people would argue that there should be details in the shadows.
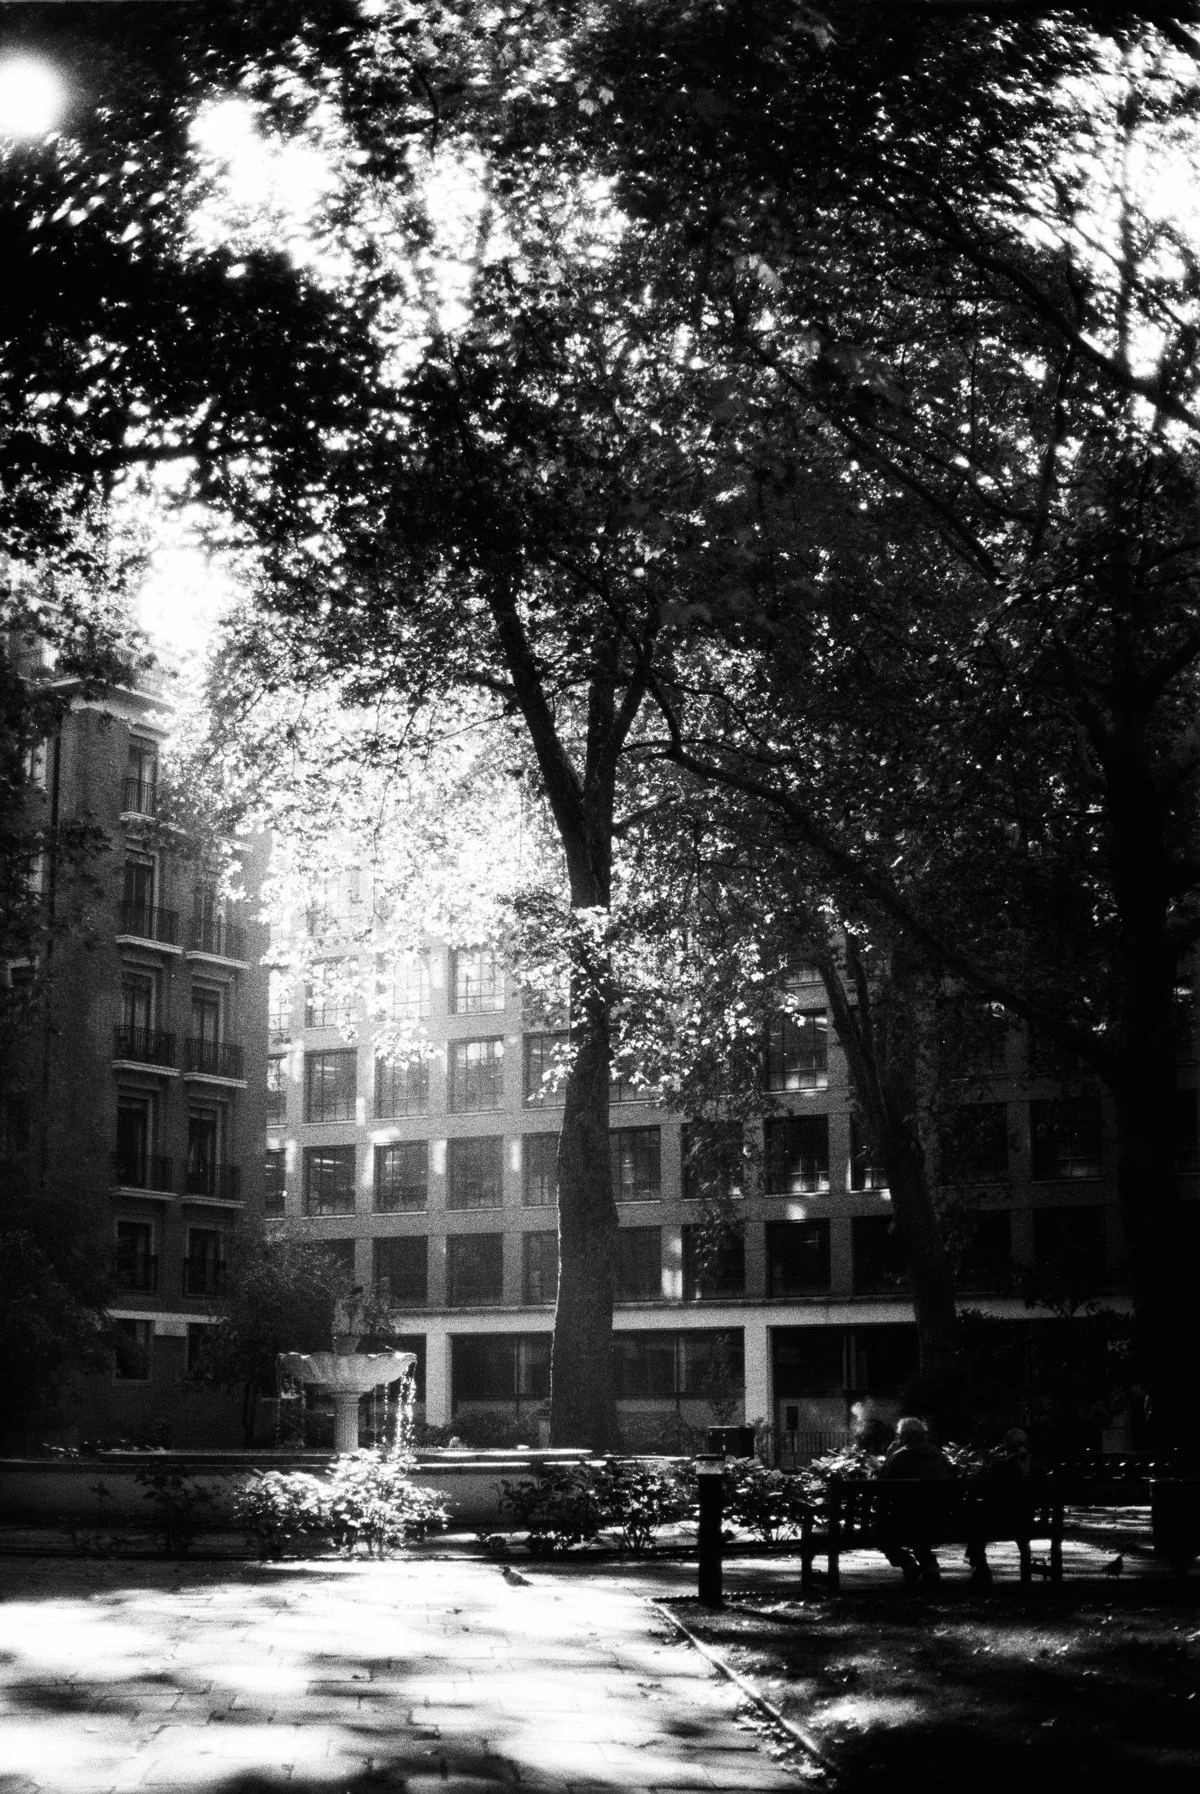
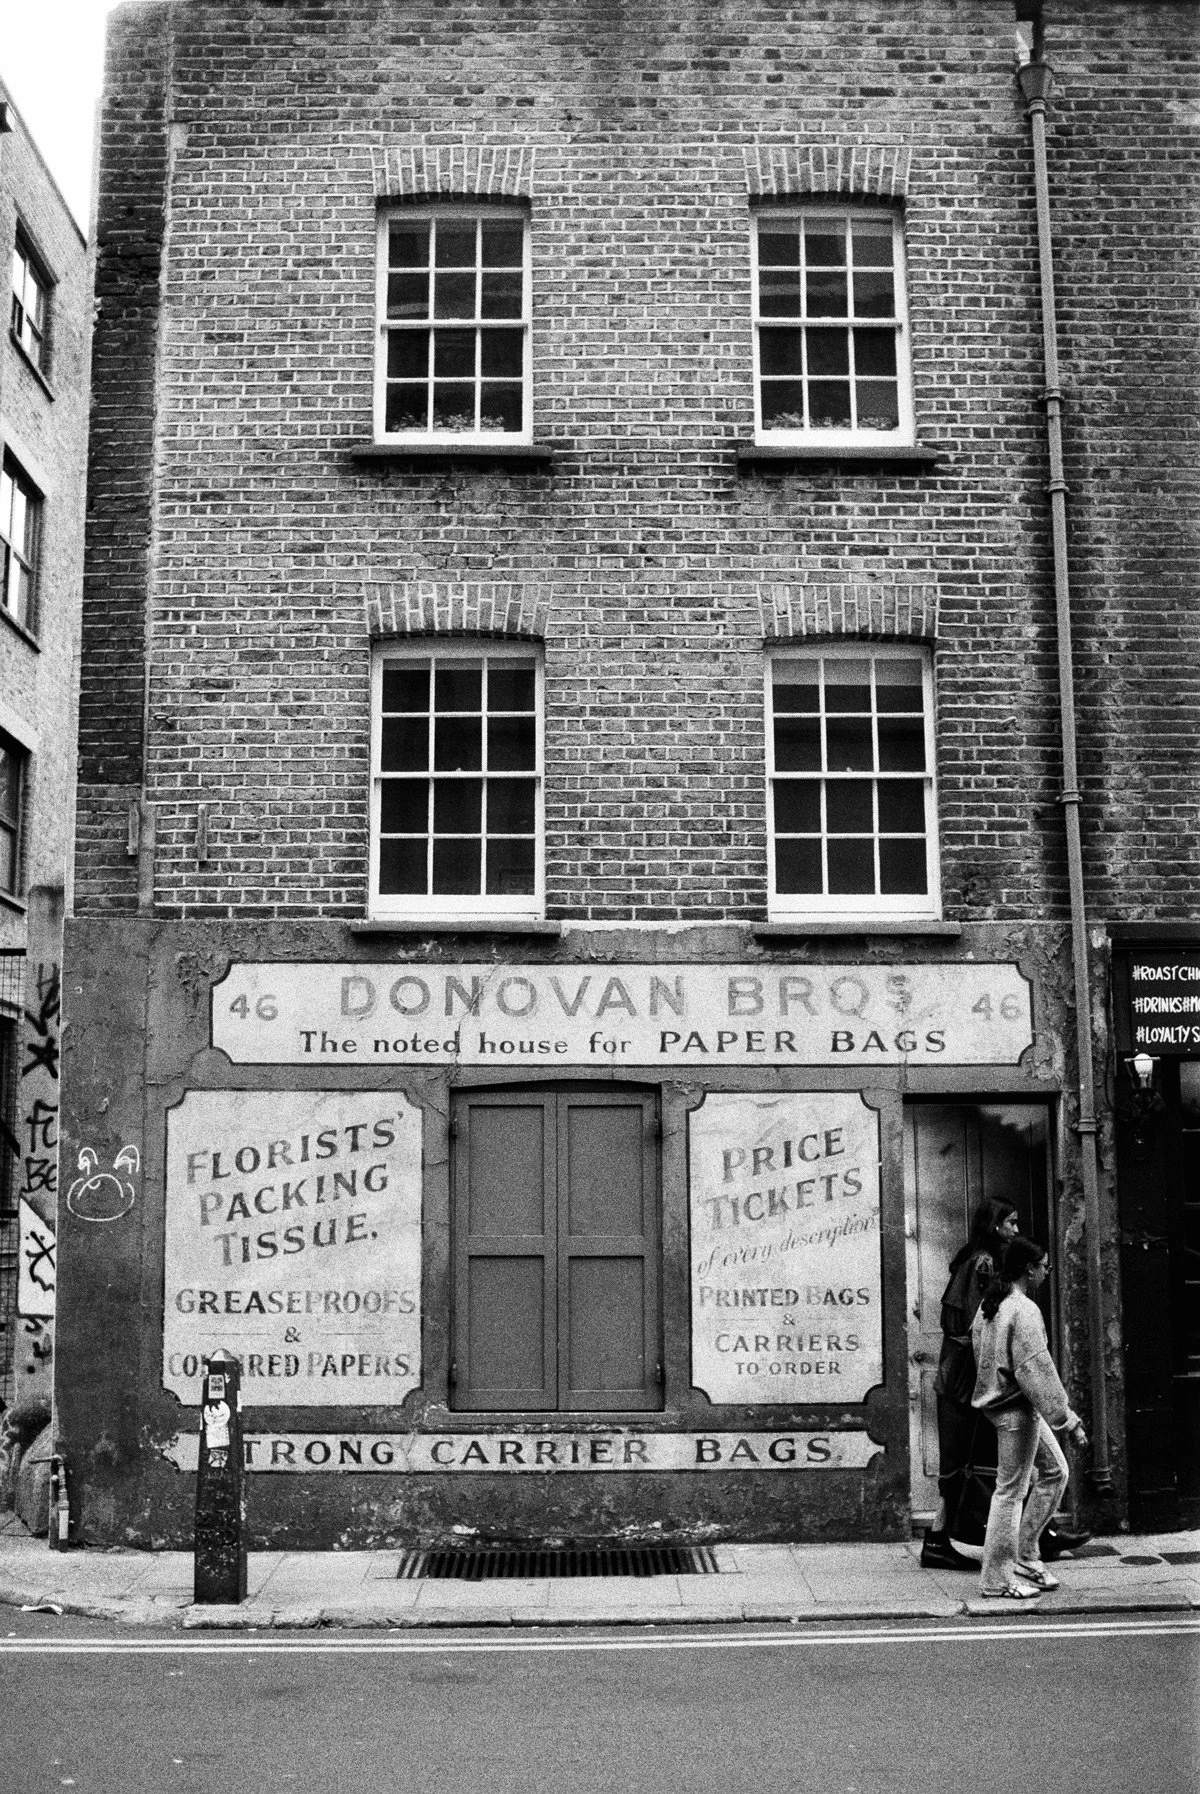
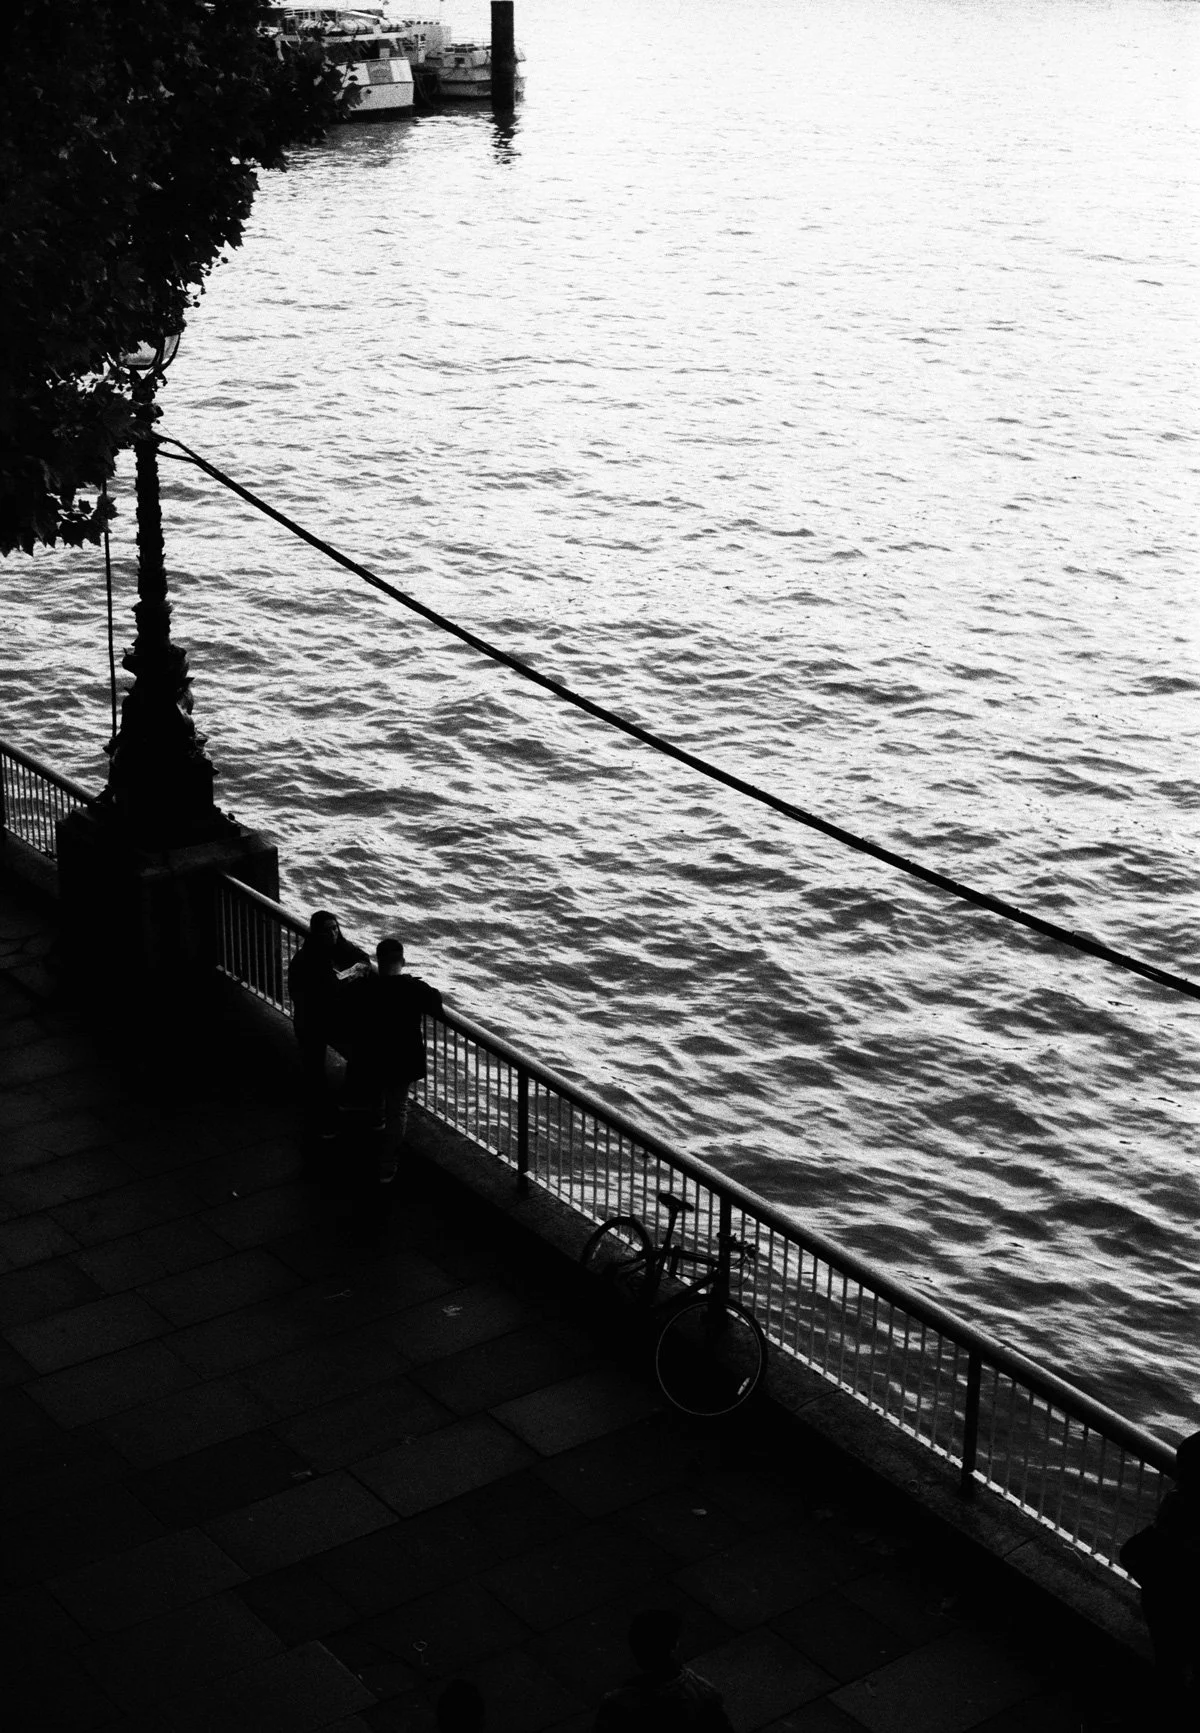
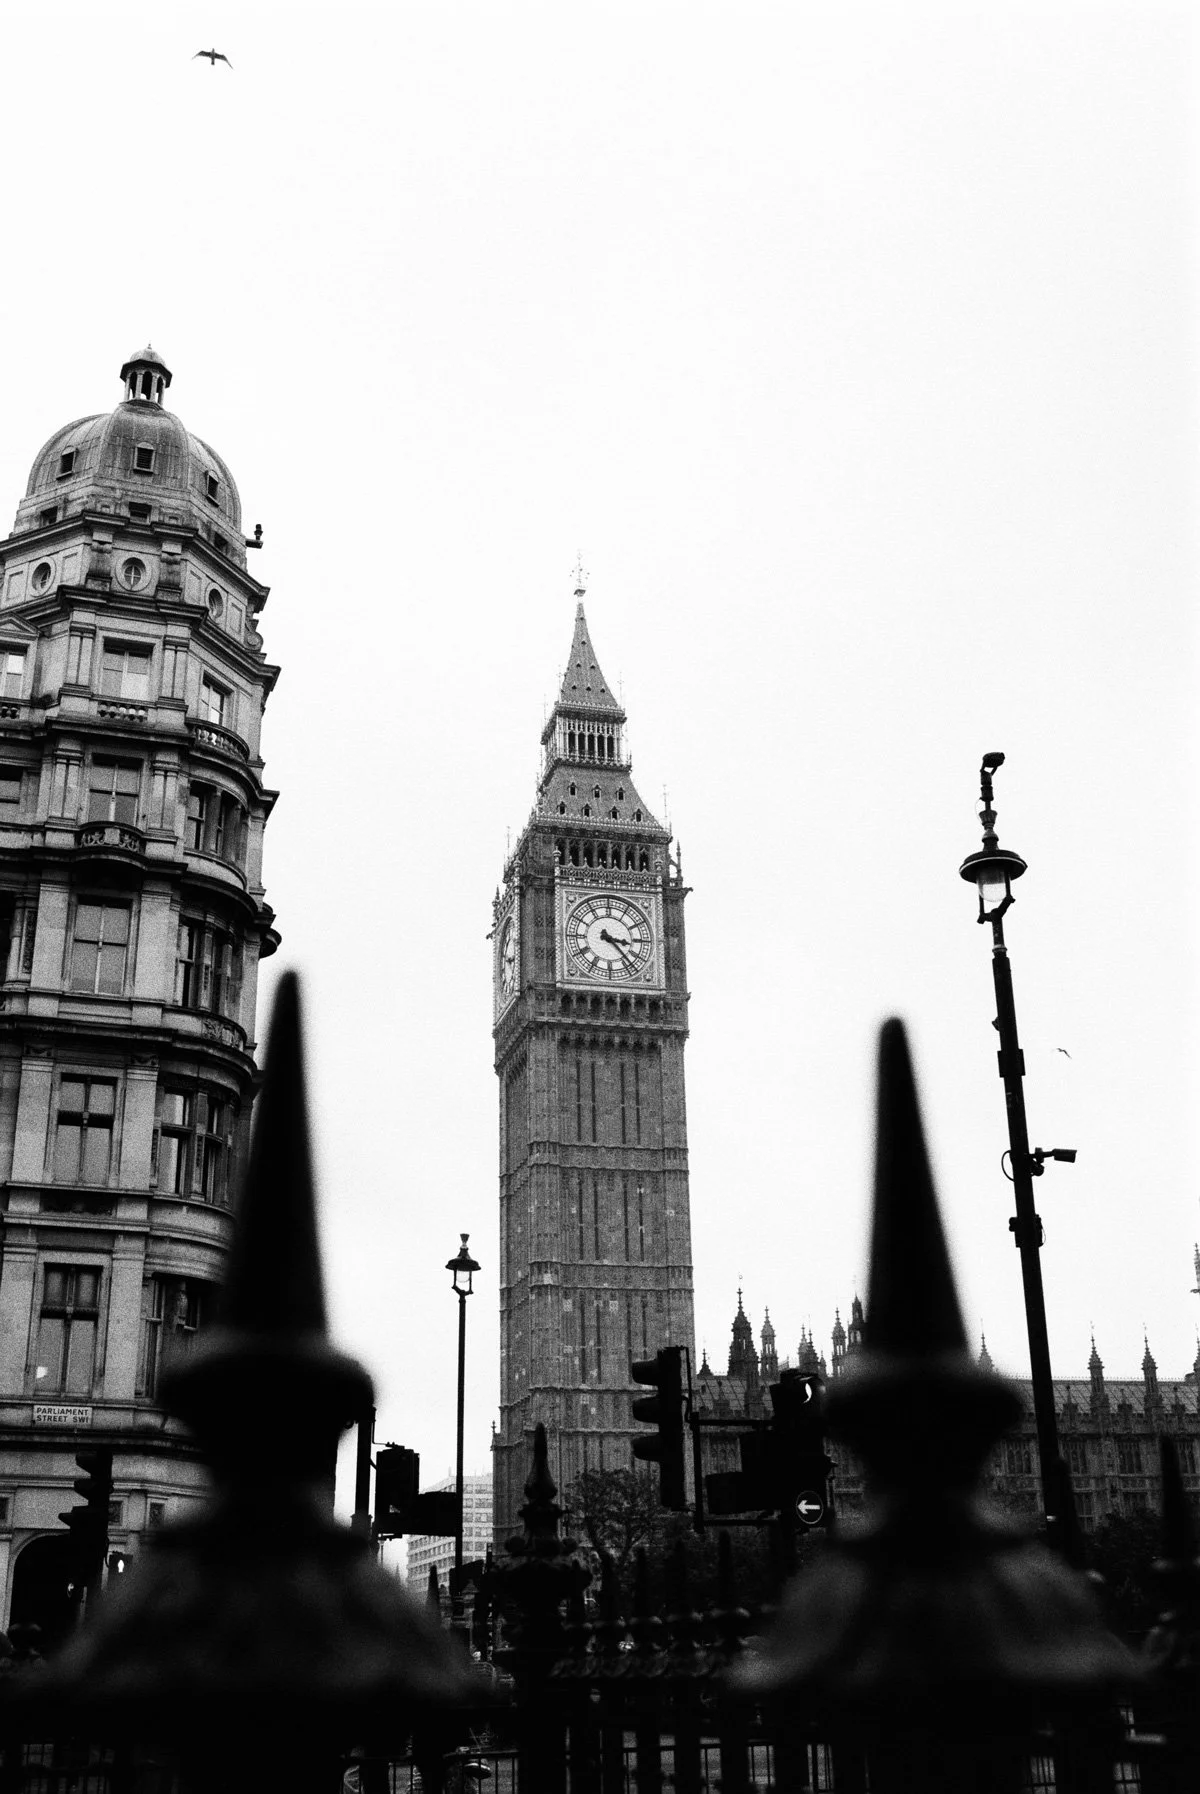
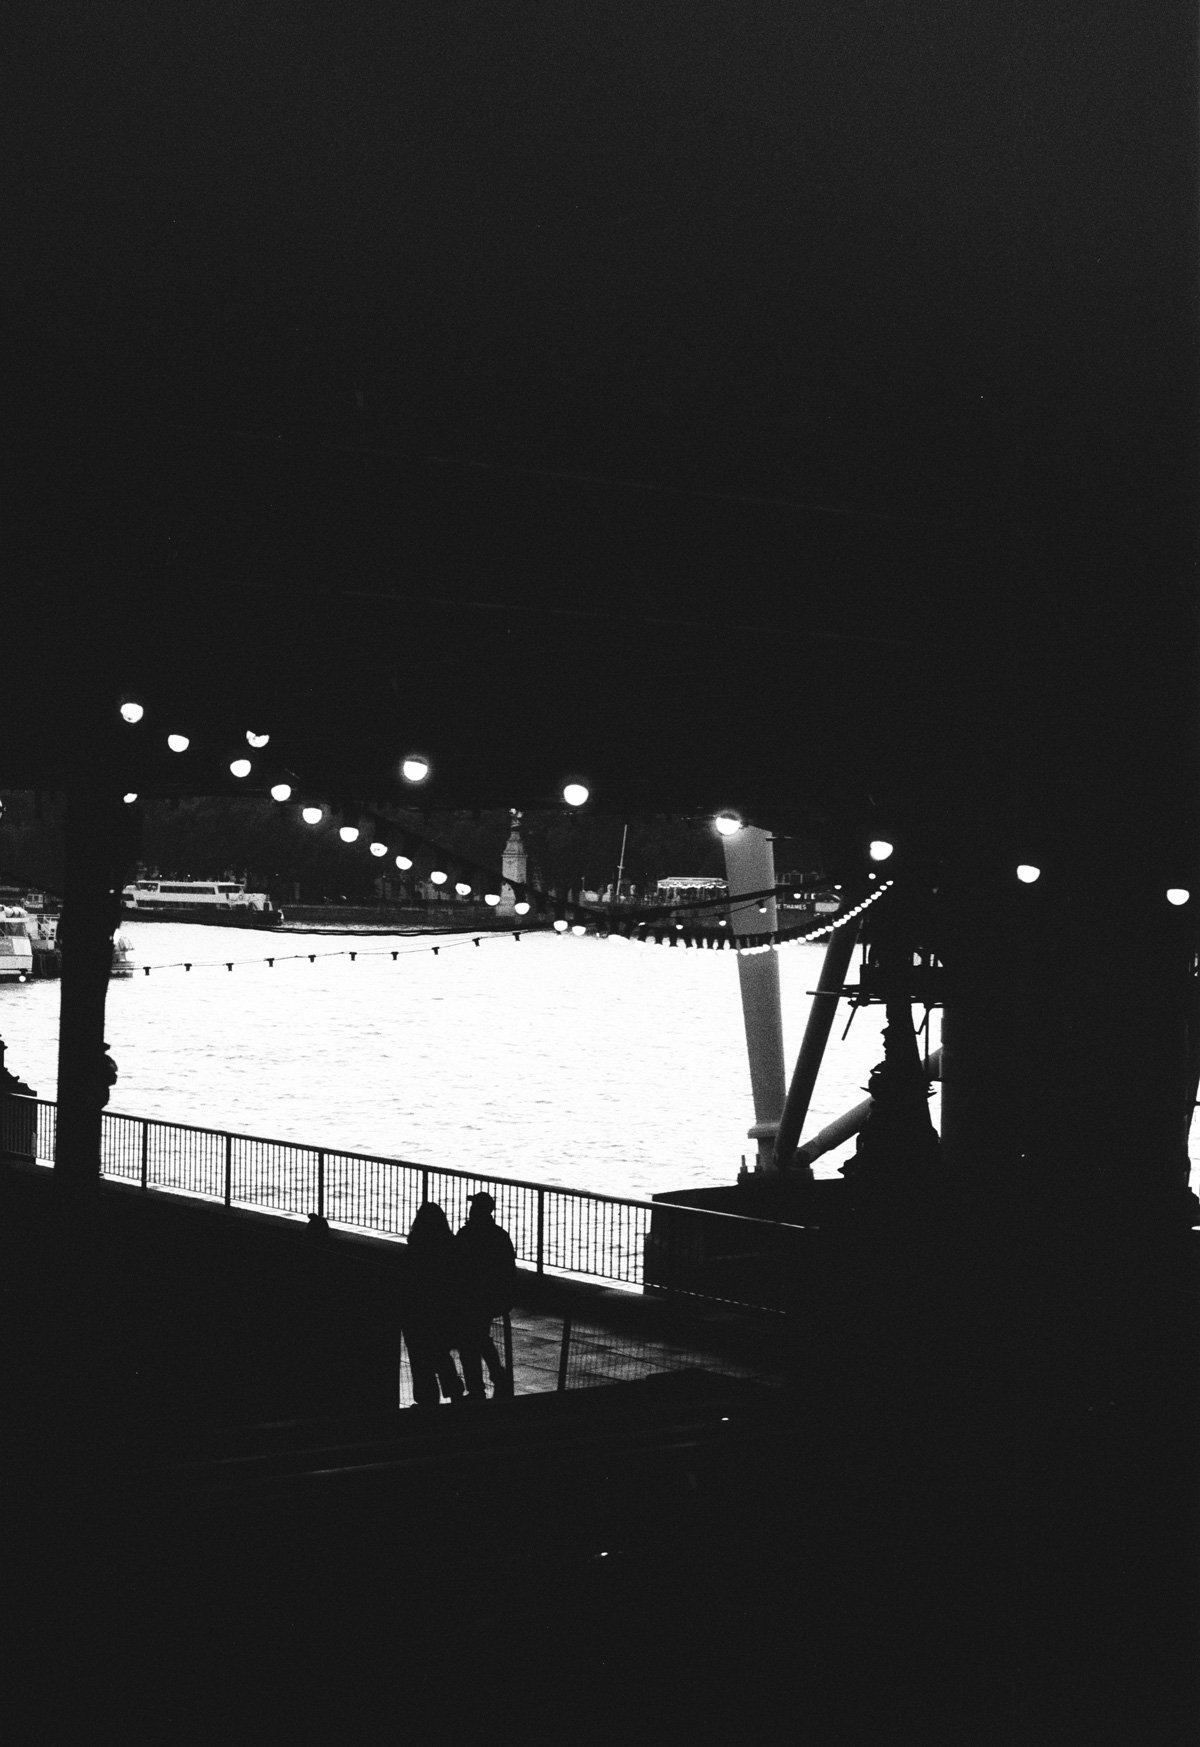
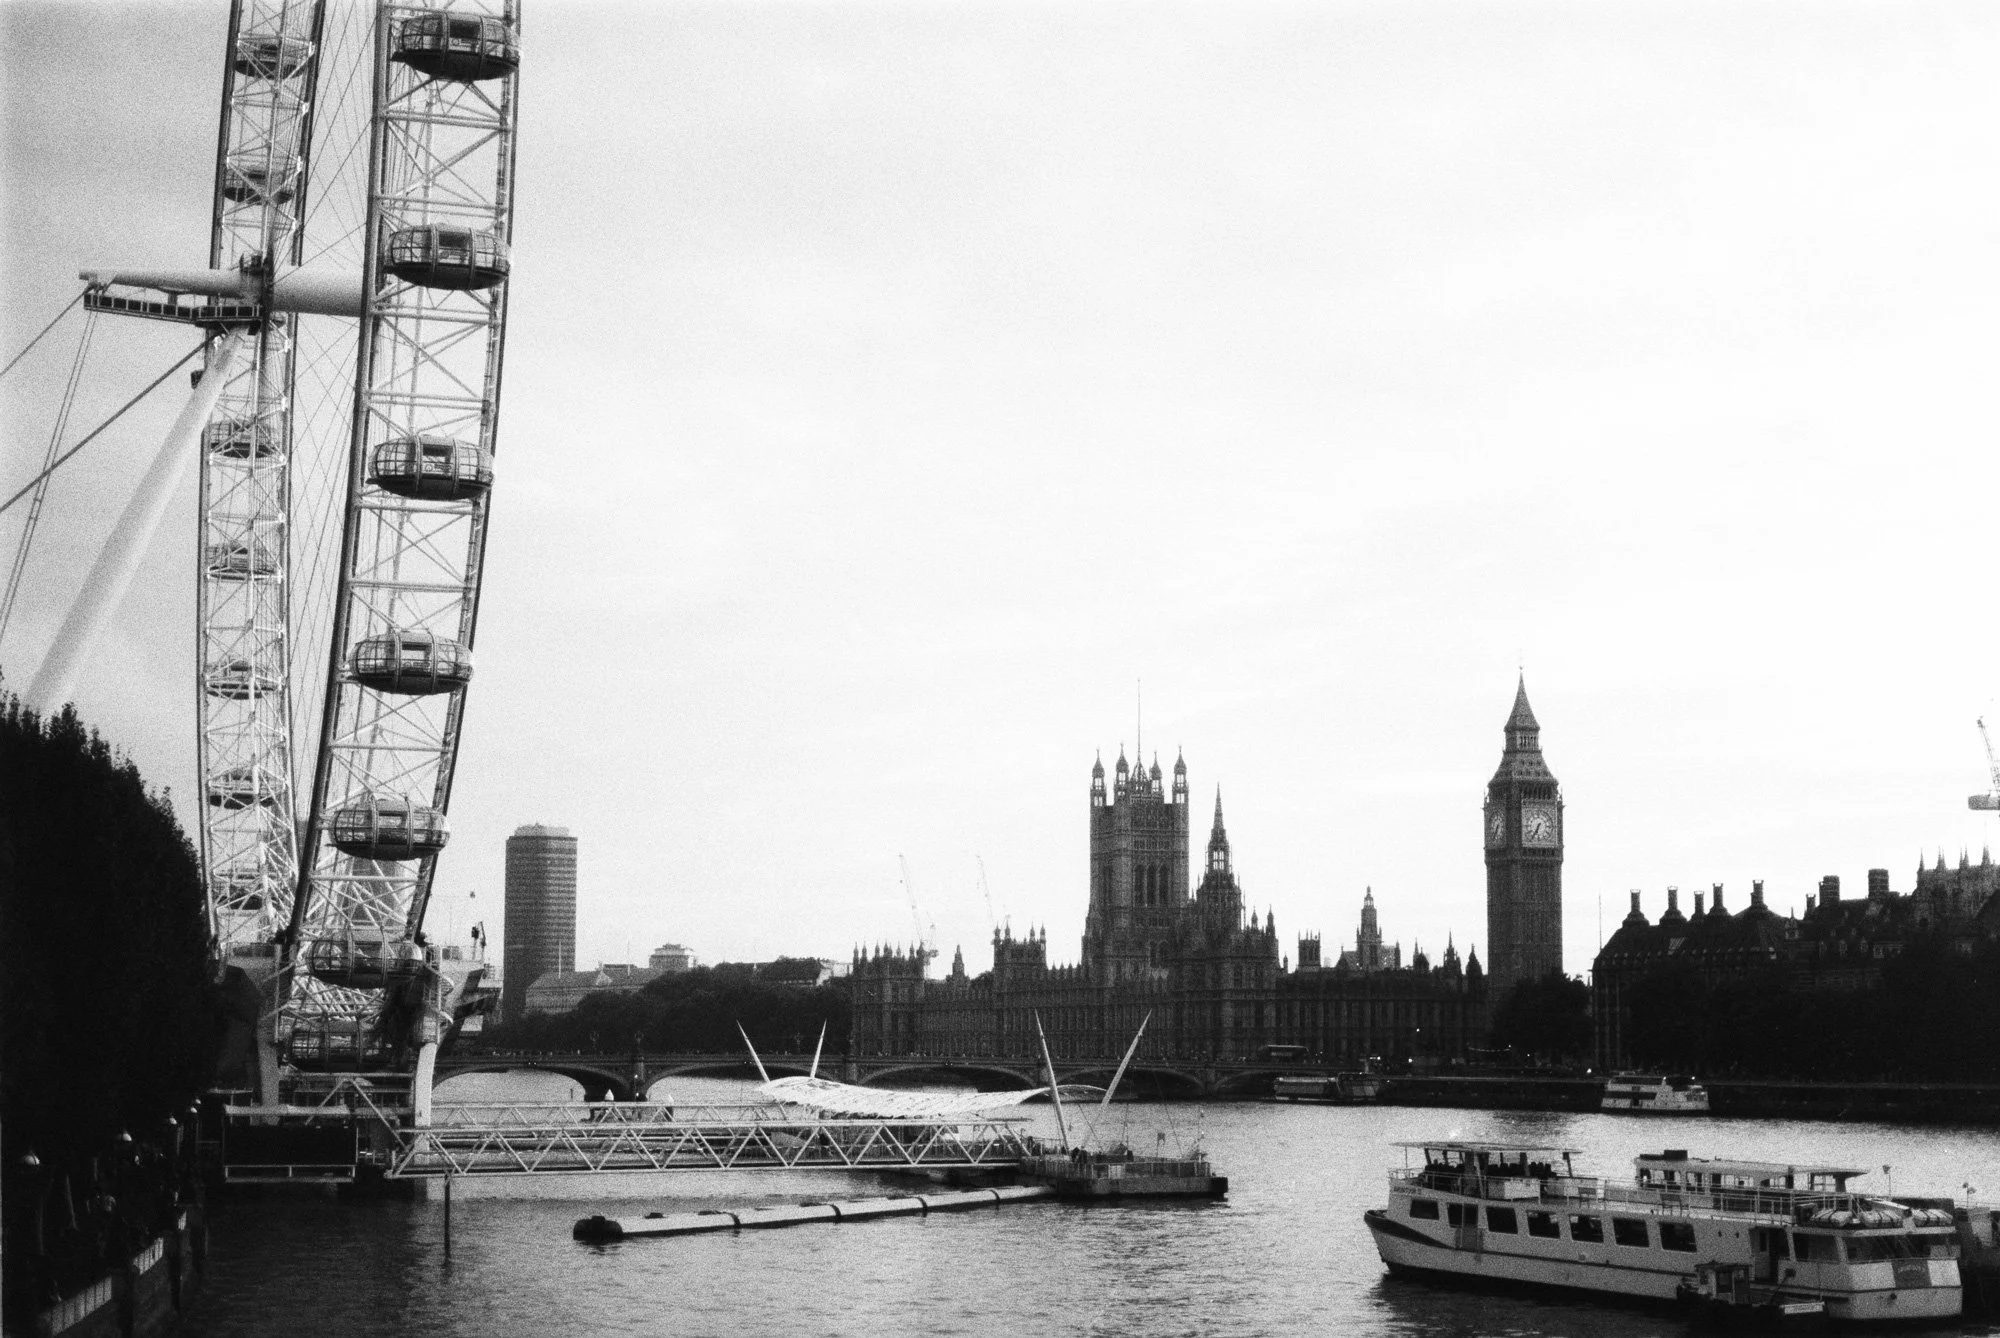
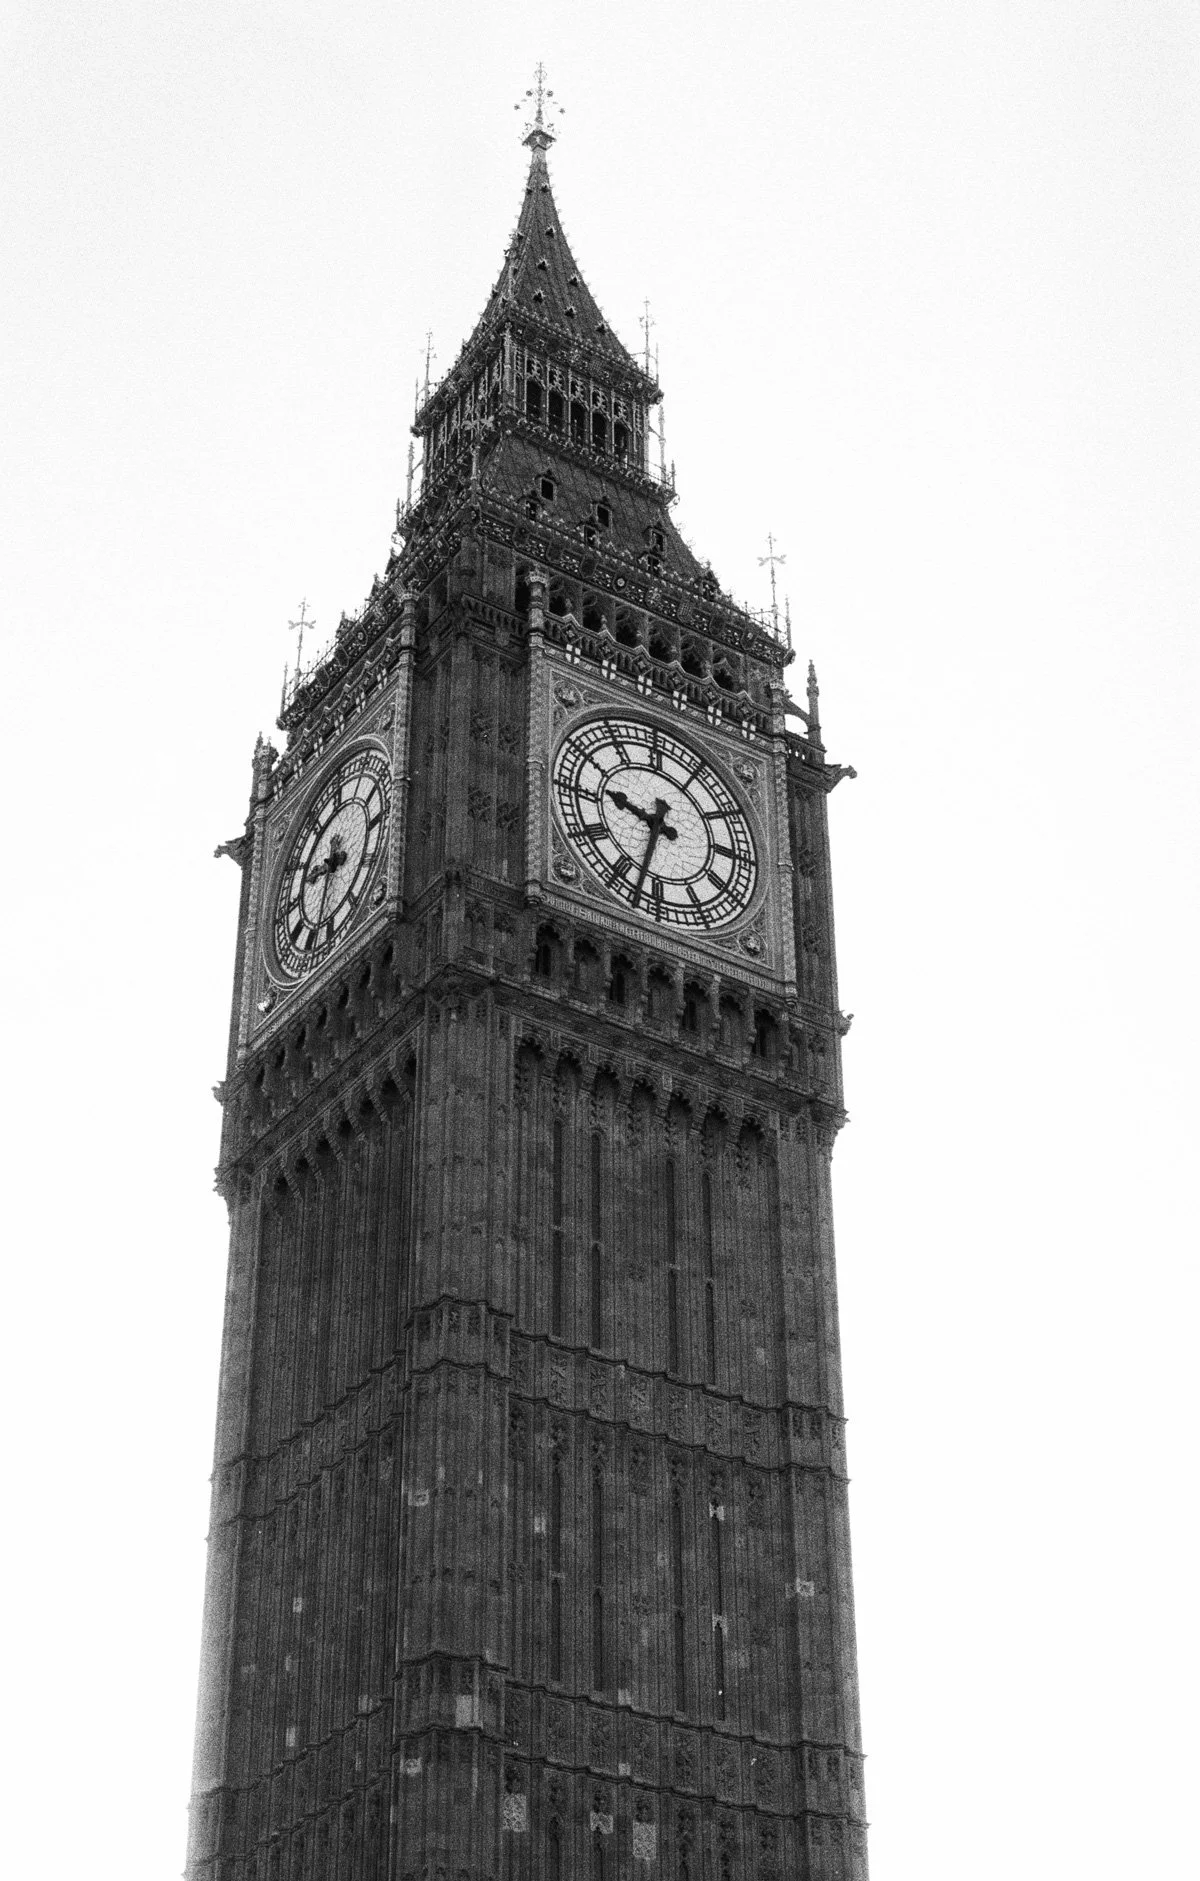
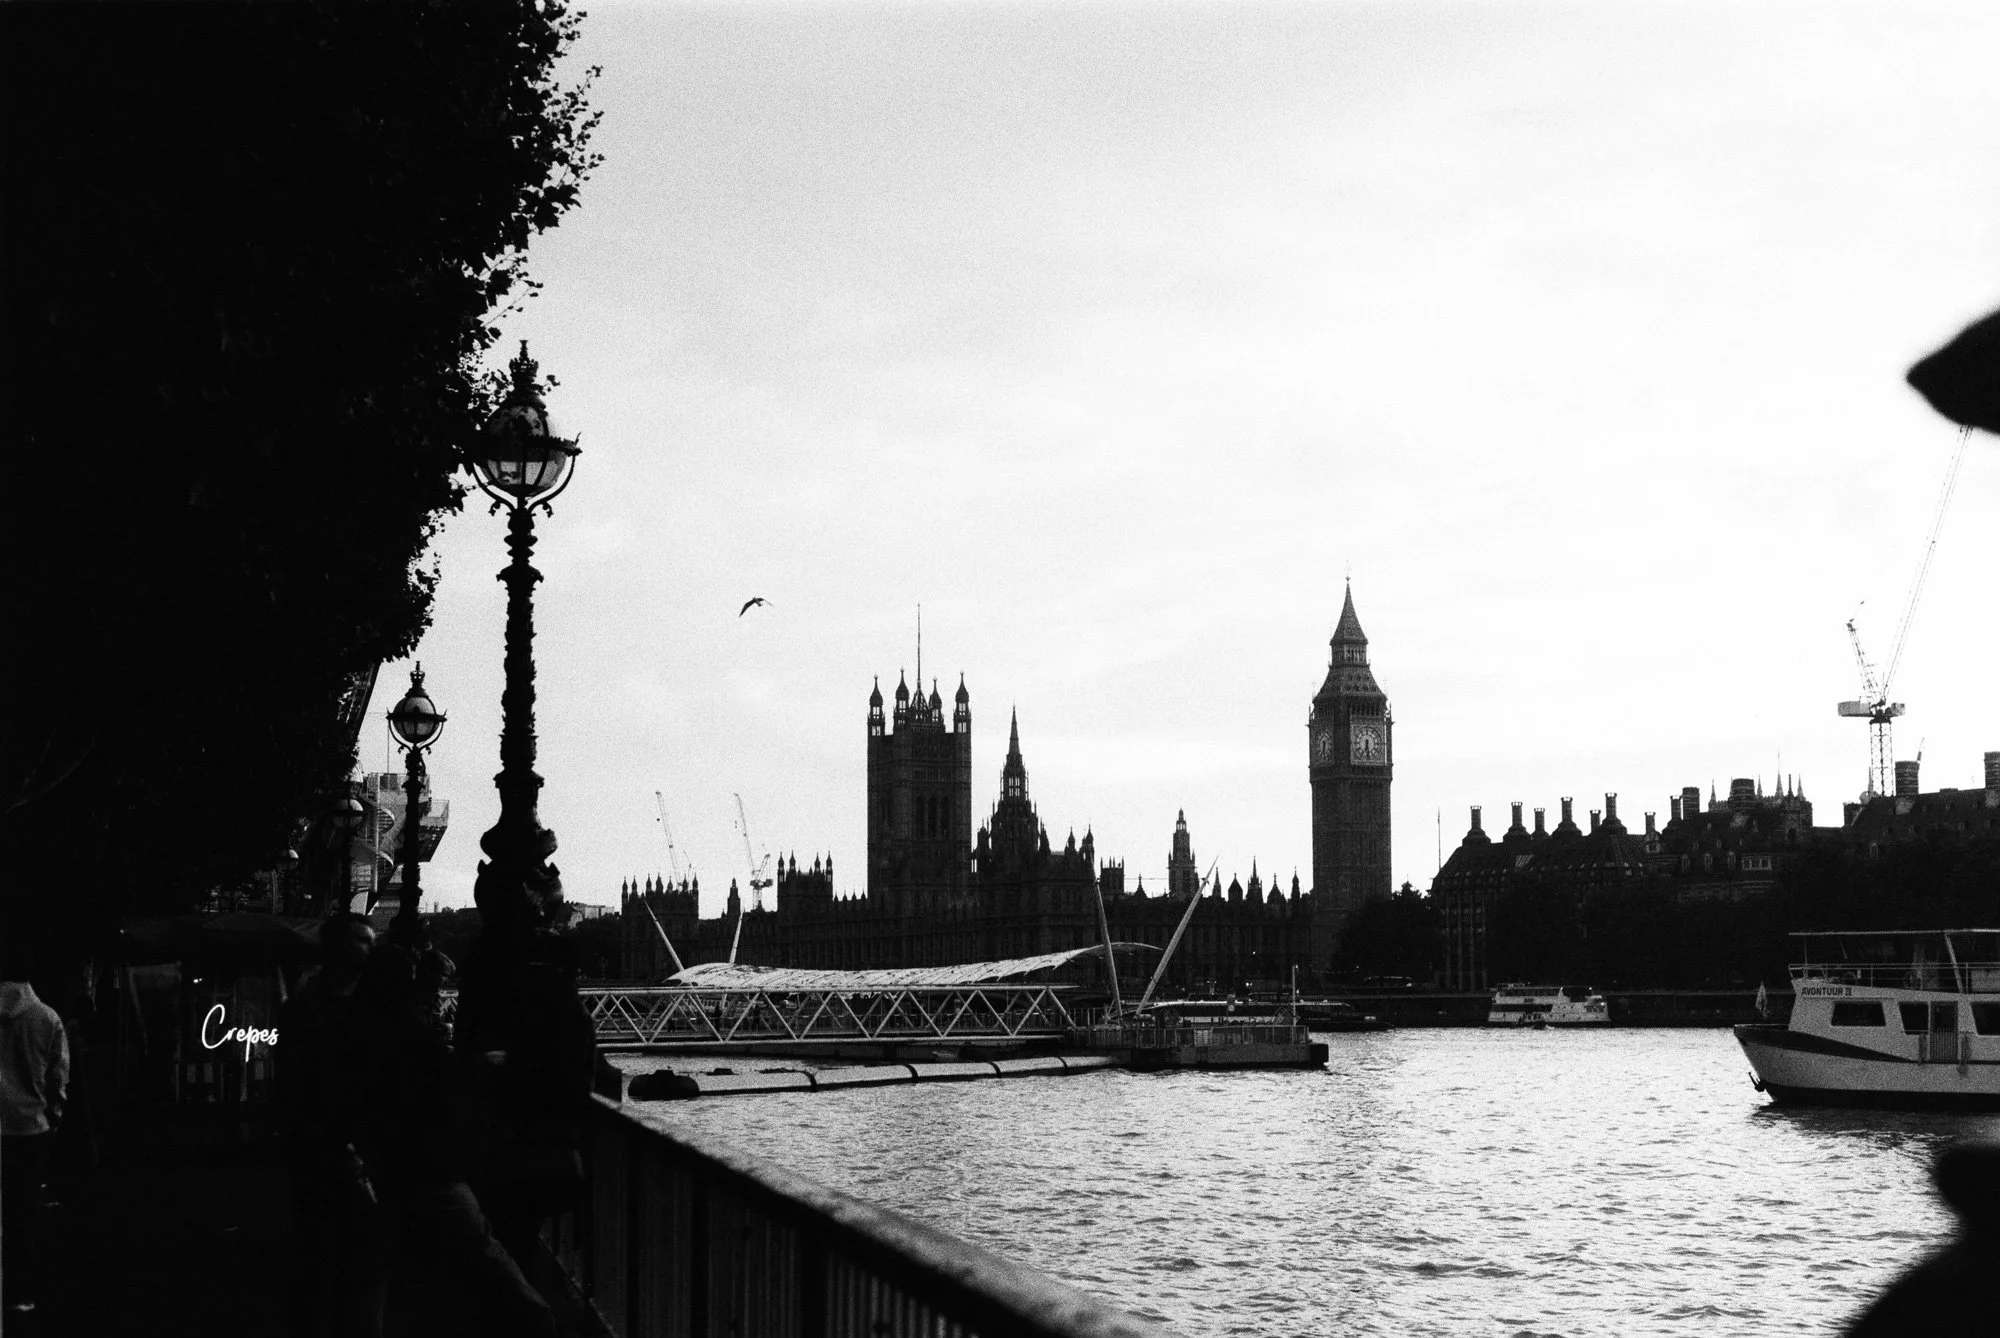
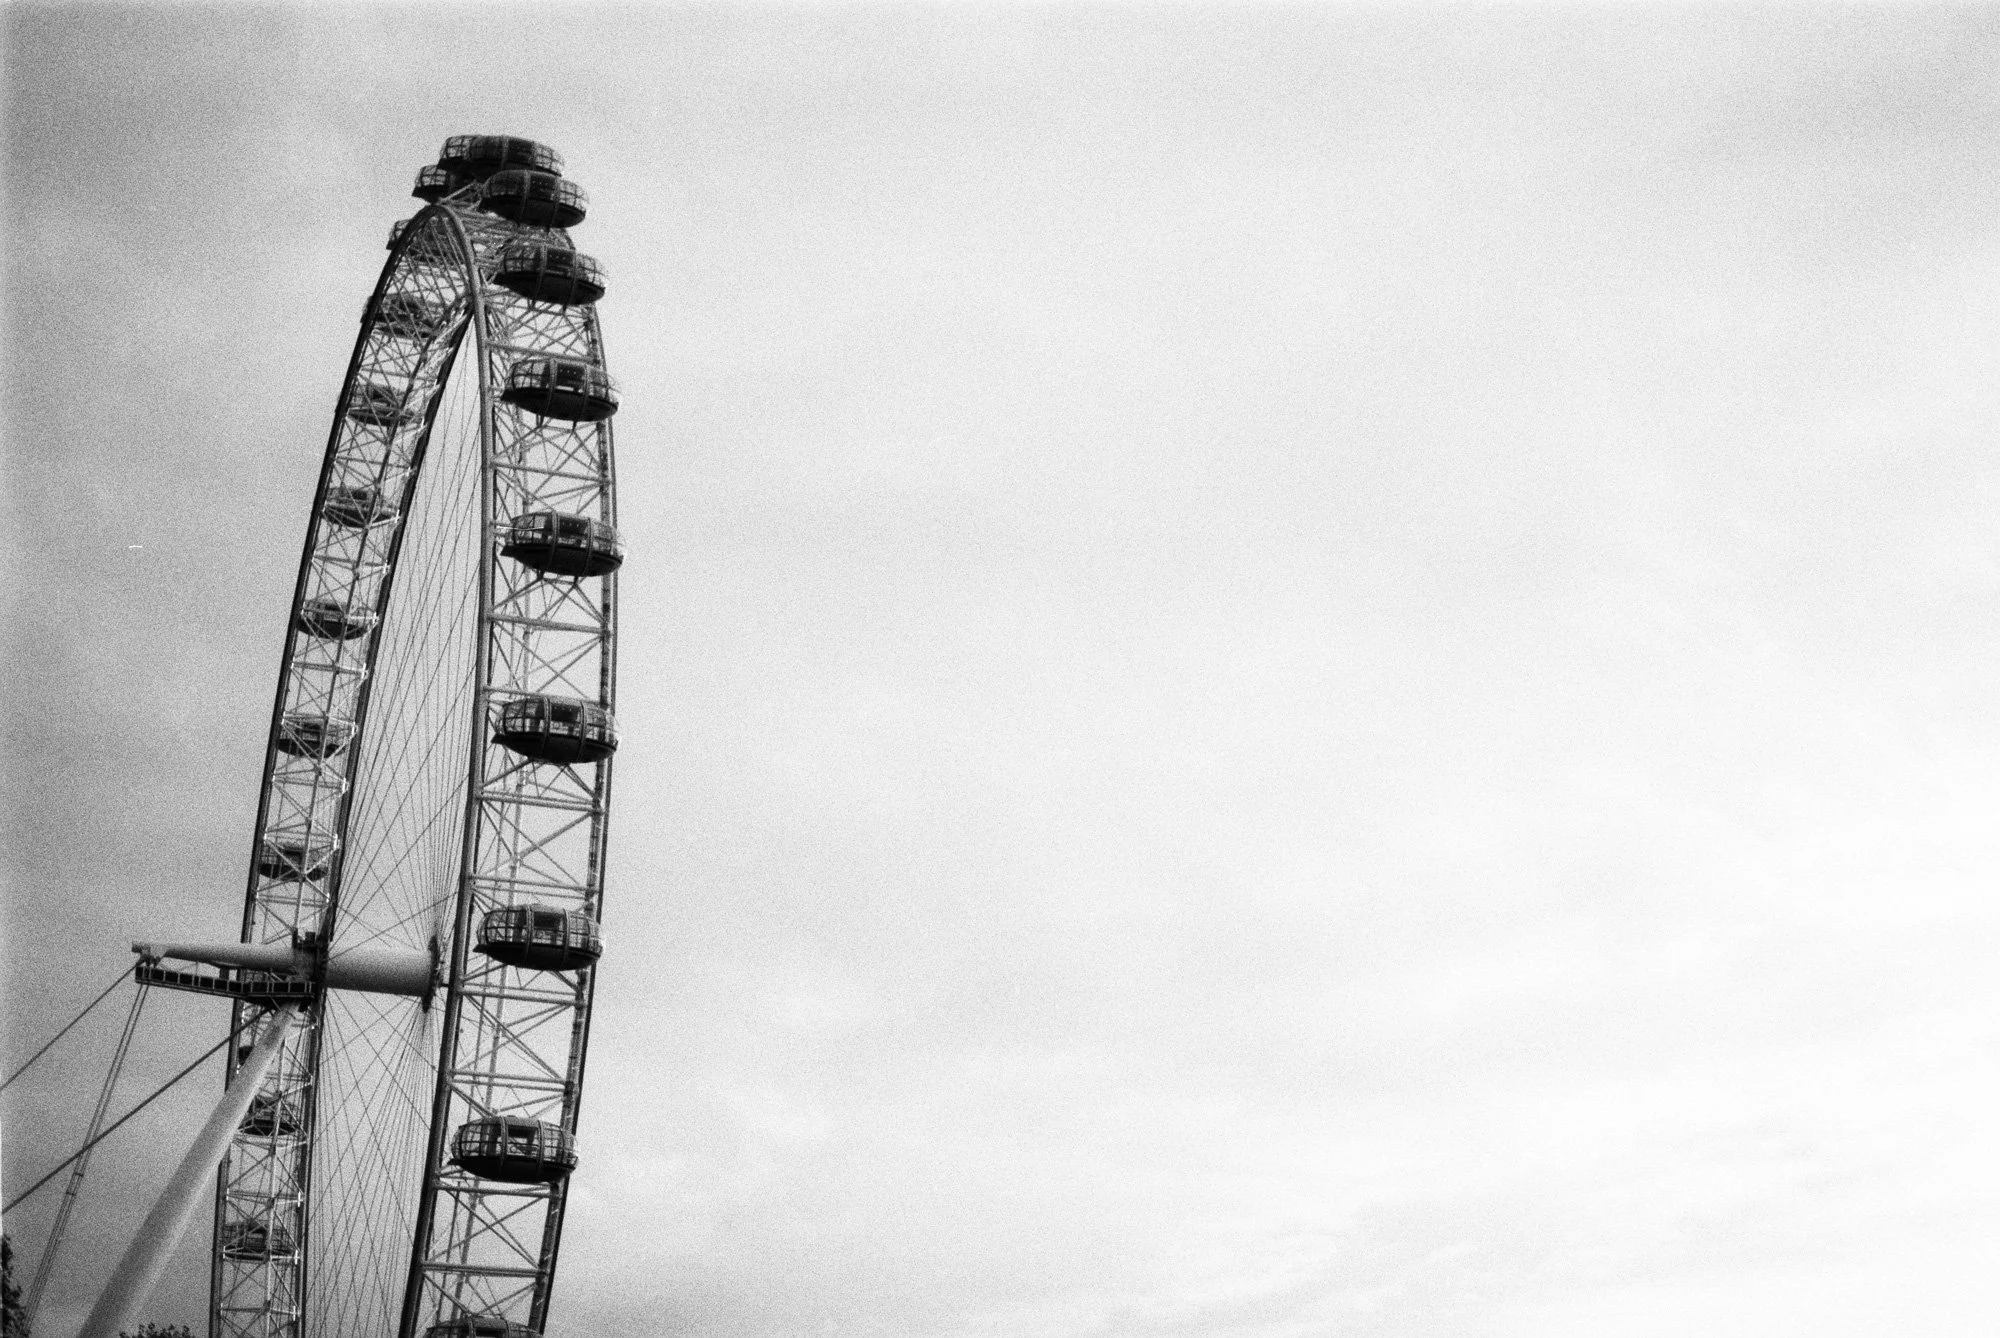
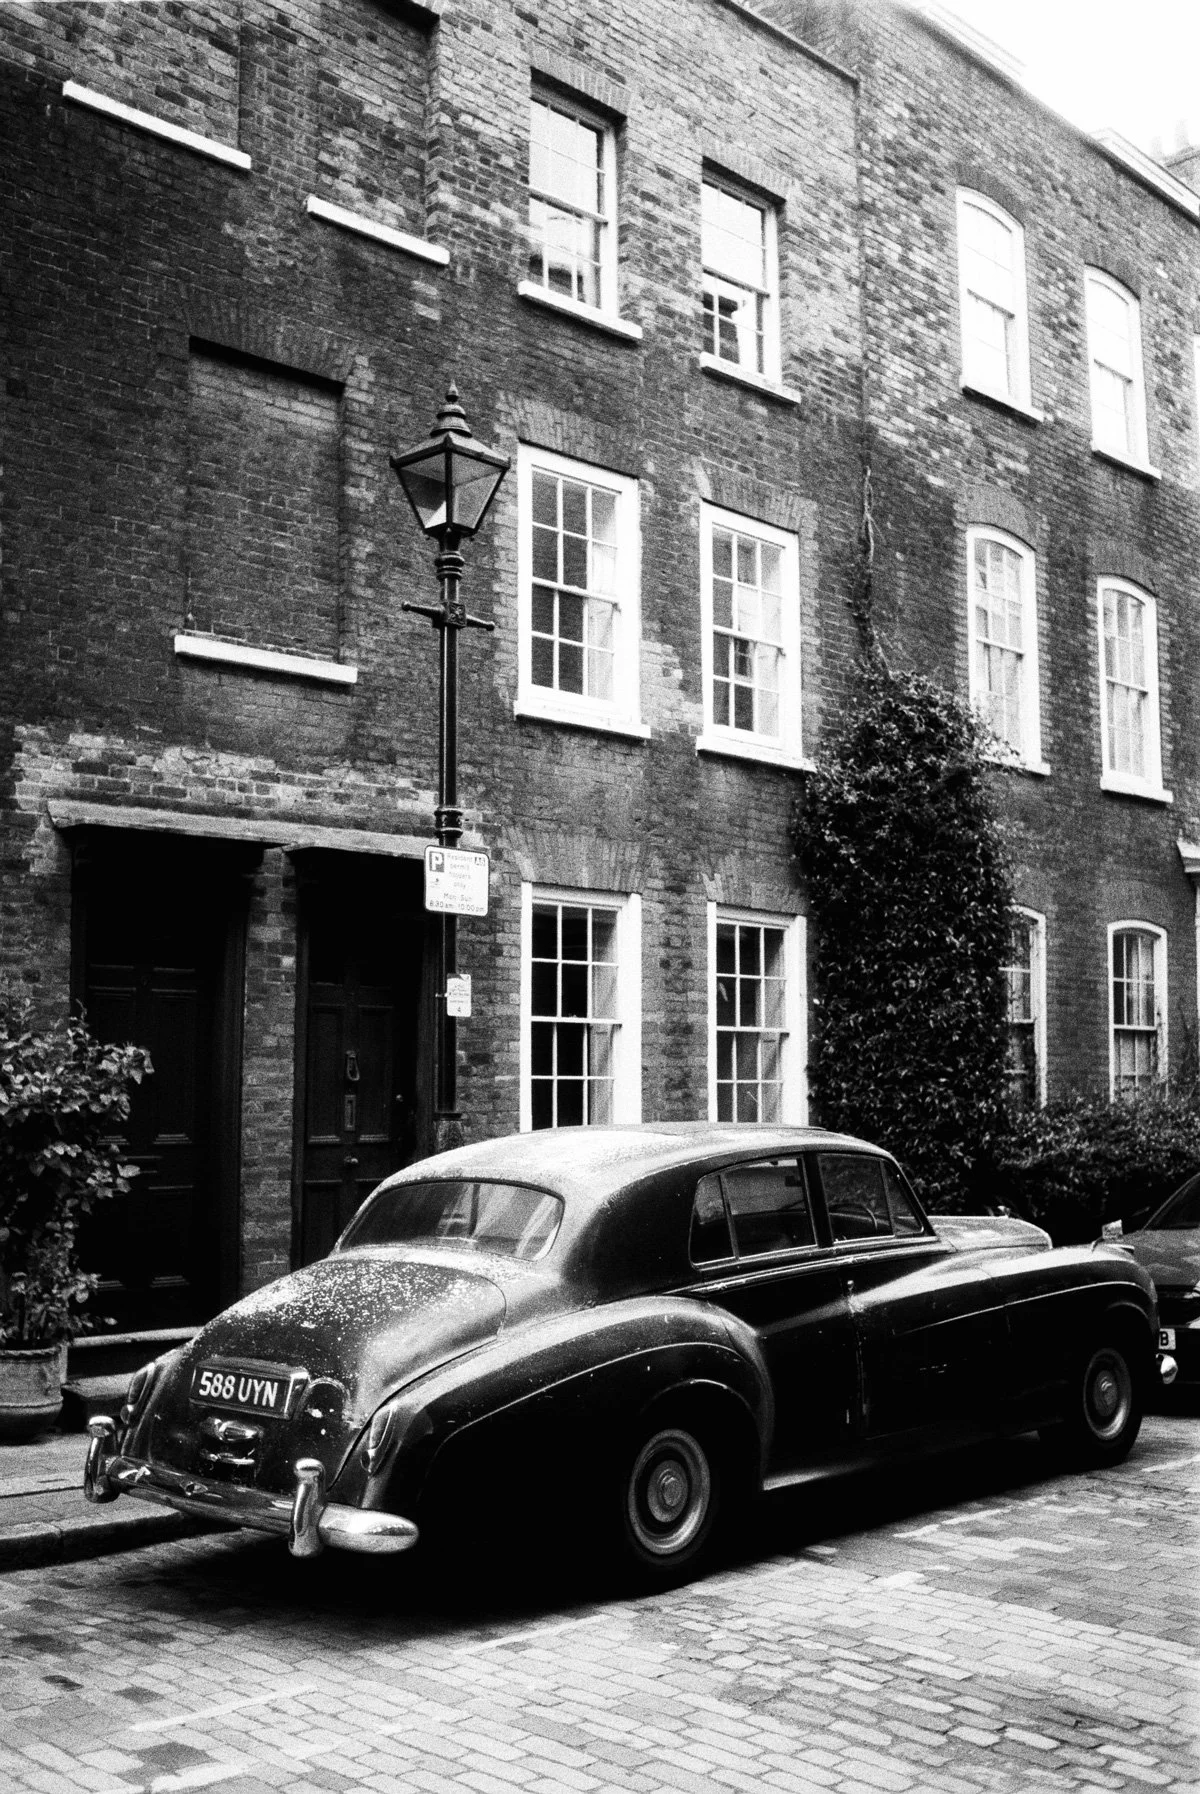
I shot this during my birthday trip to London back in September last year, and then at home while shooting for Abask. I shot two rolls of color film in during the trip as well, and I didn’t really like them. Not so much because of the film, but because London simply looks best in black and white.
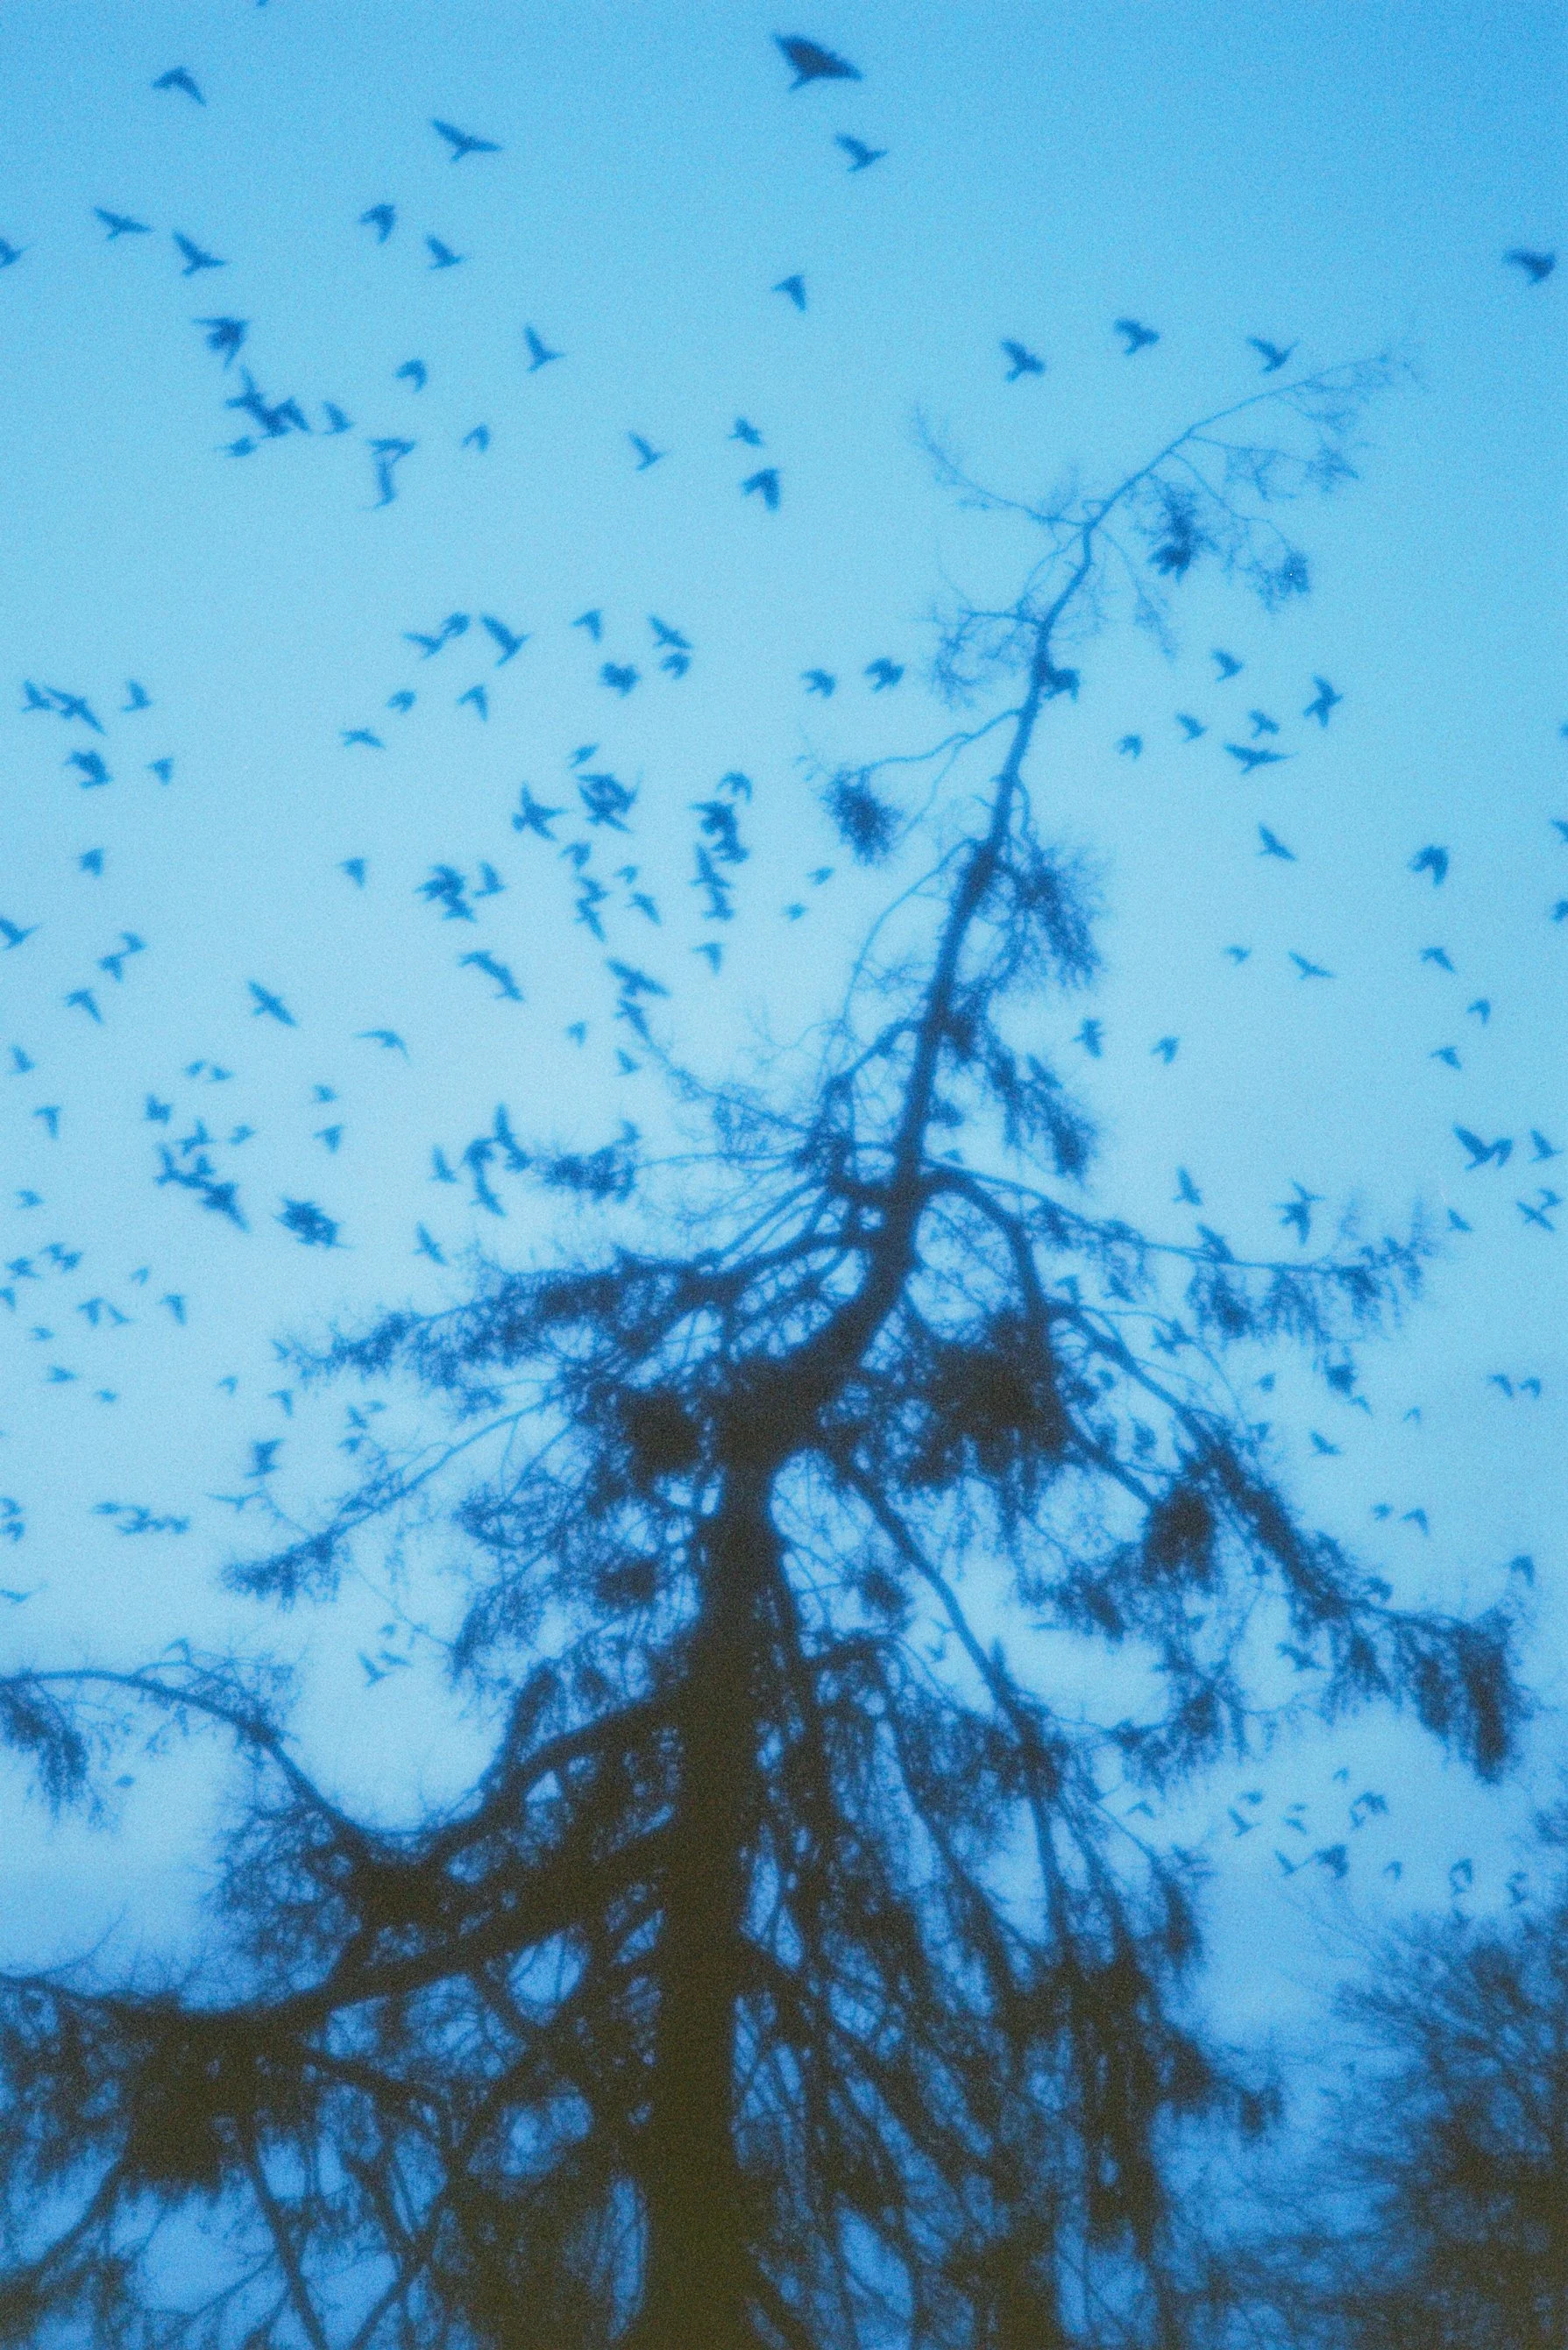
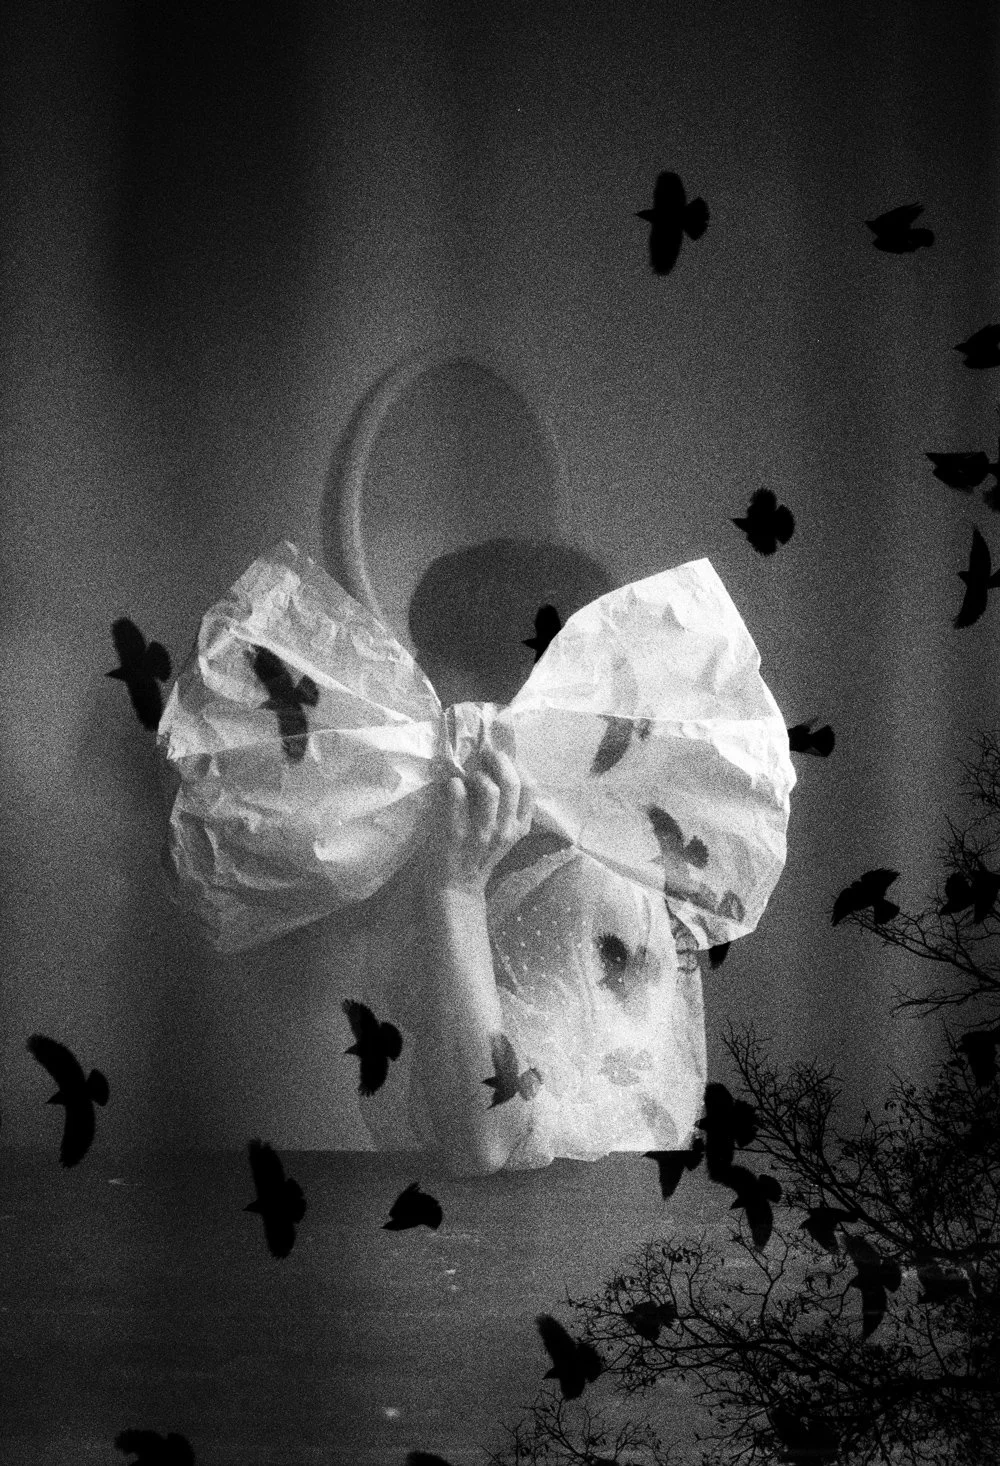
Double exposure - I shot the self portrait first and the birds second


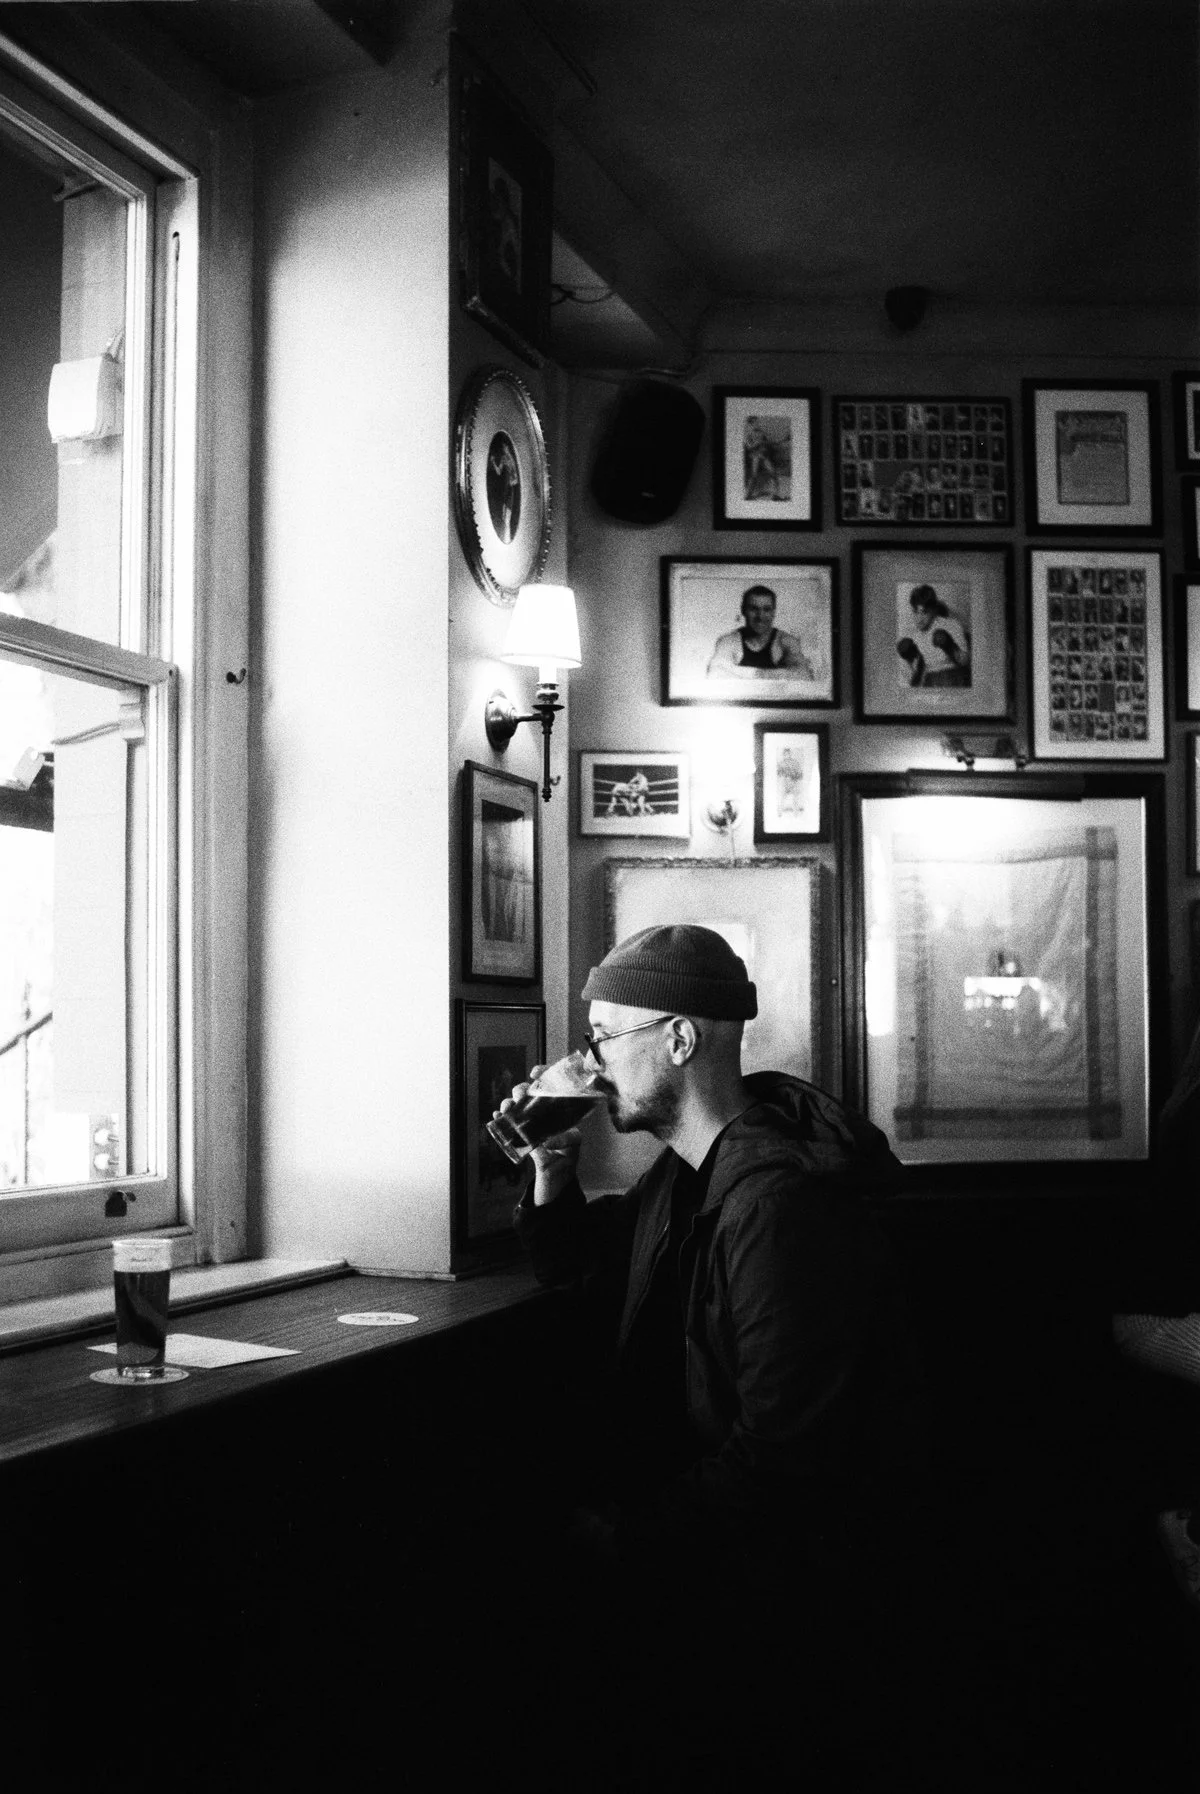
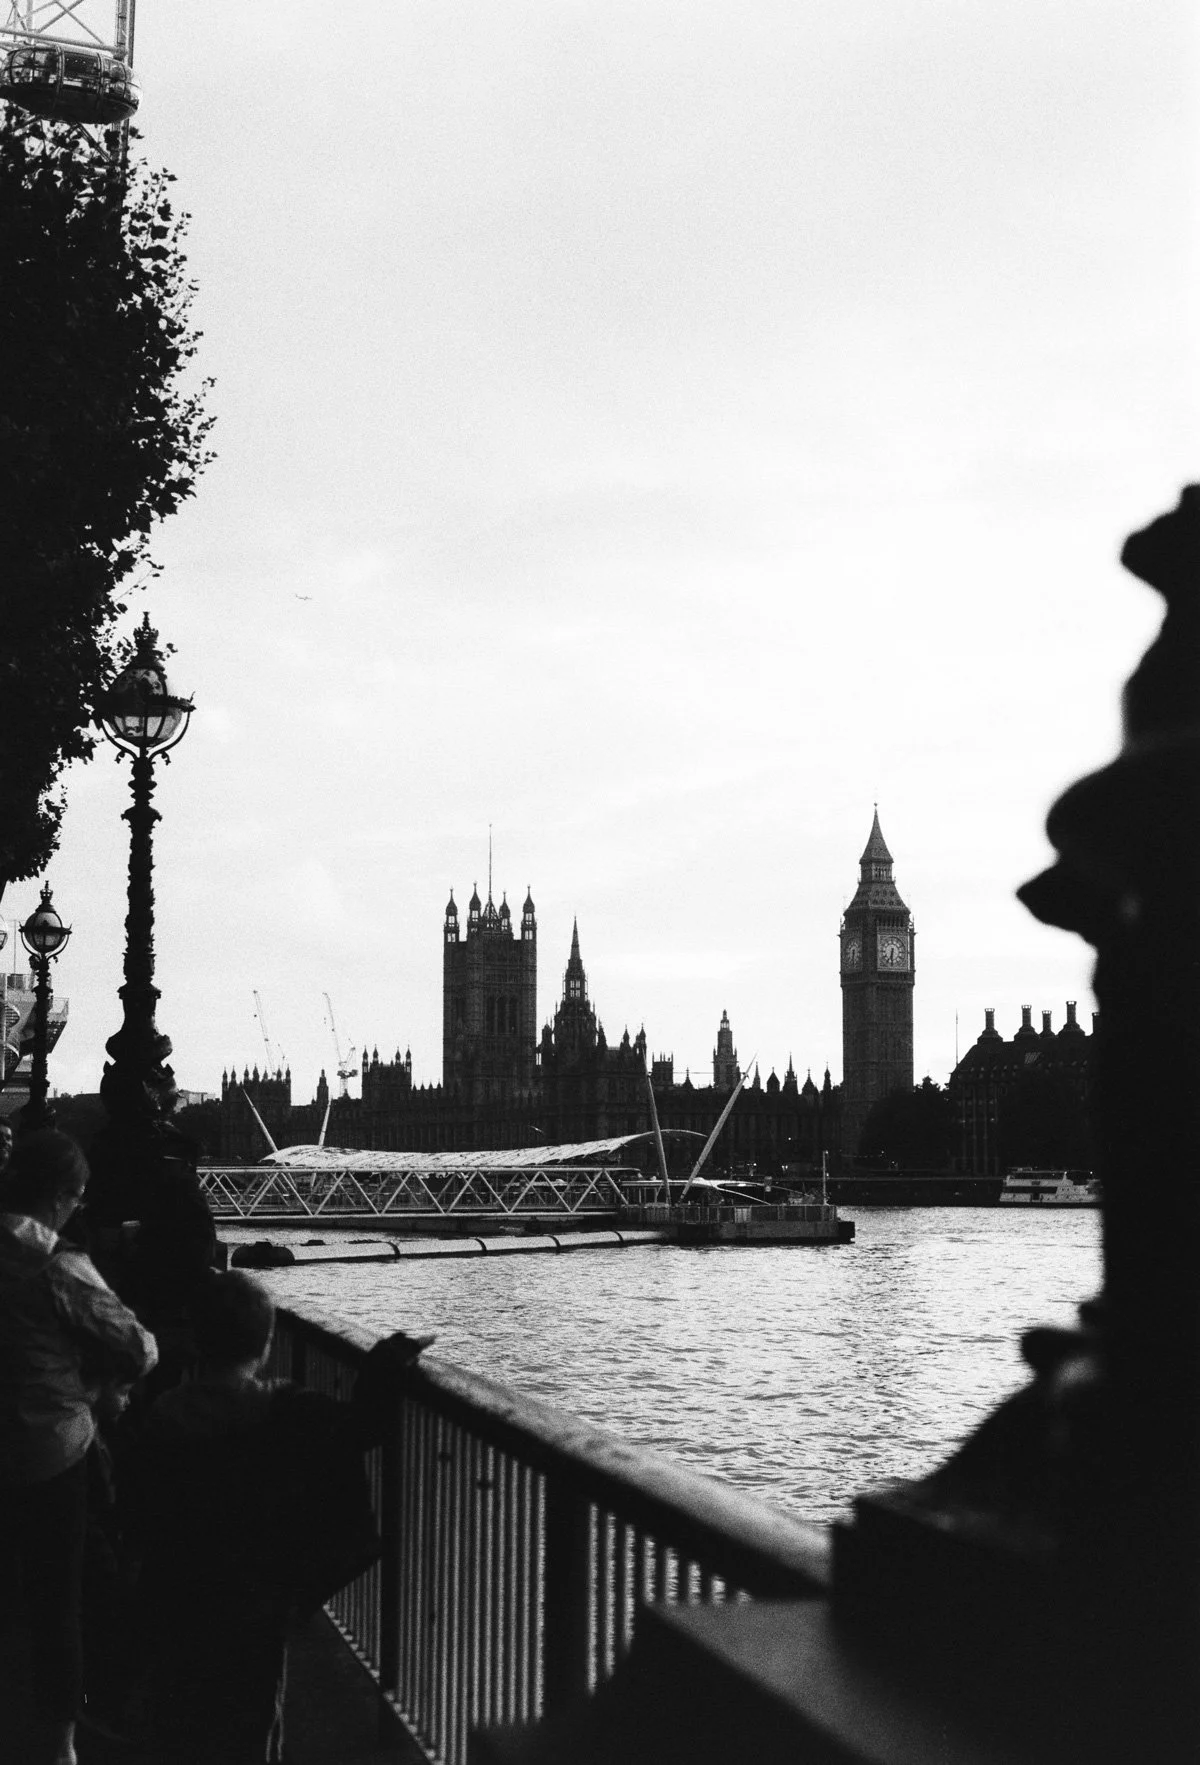
A beer at The Ring in Southwark
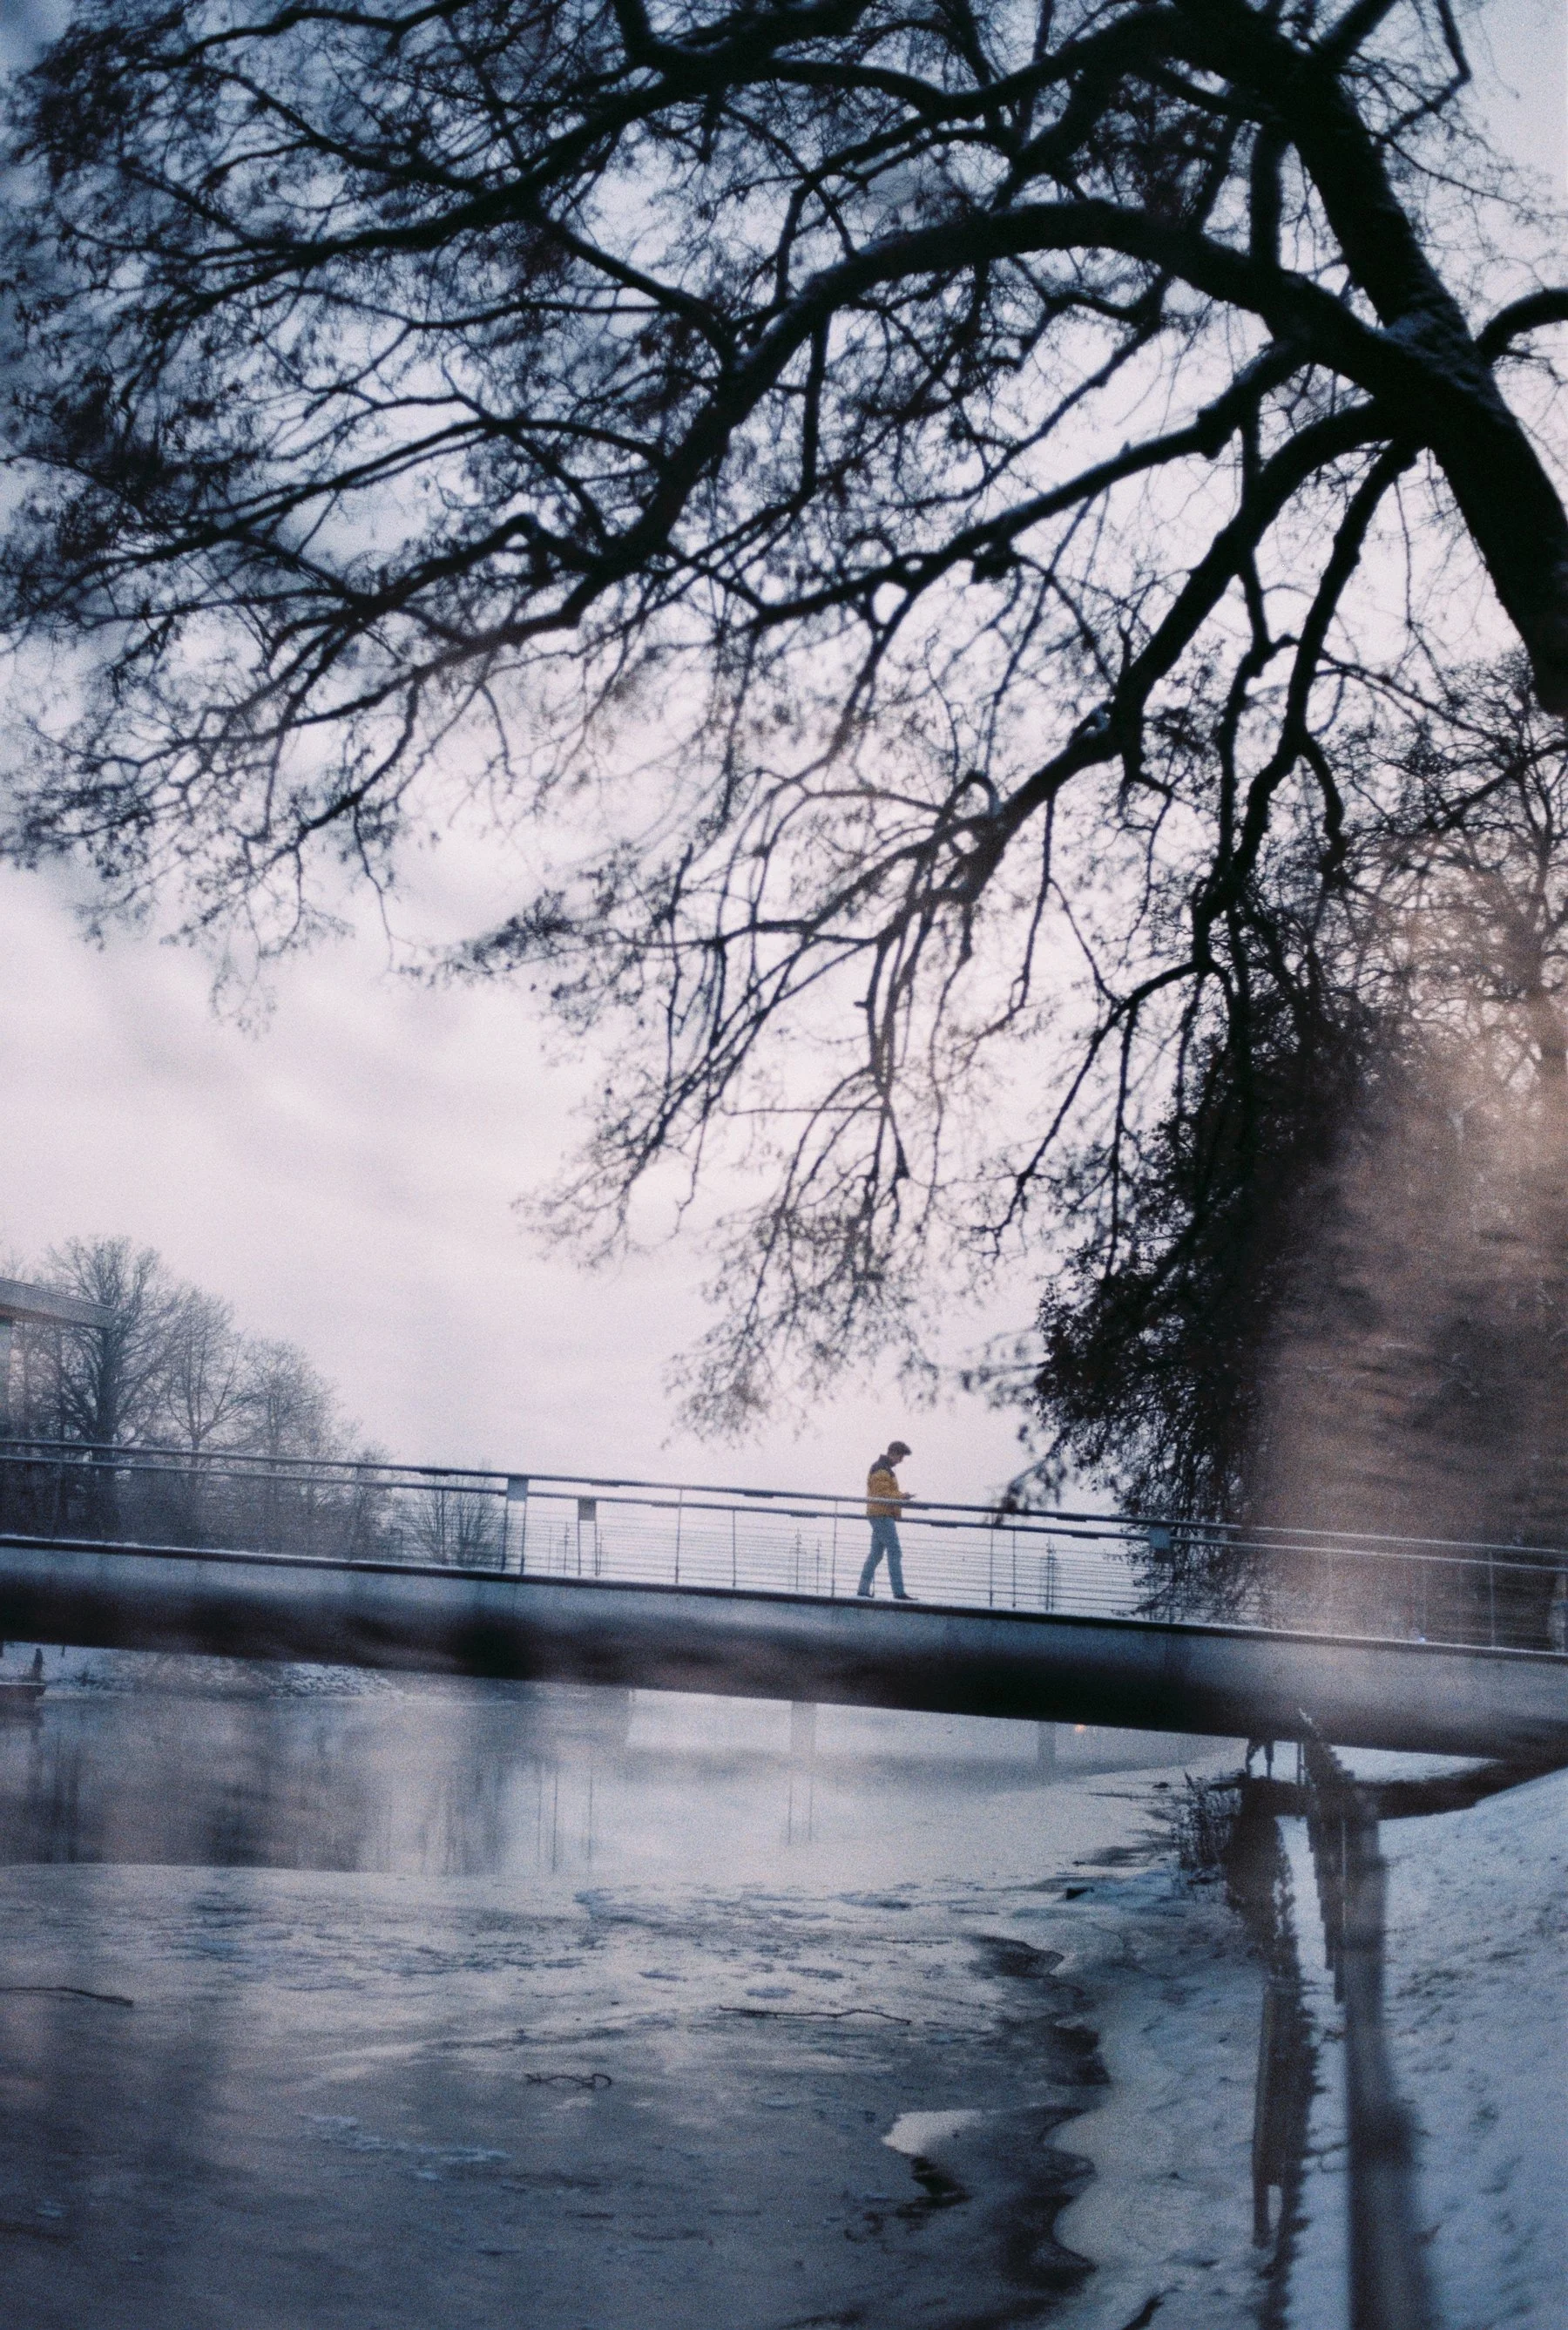
December on B&W film
Last month I took my Nikon FM on its second trip to London (and like 7th trip abroad this year). I find myself not even wanting to carry around my digital camera when I travel anymore, it’s too heavy and generally it just feels like a distraction. When I carry my analogue camera however, first of all it’s lighter but I’m also selective with what I decide to capture, which then makes me observe more instead of just taking pictures of everything.
I have shot quite a few rolls of Ilford xp2 super 400 now, and I really like it for its fine grain and sharpness. This is a b&w roll that is developed in colour chemistry rather than b&w chemistry, s0 my lab is able to develop and send the scans back to me within a few days which is perfect because I feel like I’m learning more when I get scans back quicker, or else I completely forgot what I’ve done. Right now the days are really short and dark and it’s hard to find time to shoot at all - so finishing a roll takes me some time!
I shot most of this roll from the first days in December at my workshop with Silvia Bifaro until the end of the month, and it’s the last roll I shot before the shutter jammed on my Nikon FM. I really love how the photos turned out, especially the ones I shot some with my Cokin diffusion filter (I think) which gave the photos a dreamy, soft look with more contrast, especially in the shadows. Usually this film renders more midtones and grays so that was interesting to see, and really useful for the future because I love how that looks!
Christmas eve walk with Christian
Long exposure self portrait, 1/8 second if I remember correctly
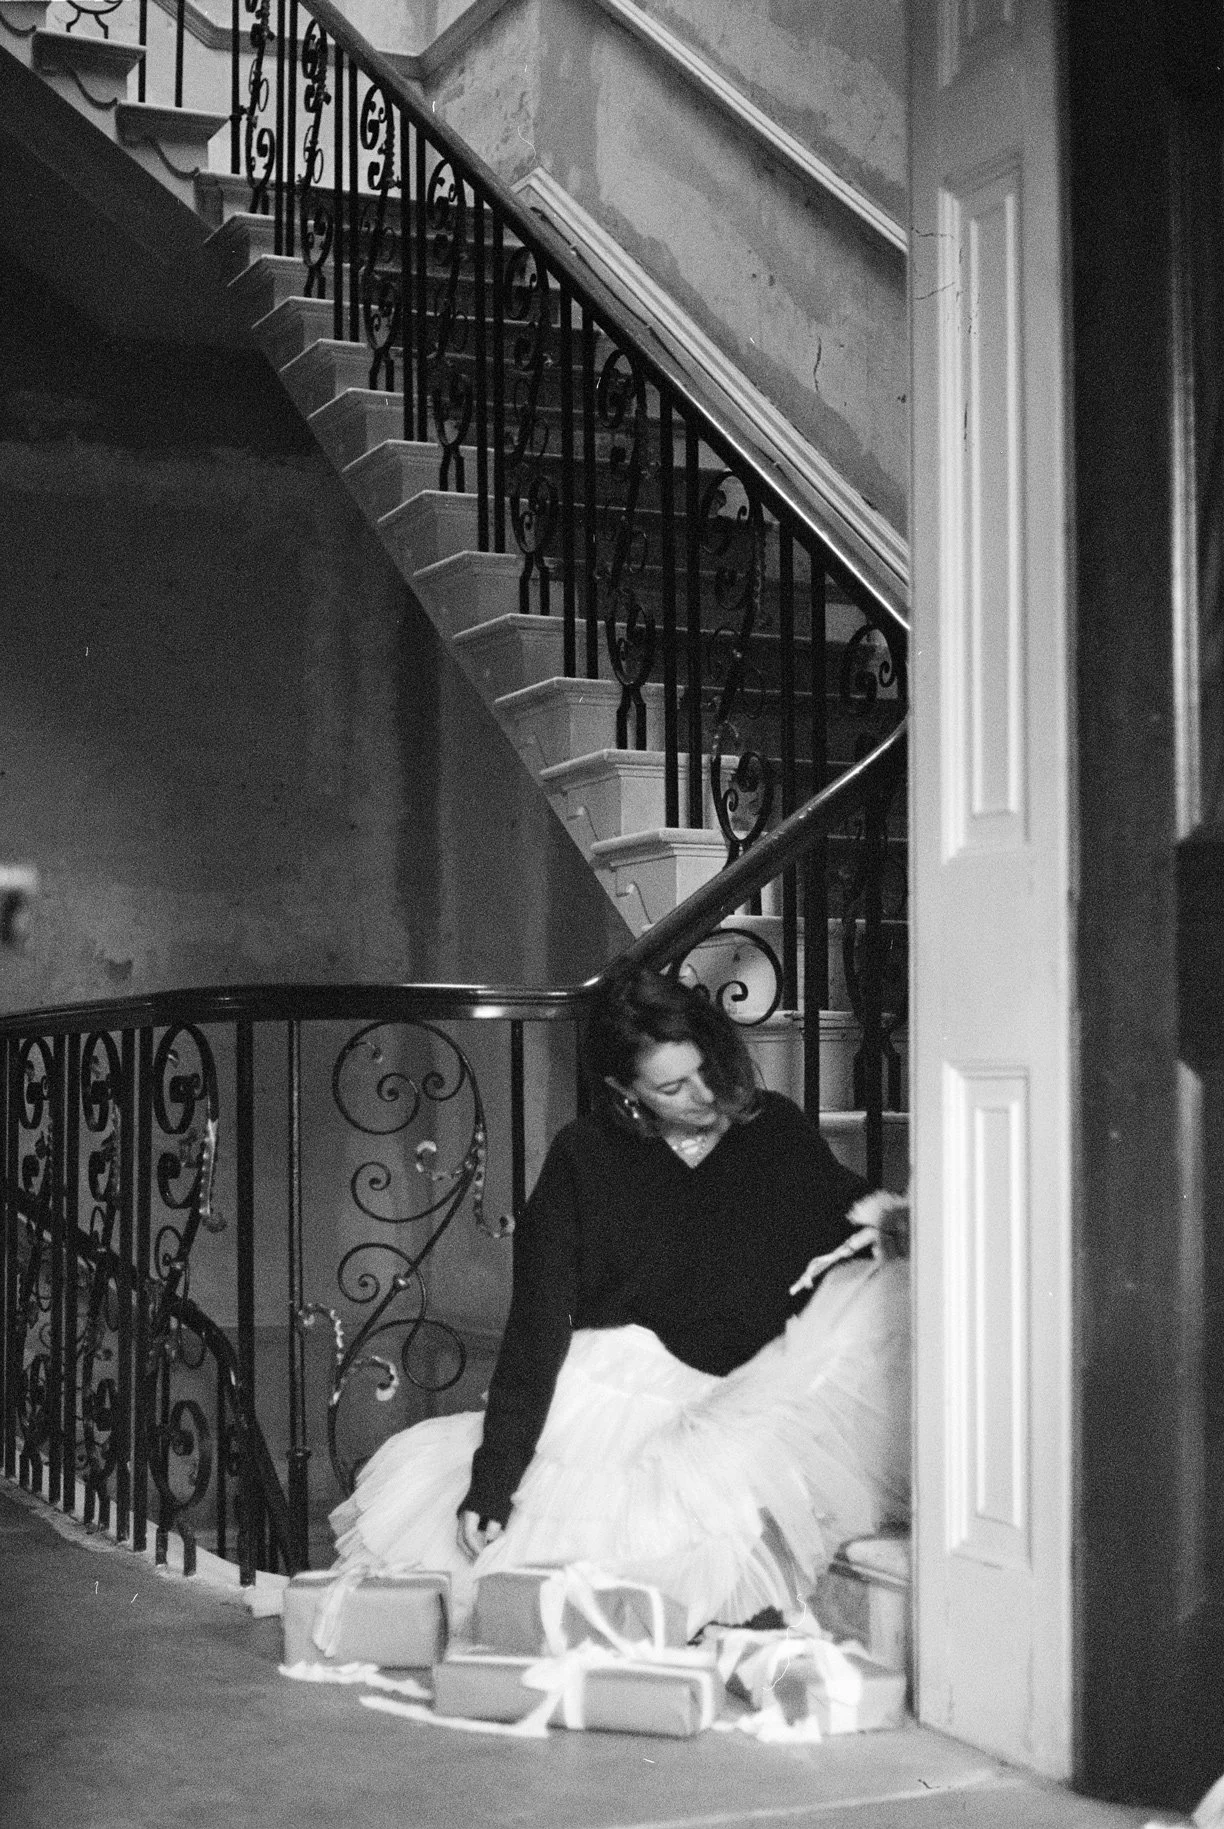
After the Lee Miller exhibition at Tate
Not sure what happened here, but probably two images scanned as one
Karen and Lean in Copenhagen - this one is a little underexposed but it’s a sweet memory!

How to start shooting analogue in 2026


Why film?
“Why are you shooting film? It seems so inconvenient.” - Well, yes, that’s actually the whole point! It is inconvenient, compared to digital, but that “inconvenience” is part of the joy. I think that’s why 2026 is the year of analogue - a lot of us are longing to slow down, being more present in the moment, and doing things that require focus, attention and patience instead of endless scrolling, subscriptions and access to everything.
After working as a photographer full time for the past 13 years, I started feeling disconnected from the process - I would still enjoy photography but I felt like there was a big hurdle to get over each time I picked up the camera. Then there was the overshooting and looking through thousands of images and editing them after. I simply wanted to feel connected to photography again, just for the joy of it (which is why I started in the first place) and I also saw it as a bit of a challenge. Film has really taught me to be slower and more mindful of what and how I shoot. Somehow to me, 36 images feels like a lot when I’m shooting film and when I manage to get a good shot, I feel so much happier with it. The delayed gratification of waiting for your images and then getting scans back is absolutely priceless!


Pentax MX - Kodak Gold 200
How i started
I’d thought about shooting film again for years, but I wasn’t sure where to start. I had several old cameras, but I didn’t know if any of them were working or what to look for when testing them. I didn’t want to shoot a roll only to have nothing come out, so I figured I’d make it as easy as possible to get started.
In the summer of 2024, I decided to buy a simple, used SLR from a camera shop - a Pentax MX fitted with a 50mm f/1.7 lens. I chose this one because I used to shoot with a Pentax in high school. At the time, I didn’t really know what features I wanted in a camera, but it seemed like a good choice - a fully mechanical camera, meaning it can operate without a battery. The shutter will still work, though the built-in light meter won’t.
Above are some photos shot with the Pentax MX from my first few rolls of Kodak Gold 200. I’ve had some issues with this camera as the film tends to get stuck halfway through the roll - but on the upside, that’s how I unintentionally discovered my love for double and multiple exposures.
I’ve since moved on to shooting mostly Nikon, though I’ve had some bad luck with my cameras. I got a Nikon F3 and a Nikon EM, both of which developed issues. About ten months ago, I bought a Nikon FM, which quickly became my favorite but just a few days ago, the shutter jammed. Now I’m shooting with a Nikon FE, and I’m currently waiting to get my first rolls back from the lab.
I wanted to share what I’ve learned so far on this journey, so here are some tips from an amateur film photographer!
Double exposure with Nikon FM - Fujifilm 200
Nikon EM - Kodak T-max 400 (left) and Ilford xp2 super 400 (right)
Choosing a camera and lens
This was probably the hardest part for me when starting out.
There are a few common types of film cameras you’ll come across:
SLR (Single-Lens Reflex)
This is the most common type of film camera. What you see in the viewfinder is exactly what the lens sees. SLRs usually let you control settings like focus, aperture, and shutter speed, and you can change lenses. If you’re coming from digital photography like me, this type will likely feel the most familiar.
Rangefinder
Rangefinders are often smaller and quieter than SLRs, but focusing works differently. You don’t look directly through the lens when focusing, which can take some getting used to.
Point-and-shoot
These are the simplest cameras to use. You just point the camera and press the shutter button, and it handles focus and exposure for you. They’re great for simplicity and ease of use, but you don’t have much control over the final image. If you want to do quick snapshots, this is your best option.
When choosing a camera, think about how much control you want. Some cameras let you do things like double exposures, use aperture priority, or rely on a built-in light meter. I’ve tried all types, and personally I prefer SLRs because I like having more control over focus and exposure. I inherited a point-and-shoot (an Olympus Mju I) from my mother and it’s really small and handy to bring on trips, I don’t enjoy the process or the images as much as those from my SLRs.
The features that matter most to me are a (working) built-in light meter, a self-timer, and the option to do double exposures. I also like being able to change lenses, which is another reason I usually choose an SLR. That said, having fewer options can sometimes be fun and help with creativity. You won’t really know what you prefer until you try!
When it comes to lenses, compatibility can be confusing at first. Different cameras use different lens mounts, so it’s important to check before buying. I’ve found Ken Rockwell’s site really helpful for making sure a lens will fit and work with my camera. A lot of the times you can find cameras already fitted with a lens. I mostly shoot with a 50mm lens, which is a great starting point in my opinion.
Nikon FM - Fuji Superia 200 (expired in 2013 - shot at ISO 50)

Olympus Trip 35 - Kodak Ultramax 400
Where to buy a camera
You can often find old cameras at thrift shops for very cheap, but if you don’t know what to look for, you might end up spending a lot of money on repairs or shooting rolls that don’t turn out. Since I had no idea what to look for, I decided to buy mine from a camera shop that sells old and used cameras. These shops usually test the camera to make sure it functions properly, though they normally don’t test it with film. Where I bought mine, I was given a couple of months’ warranty, which gave me time to shoot a test roll and have it developed. That said, I’ve still had issues show up months later, so this isn’t a completely risk-free option - it’s just a risk you have to be willing to take when shooting with old cameras. If you find one in a thrift shop it might be worth the risk anyway!


Nikon FM - Lomochrome Purple (shot at ISO 400)

Nikon FM - Lomochrome Purple (shot at ISO 200)

Nikon FM - Kentmere Pan 200

Yashica EM (Medium format camera using 120 film) - Ilford xp2 super 400
Choosing film
For me, experimenting with different film stocks has been one of the biggest pleasures!
First, you have to choose the right film format for your camera, which will most likely be 135 film (more commonly known as 35mm film). Rolls usually come with 24 or 36 frames. I started with Kodak Gold 200 and Kodak Ultramax 400, which are both reasonably priced, as are Fujifilm 200 and 400 and Kodak ColorPlus 200. A higher ISO will give you more grain, but it’s also easier to shoot in low-light situations. Ilford HP5 is a good place to start for b&w.
I wouldn’t recommend starting with 120 film, since you get so few frames per roll - my Yashica only gives me 12 frames per roll and it’s not cheap to have developed and scanned. That said, the images come out incredibly sharp and beautiful.
The films I’m enjoying the most at the moment are Lomochrome Purple (ISO 100-400) and Cinestill 400d for colour, and Kentmere Pan 200 for black and white. I also shoot Ilford xp2 super 400 often, because it’s developed with the same process as colour film (C 41 process), so it’s a lot quicker for my lab to develop it!
To see more examples of what a film looks like (though it can vary a lot, especially depending on the scan), I usually look through hashtags on Instagram to see what results people are getting.
Nikon FM - Ilford xp2 super 400
Developing & scanning
I picked a random lab (basically the first one I found on google) to develop and scan my first two rolls, and I wasn’t happy with the results, so I tried another one and have stuck with them ever since (Götaplatsens Foto in Gothenburg). You may have to try a few before finding the right fit. The good news is that when you have your negatives, you can always get them re-scanned by another lab, or even yourself if you’re up for it!
If you’re in a small city like me, you can send your rolls by post to a lab in a bigger city (but make sure they accept it first though) - it’s always a risk that they could get lost in the mail, and you’ll have to pay for shipping the negatives back to you. If you can find a good local lab that is the best option. Check developing times and costs - in Sweden, black and white rolls usually take longer to develop than colour rolls because they’re not developed “in house”.
You can of course also develop and scan by yourself! I haven’t gotten there just yet but I’ll try to develop black and white film and see how I like it and if it’s worth spending time on. For now, I really enjoy the shooting - and getting development and scanning done by a professional, especially since I’m already tired of spending so much time editing.


Nikon FM - Cinestill 400D
General tips that have helped me
-Develop your first roll as soon as possible. This helps you check whether the camera is actually working properly.
-When in doubt, check Youtube! There are tutorials for almost every camera model and film-related problem you can think of. I looked at videos on how to operate all my cameras, how to load film and just about every step of the process.
-Watch the film winder. When you advance the film, keep an eye on the rewind knob to see if it moves. It doesn’t have to turn every single time, but if it never moves, the film probably isn’t advancing as it should or wasn’t loaded correctly. This would happen a lot with my Pentax MX.
-Don’t forget to set your ISO/ASA. Always adjust it when you load a new roll of film so your light meter gives accurate readings. This is easy to forget!
-Film behaves differently than digital. Coming from digital, I was used to always underexposing. With negative film especially, it’s often better to slightly overexpose than to underexpose. Underexposing can lead to muddy shadows and loss of detail.


Double exposures with Nikon FM - Kodak Ektar 100
Final thoughts
Film photography has been a wonderful way to reconnect with my love for photography. Every roll teaches me something new. I won’t stop shooting digitally, and it’s not that digital is bad - I just needed to feel more intentional, and shooting film just feels different. If you found this interesting or helpful in any way, I’d love it if you’d leave a comment below! My hope is to write more about my film experiments, my thoughts about the process, trying new films, double exposures.. let’s see! Either way, I’m just happy I found a something I truly enjoy writing about.
You can follow my analogue journey on Instagram!