
LUTs Installation, troubleshooting, my workflow & FAQ
What are LUTs?
LUT stands for Look-Up Table. It’s a file, most commonly in .cube format, used to transform the colors of a video. A LUT works by remapping color and brightness values to create a consistent or stylized look. They can either correct footage (for example converting LOG footage to a standard color space) or apply a creative style used for color grading.
There are two main types of LUTs. Technical LUTs are used for color space conversion, while creative LUTs are used to achieve a specific visual look. The ones you find on my site are creative LUTs.
ABOUT THESE LUTs
All the example videos you see here are filmed with either a Canon EOS 5d Mark II, Mark IV (mostly the latter) and Canon M50. All the footage is filmed in Rec.709 - not LOG (which is like a raw format). The result of the LUTs will vary depending on what your original video file looks like.
Installation
There are two main ways to use LUTs in editing software:
The most common method is to import the LUT directly inside the program using a color grading panel.
The second method is to install LUTs into specific folders so they appear automatically in the software’s LUT menus.
Adobe Premiere Pro (Mac and PC)
To quickly use a LUT, select your clip or adjustment layer and open the Lumetri Color panel. Under Creative tab—>Look, and choose Browse to load your .cube file.
For permanent installation, Adobe now supports both user-level and system-wide folders.
User-level installation (recommended for 2026):
On macOS:
~/Library/Application Support/Adobe/Common/LUTs/On Windows:
C:\Users\[username]\AppData\Roaming\Adobe\Common\LUTs\Inside these folders, create subfolders named “Creative” and “Technical” to organize your LUTs. Copy your downloaded folder (the folder with the .cube files). Paste the folder in the “Creative” folder, then restart Premiere Pro. Make sure you have the folder elsewhere too, for backup.
Note that newer Adobe versions may include folders named “Input” and “Output”. These do not replace “Creative” and “Technical”, which are still used for proper categorization.
Avoid installing LUTs inside the Premiere Pro application folder, as this method is outdated and may break when the software updates.
DaVinci Resolve (Mac and PC)
Open Preferences and navigate to the Color section. Under Lookup Tables, click “Open LUT Folder” and copy your .cube files into that directory. Then click “Update Lists” to refresh.
To apply a LUT, go to the Color tab, right click in the node area, select 3D LUT, and choose your file.
Final Cut Pro (Mac only)
Apply the Custom LUT effect to your clip. In the Inspector panel, select “Choose Custom LUT” and load your file.
For permanent access, LUTs can be placed in: ~/Library/Application Support/ProApps/Custom LUTs/
Using LUTs on Mobile
LUTs can also be used on mobile devices, but they are not installed system-wide. Instead, they are imported directly into supported apps.
Apps such as CapCut, VN Video Editor, and LumaFusion allow you to import .cube files directly into your project. Other apps, such as Premiere Rush and Lightroom Mobile, do not support .cube files directly.
To use LUTs on mobile, you must first transfer the files to your device using methods such as direct download, AirDrop or cloud storage.
If I’m editing mobile footage, I usually transfer the video to my desktop and edit through Premiere Pro.
troubleshooting
-If a LUT does not appear in your software, restarting the program often resolves the issue. If the colors look incorrect (which happens sometimes when you switch from one LUT to another), you may need to remove the LUT and apply it again.
-These LUTs are designed to work across a wide range of footage, but results vary depending on how they’re applied. They look best on well exposed footage. If you’re applying a LUT to underexposed footage or footage that already has banding or digital artefacts, you might experience an increase in both - this can be corrected to a certain degree by changing the exposure on your footage, lower LUT intensity or simply trying another LUT that doesn’t have lifted shadows. How you export can also impact banding - scroll down for more info on that.
My Workflow in Premiere PRO
-Go through footage and import it into a project in Premiere.
-Create a sequence and drag the clips onto the timeline.
-I apply a LUT (through the ‘Creative’ panel) and music early in the editing process to help visualize the final result.
-Create an adjustment layer and place it on top of the footage, and apply a LUT to the adjustment layer for an initial color grade. I use adjustment layers because they make it easier to apply changes across all clips instead of color grading each clip individually. It’s also easy to replace it later in the process.
-I almost always combine multiple LUTs by stacking separate adjustment layers on top of the footage and lowering each LUTs intensity.
-Make final small tweaks directly to individual clips, such as adjusting exposure and white balance, to ensure everything looks polished.
Check out the videos below to see part of my workflow!
EXPORTING IN PREMIERE PRO
Click to view larger. Screenshot of a clip exported with VBR, 1 pass (without a LUT) - banding is very noticeable, especially on the left
When exporting in Premiere: Make sure to tick “Render at maximum depth” and “Use maximum render quality” and most importantly, under “Bitrate Setting” choose “VBR, 2 pass” instead of the pre-chosen “VBR, 1 pass”. Choosing VBR, 2 pass increases the quality of my exports and helps if there are banding issues. This also makes the programme automatically switch from Hardware encoding to Software encoding.
If something doesn’t look right, feel free to reach out. I’m happy to help you adjust and get the best result for your footage!
Click to view larger. Screenshot of the clip exported with VBR, 2 pass (without a LUT) - as you can see it looks much better although the banding is still there since there is banding in the original clip.
Frequently Asked Questions
Do these LUTs work with Rec.709 footage?
Yes, these LUTs are designed primarily for Rec.709 footage.
Can I use them on iPhone footage?
Yes. Results will vary depending on lighting and camera settings, but the LUTs work well on iPhone footage, especially when the footage is properly exposed and white balanced.
Why does the LUT look too strong?
Every clip is different, so a LUT applied at 100% intensity may sometimes appear too harsh. I usually lower the LUT intensity to around 30–70% depending on the shot for a more natural and professional look.
Which LUT should I start with?
I recommend trying a few different options first, then making small adjustments to exposure, contrast, and white balance to fine tune the result. Some of my favourites and most used LUTs are: Cinematic Greens and Aqua (Cinematic LUTs) and Citrus and Cool Matte (Food LUTs) - all available in my Complete LUT collection.
Do I need LOG footage?
No. These LUTs are made for Rec.709 footage, so LOG footage is not required. If you do use LOG footage, you may need to first convert it to Rec.709 before applying the creative LUTs - or use a technical LUT first.
Why do my colors look different from the examples?
Lighting conditions, camera settings, white balance, exposure, and different camera sensors can all affect how a LUT appears. LUTs work best as a starting point, and small adjustments are often needed to match your footage perfectly.
Why do my colors look less saturated after exporting from Premiere Pro?
This is a common Premiere Pro issue. Sometimes footage can look more saturated or contrasty inside Premiere, while the exported file looks flatter or less vibrant depending on the media player or platform being used. I usually correct this by adding a little bit more saturation inside Premiere, and then I export a test to make sure the colors look correct.
Can I use these LUTs on both vertical and horizontal videos?
Yes, the LUTs work the same regardless of aspect ratio. You can use them on vertical content (TikTok, Reels, Shorts) as well as horizontal videos for YouTube or cinematic projects.
Are these LUTs beginner friendly?
Yes. They are designed to work as a simple starting point while still being flexible enough for more advanced grading.
Will these LUTs work on all cameras?
Yes, but results may vary slightly depending on the camera profile, lighting, and white balance. Small adjustments are normal and recommended.
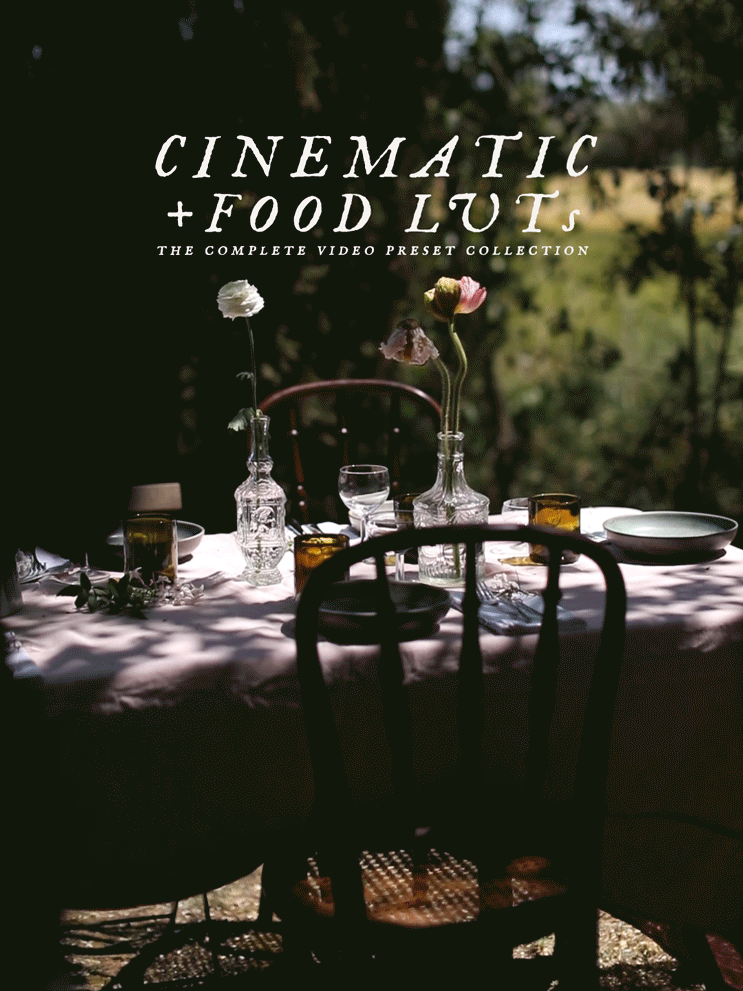
My signature collection! These are the LUTs I’ve been using in my videos for years, designed for filmmakers and creators who want refined cinematic color without spending hours grading.
This set contains both my Food LUTs and Cinematic LUTS, perfect for food, still life footage, flowers, travel and lifestyle - everything you need!
Take a look at the example video to see the LUTs before and after, and make sure to read my LUTs Guide for FAQs.
What you’ll get:
40 Creative LUTs (.cube files) - 38 in color and 2 black & white, created for Rec.709 footage
CUBE-files for Abobe Premiere Pro, DaVinci Resolve, CapCut (for desktop) and Final Cut (and more)
Access to videos where I’m working with LUTs in Premiere Pro.
A PDF on my workflow and tips, and an installation guide.
Make sure to also read my LUTs Guide for any questions you have!
Note
After purchasing, you’ll receive a download link via email which expires 24 hours after you first click on it. Keep an eye in your spam folder in case it ends up there.
Due to the digital nature of this product, I cannot offer refunds - but feel free to reach out if you’re not getting results you’re happy with.
All rights reserved - you do not have permission to copy the file onto any public network, sell or redistribute these LUTs to any other person.
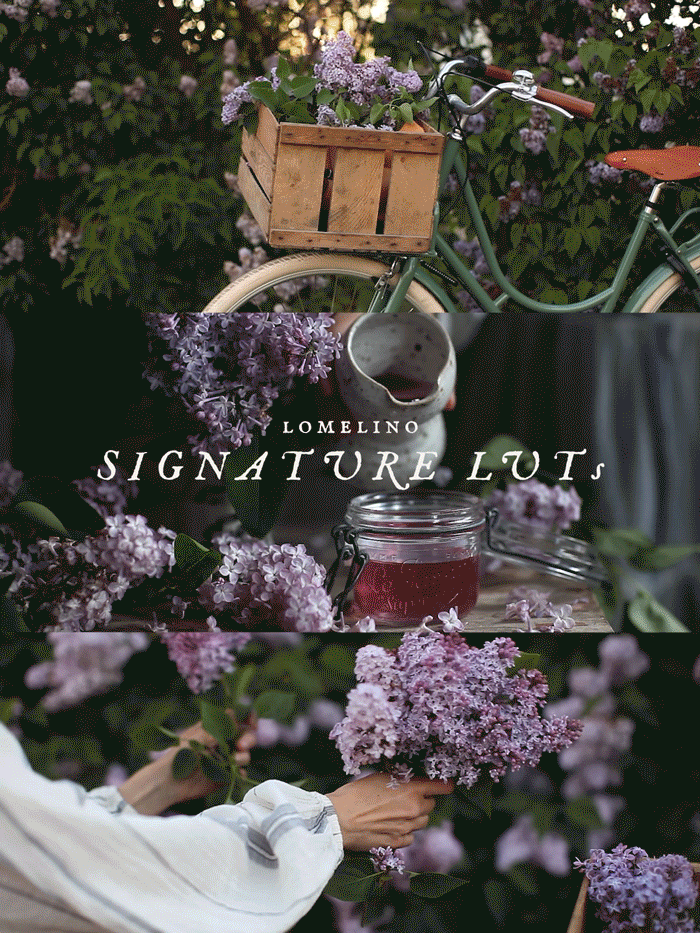
A curated set of my 5 most used LUTs from the Complete Video Preset Collection!
These are the looks that define my work, created from years of shooting food, travel and workshops.
Take a look at the examples to see the 5 LUTs before and after, and make sure to read my LUTs Guide for FAQs.
What you’ll get:
5 Creative Color LUTs (.cube files) - Created for Rec.709 footage
CUBE-files for Abobe Premiere Pro, DaVinci Resolve, CapCut (for desktop) and Final Cut (and more)
Access to videos where I’m working with LUTs in Premiere Pro.
A PDF on my workflow and tips, and an installation guide.
Make sure to also read my LUTs Guide for any questions you have!
Note
After purchasing, you’ll receive a download link via email which expires 24 hours after you first click on it. Keep an eye in your spam folder in case it ends up there :-)
Due to the digital nature of this product, I cannot offer refunds - but feel free to reach out if you’re not getting a look you’re happy with.
All rights reserved - you do not have permission to copy the file onto any public network, sell or redistribute these LUTs to any other person